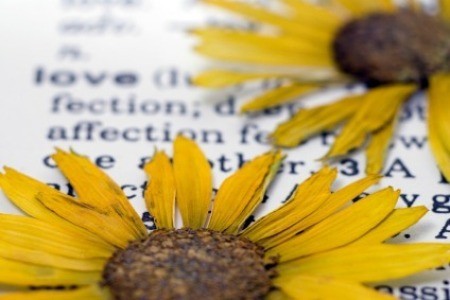
Pressing flowers is a great way to preserve them. Once pressed and dry, pressed flowers usually retain their color fairly well, which makes them useful for making a variety of decorative crafts, such as stationery, placemats, and bookmarks. The pressing process is simple and can be accomplished without the use of any fancy tools. In addition to pressing flowers, you can also get good results pressing herbs, mosses, and lichens.
The best flowers for pressing have simple shapes and heads that flatten well. For example, flowers like violets are easier to press than larger, trumpet-shaped lilies. The end goal with pressing flowers is to remove the moisture, while retaining as much color as possible. Large double flowers like tea roses will flatten easier if some of the petals near the inner core are removed before pressing. For peonies, you may want to press individual petals rather than the entire flower head. You can also press ornamental grasses, herbs, trees leaves, ferns, mosses and lichens. Have fun and experiment. Try pressing plants and flowers in different stages of growth, for example mature flowers and their buds. As with any new project, it's always a good idea to jot down a few notes in your garden journal about what steps you take and what works and what doesn't.
The best picking time to pick plant materials for pressing is on a dry day in the late morning before the sun gets too warm. Ideally, you want the parts of the plant that you will be pressing to contain as much water as possible at the time of harvest. Wilted leaves and flowers don't press well, so try to press your plant materials immediately after you harvest them, or place them in the refrigerator or in a container of cold water until you're ready.
Book press: You don't need any elaborate tools to press flowers. All you need is a telephone directory or a heavy book like a dictionary. Sandwich your plant materials between sheets of blotting paper (tissue paper, paper towels or coffee filters) and a final layer of printer paper to prevent ink from staining the flowers and moisture from staining the book'then insert them between the pages of the book. You can stack heavier books on top of your 'book press' if you need extra weight. Leave them inside the book for up to 6 weeks or until they're completely dry.
Plywood press: You can make an even sturdier flower press from two small pieces of plywood. The advantage to this type of press is that it enables you to exert more pressure, which will give you faster and better looking results. Cut two pieces of heavy gauge plywood into 14 x 16 rectangles. Drill a hole in each corner of both pieces of plywood, then use long bolts with wing nuts to connect the boards at each of the four corners. Like using a book press, you will layer your plant material between blotting paper, insert them between the pieces of plywood and tighten the wing nuts to exert pressure.
Flowers: The color red is difficult to retain in pressed flowers. One way to help preserve the pigments is to gently dip the flower head in a little bit of vinegar and pat it dry before pressing.
Fall foliage: Stabilize the colors of fall leaves by covering them with a thin cloth and ironing them with a moderately hot iron. To find the right temperature, try experimenting on a few test leaves first. Large leaves, such as those of beech, witch hazel and maple, can be ironed directly.
You may want to press flowers to remember a special occasion, or simply tuck a few of your favorites into your garden journal. Here are some additional ways to use them:

About The Author: Ellen Brown is an environmental writer and photographer and the owner of Sustainable Media, an environmental media company that specializes in helping businesses and organizations promote eco-friendly products and services.
Add your voice! Click below to comment. ThriftyFun is powered by your wisdom!