Ana
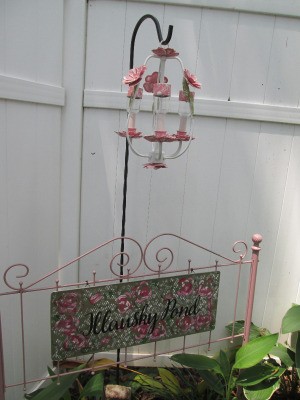
Bronze Post Medal for All Time! 140 Posts  I found this great shabby chic chandelier at Goodwill. I have been on a search for one for a while. Because I wanted to do this on a budget, I had to wait until there was one that would work for my craft. I love the look, and it will go well with my outdoor space. With a little paint and and solar lights this will become a functional and decorative piece for my outdoor garden.
Total Time: 3 hours
Supplies:
- 1 chandelier
- 3 solar lights
- 1 Loctite outdoor adhesive
- 2 craft paints
- 1 outdoor protectant spray
Steps:
- Wipe down chandelier to make free of dust and dirt.
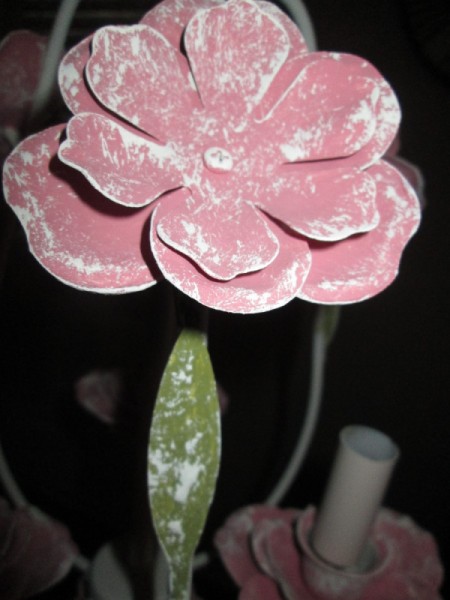
- Because I wanted color on this all white fixture, I choose to bring the flower and leaf details out. With craft paints I painted out the roses a pink color, and also painted the leaves(green).

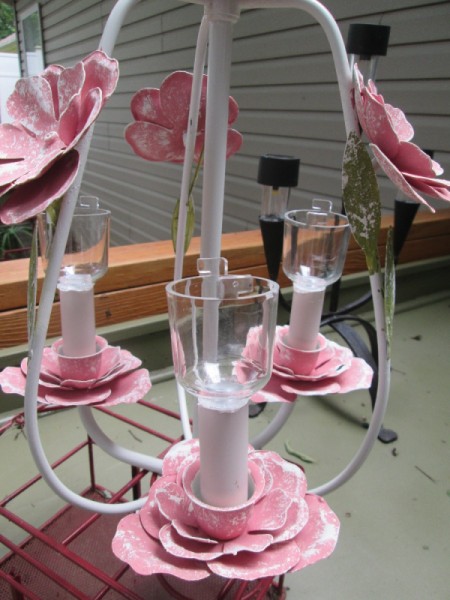
- While that dried, I purchased 3 outdoor lights that work perfectly inside of the candle stick holders. I removed the caps from the stems, and taped off the light covers on top and painted the caps to match the flowers. Allow to dry.
- With the light caps placed back unto the cups, outdoor adhesive was used around the base of the light and then it was inserted into the candle holder of the chandelier. Allow to dry.

- Spray protectant spray on the newly painted areas. Allow to dry. Ready to install in your garden.
Add your voice! Click below to comment. ThriftyFun is powered by your wisdom!

August 15, 20171 found this helpful
I can not wait to try this.

Ana
Bronze Post Medal for All Time! 140 Posts August 16, 20170 found this helpful
GREAT! THANKS!
Add your voice! Click below to comment. ThriftyFun is powered by your wisdom!

 I found this great shabby chic chandelier at Goodwill. I have been on a search for one for a while. Because I wanted to do this on a budget, I had to wait until there was one that would work for my craft. I love the look, and it will go well with my outdoor space. With a little paint and and solar lights this will become a functional and decorative piece for my outdoor garden.
