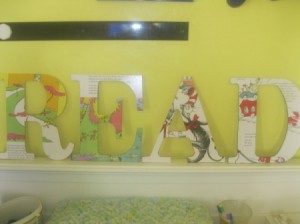
 This project was done for the wonderful librarian at my daughter's school. It is pretty easy and inexpensive. The kids thought it was cool! You could use this technique to spell out anything, using any type of paper, book pages, comic books, etc. It's a versatile project.
Total Time: about 2 hours
Source: Money Saving Sisters - DIY Dr. Seuss letters
Supplies:
- wood or paper mache letters. These were purchased for a couple of dollars a piece at the craft store.
- book pages - I copied these at the office supply store. You could use your own printer, too.
- Modge Podge - I made my own by mixing equal parts of white glue and water.
- paint brush
- scissors
- paint for the edges, optional
- clear sealant
- pencil
Steps:
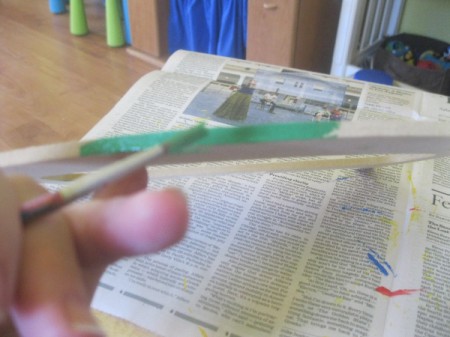
- Paint the edges of your letters. I used different colors. This step isn't mandatory. It just made it look a little nicer. Let the paint dry.

- Place your letter on top of your paper. Work with it to make sure you get the image you want on your letter. Trace around the letter. Then cut out inside the pencil marks you made when you traced the letter.
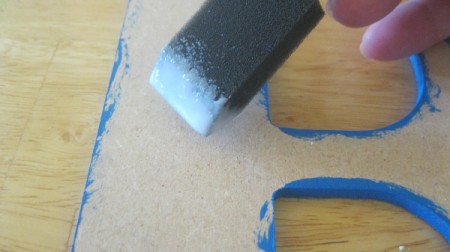
- Paint modge podge on top of your letter. Make sure there's enough but not too much that it will all seep out the sides.

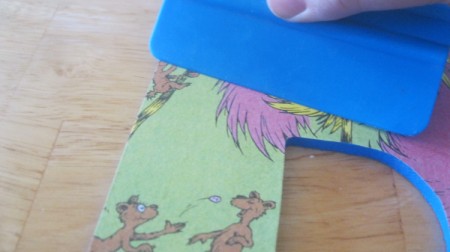
- Carefully place your paper letter on top. Work with it to make sure the whole letter is covered. You can use your fingers to smooth out any air bubbles. I used this handy little tool that smooths out air bubbles. (I used it while putting clear covers on the books at the library. I have no idea what it's called).

- Trim any edges that are hanging over the edges.
- Cover with a clear sealant. You could use a spray. I like to use a paint on varnish called Liquitex gloss varnish. It is applied with a paintbrush or foam brush. Let dry between coats. Make sure to apply onto the painted sides.
- Hang with a ribbon that you've attached to the back or use those sticky strips that come off when you need to move it or take it down.
 This project was done for the wonderful librarian at my daughter's school. It is pretty easy and inexpensive. The kids thought it was cool! You could use this technique to spell out anything, using any type of paper, book pages, comic books, etc. It's a versatile project.

