Making Fabric Covered Cards
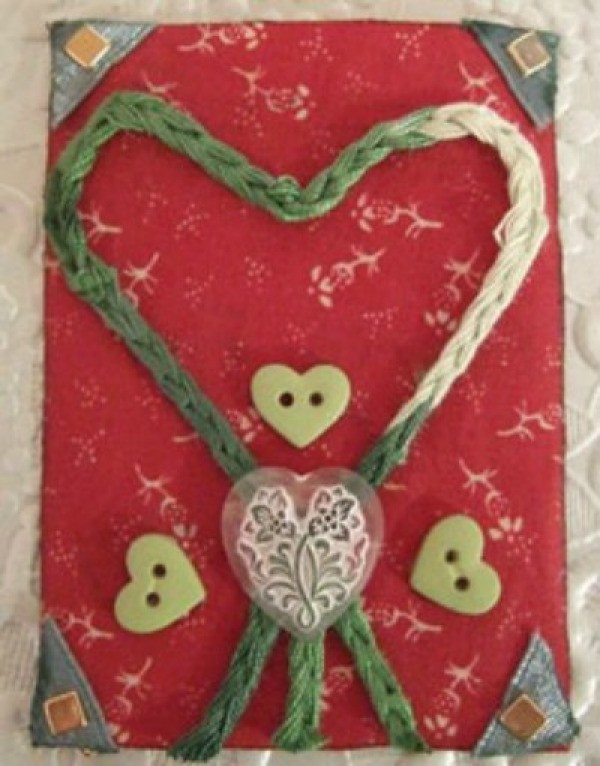
Create a miniature piece of art for trade, home decorating, or use as a decorative gift tag.

Approximate Time: 2 hours
Supplies
- fabric scraps
- ribbon scraps
- diamond glaze
- decorative buttons
- fabric stiffener
- stitcky stitches fibers
- minibrads
- scissors
- paper piercer (optional)
- lighter (optional)
- ink pad (optional)
- plastic gloves (optional)
Instructions:
- Select the fabric you want to use as your background.
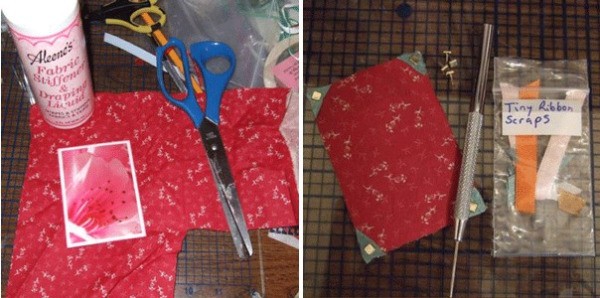
- Cut the fabric into a rectangle that is 2.5 inches by 3.5 inches.
- Put on gloves to keep your hands clean.
- Saturate the fabric with fabric stiffener. I used Aleen's Fabric Stiffener and Draping Liquid, but similar products should work.
- Let saturated fabric sit until completely dry. I recommend at least 30 minutes.
- Use mini brads to secure ribbon scraps to the corners of your rectangle. This can be made easier by putting holes in the fabric and ribbon with a paper piercer or similar tool.

- Trim edges to finish your decorative corners
- Create a decorative design in the center of your fabric using sticky stitches, ribbon, or other fibers.
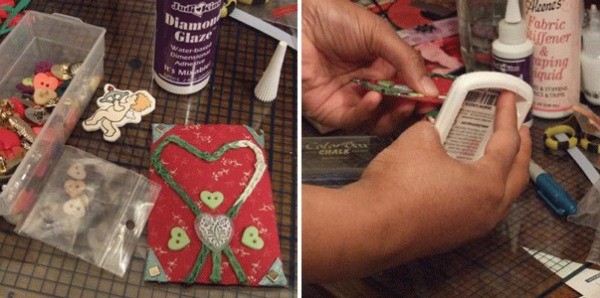
- Add decorative buttons to your design and secure with Diamond Glaze.
- Let Diamond Glaze dry completely. I recommend at least 10 minutes.
- Singe off any stray threads around the edge of your art using a lighter. I use a long barbecue lighter so I don't burn my fingers.
- Rub ink around the edge to create a finished look.

By Kathy from Illinois, USA
Read More CommentsMore Solutions
This page contains the following solutions.
Save all your extra buttons, pieces of ribbon, scrap fabric, etc. and let your kids make adorable cards for relatives.
You don't have to throw away the scraps, and your kids will love making something with you.
Read More...

