social

Making Faux Wax Drip Jar Candle Holders


Bronze Post Medal for All Time! 105 Posts
December 9, 2019

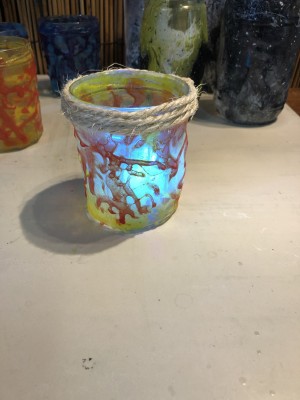
Faux Wax Drip Jar Candle Holders - finished jar with candle inside and jute around the topThis is a technique I have perfected over the years of playing with glass bottle decorations. Many people will add food color to glue, pour it in a glass jar, and bake it in the oven. This effect looks like a colored glass jar. I never found this too interesting and decided to take it a step further and create a faux wax drip jar using food coloring and glue. This is so easy to make and it looks great when you add a tea light to the jar.

Advertisement

Total Time: 45 Minutes

Yield: 2 Candle holders

Supplies:
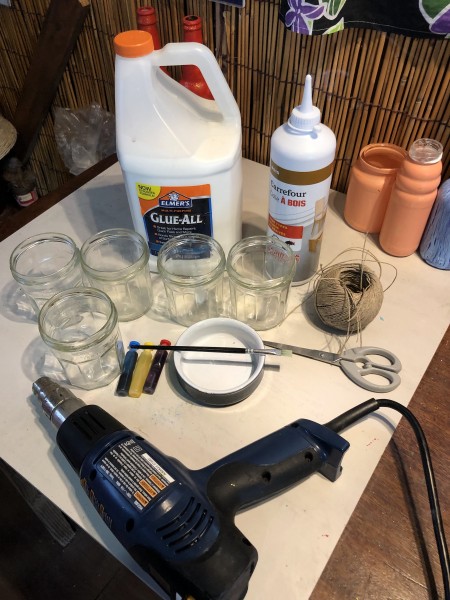
  • 2 jelly jars or glass jars
  • Elmer's glue
  • wood glue
  • hot air gun
  • bowl
  • food coloring
  • paintbrush
  • jute
  • tea light
  • scissors
Faux Wax Drip Jar Candle Holders - supplies
 

Steps:

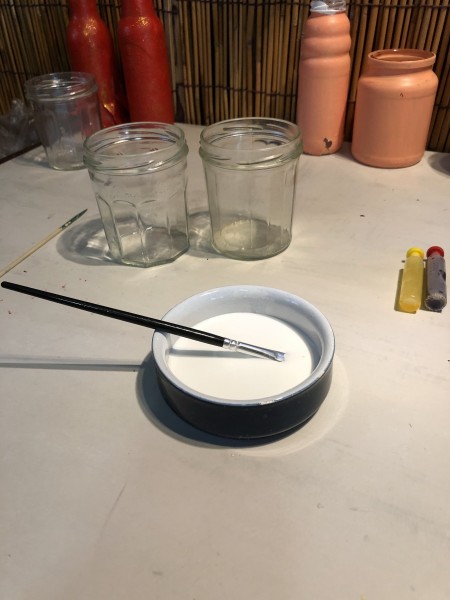
  1. Wash and clean your jelly jars and gather up your supplies. I use an old ashtray to mix my glue in. This works easier and makes it easy to clean up after the project is done This project can get messy, so it is a good idea to cover your work surface or use a piece of tile to work on. Start off by pouring a good amount of glue into the bowl.
  2. Faux Wax Drip Jar Candle Holders - jars and glue in an old ashtray
     
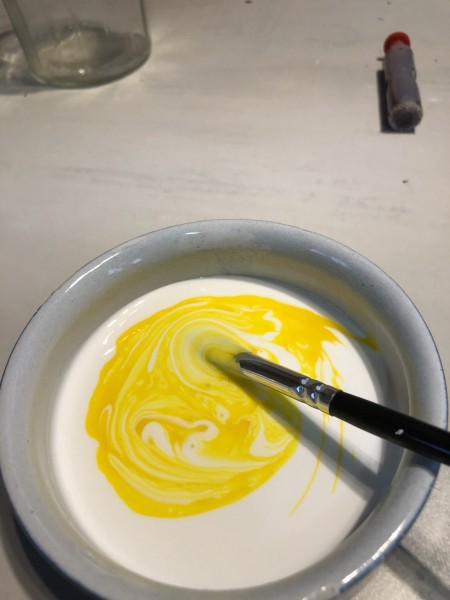
  3. Choose your first color and mix it into the glue.
  4. Faux Wax Drip Jar Candle Holders - mix in first color
     
    Advertisement

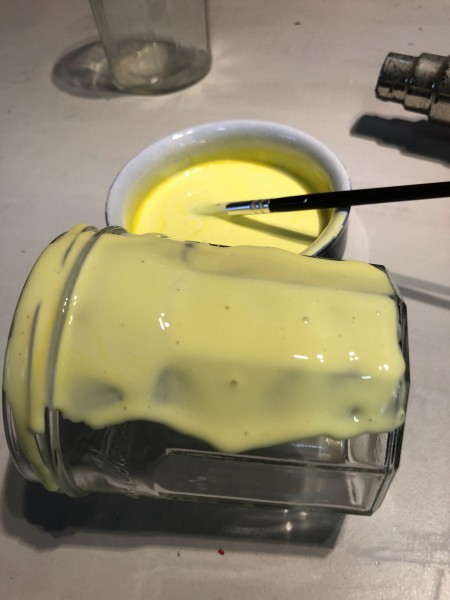
  5. Take one of the jars and apply a heavy layer of glue to the outside surface of the jar. You can add as much or as little glue as you wish. I like adding a lot of glue because it will give you a bubble effect when dried. Do not apply glue to a large area on the jar because the glue will start to drip and run.
  6. Faux Wax Drip Jar Candle Holders - apply with brush to the outside of the jar in sections
     
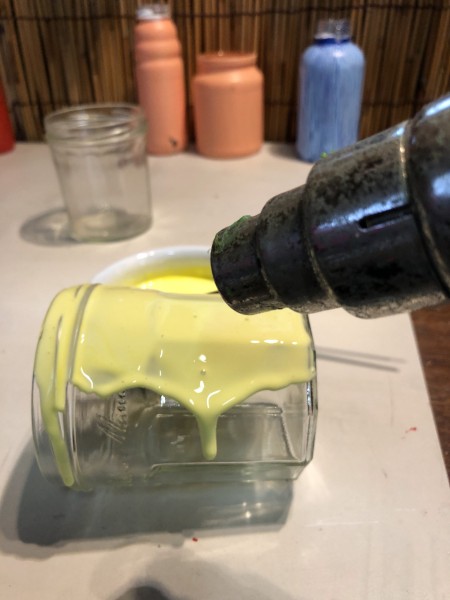
  7. Take your hot air gun and make sure it is set at 200 degrees. You can go up to 230 degrees for this project. I would not recommend going much higher than this because it will make the jar way to hot to handle. Now start to dry the glue using the hot air gun. You basically want to see the glue change colors and start the drying process. There is no need to dry the glue completely. You just want to get the glue set.
  8. Faux Wax Drip Jar Candle Holders - use hot air gun to help dry the glue
     
    Advertisement

  9. While the first jar is drying you will take your second jar and apply the glue to the jar. The first jar is set off to the side and the hot air gun is propped up to dry the glue on the surface of the jar.
  10. Faux Wax Drip Jar Candle Holders - section with yellow glue
     
    Faux Wax Drip Jar Candle Holders - set off to the side to allow gun to continue drying it
     
  11. Take the hot air gun and dry the glue on the second jar as you did with the first jar. Now you can place the two jars together and allow the hot air gun to dry them a bit more before adding more glue.
  12. Faux Wax Drip Jar Candle Holders - one side on both jars done
     
    Faux Wax Drip Jar Candle Holders - dry glue on second jar
     
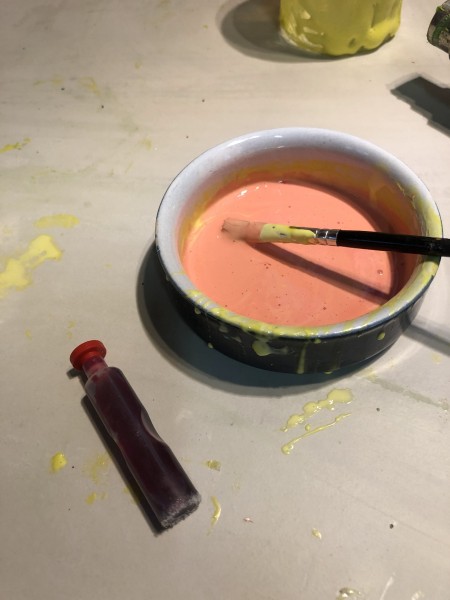
  13. Mix your second color into the glue. This will be your drip color.
  14. Faux Wax Drip Jar Candle Holders - mix second color
     
    Advertisement

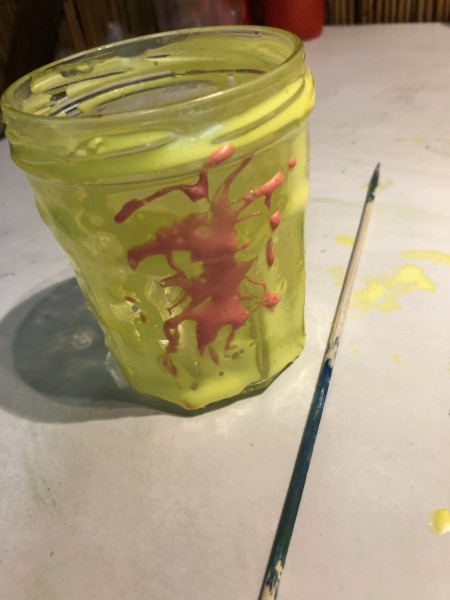
  15. Load up your paintbrush with a lot of glue and start dripping it over the first color on the jar. You want to make a lot of nice drips on top of the first color. You can use a toothpick to help place your drips on the jar or even get the glue off the paintbrush.
  16. Faux Wax Drip Jar Candle Holders - use brush to apply drips
     
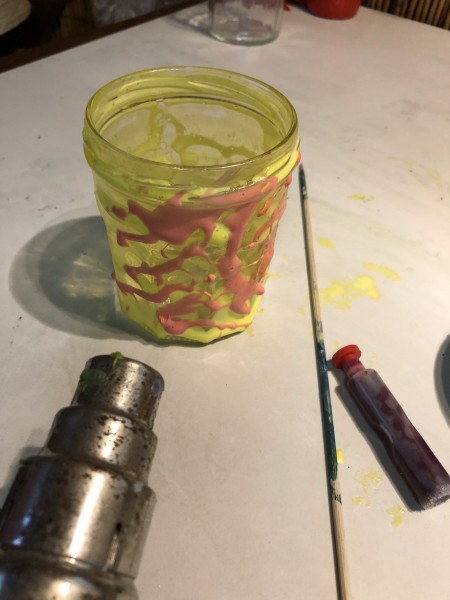
  17. You need to be quick now to get the hot air from the gun on the drips once you have them in place. You want to set the drips so they don't run again. You will continue to go around the jar dripping the second color on the jar. The other jar will be set in front of the hot air gun drying more of the glue.
  18. Faux Wax Drip Jar Candle Holders - dry with the gun
     
    Advertisement

  19. When you have all the drips added to the jar, place the jar in front of the hot air gun and start the drying process. You will need to turn the jar now and then so the hot air gets to all the glue on the jar.
  20. Add the drips to your second jar just like you did to the first jar. Just hit the drips with the hot air to stop them from running. Once done, you can now place this with the first jar and allow the hot air to dry the glue a bit more.
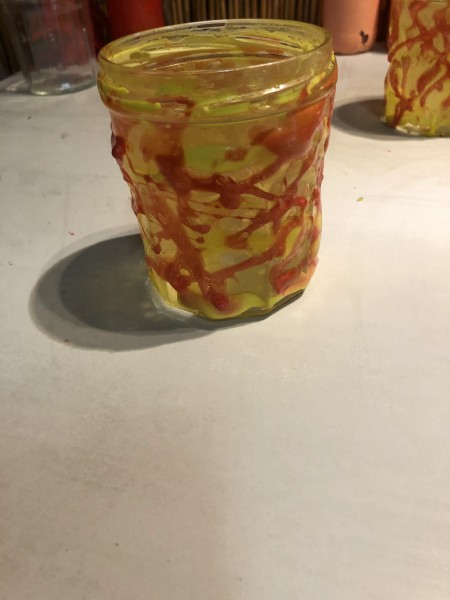
  21. Faux Wax Drip Jar Candle Holders - finished jar allowed to dry overnight
     
  22. I never dry the jars completely and just leave them to dry overnight. It seems to give them a better effect when I do this and the glue drips look more like candle wax dripping on the jar.
  23. Advertisement

  24. When done decorate the top of your jar with jute or even a ribbhon. Add your tea light and enjoy the beauty of your jar.
Comment Pin it! Was this helpful? 1
Categories
Crafts Home Decor DecorationsJanuary 15, 2020
Pages
More
🎃
Halloween Ideas!
🍂
Thanksgiving Ideas!
Facebook
Pinterest
YouTube
Instagram
Contests!
Newsletters
Ask a Question
Share a Post
Categories
Better LivingBudget & FinanceBusiness and LegalComputersConsumer AdviceCoronavirusCraftsEducationEntertainmentFood and RecipesHealth & BeautyHolidays and PartiesHome and GardenMake Your OwnOrganizingParentingPetsPhotosTravel and RecreationWeddings
Published by ThriftyFun.
Desktop Page | View Mobile
Disclaimer | Privacy Policy | Contact Us
Generated 2022-10-25 13:55:30 in 3 secs. ⛅️️
© 1997-2022 by Cumuli, Inc. All Rights Reserved.
https://www.thriftyfun.com/Making-Faux-Wax-Drip-Jar-Candle-Holders.html