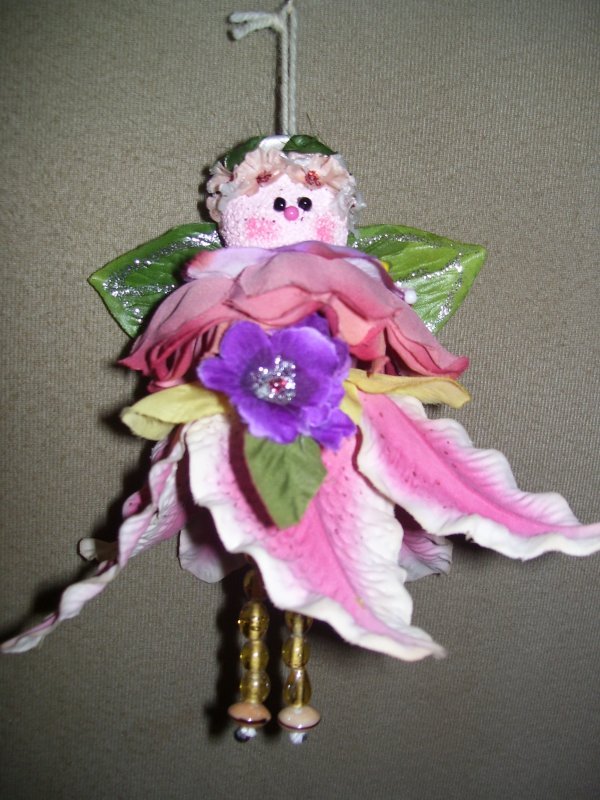
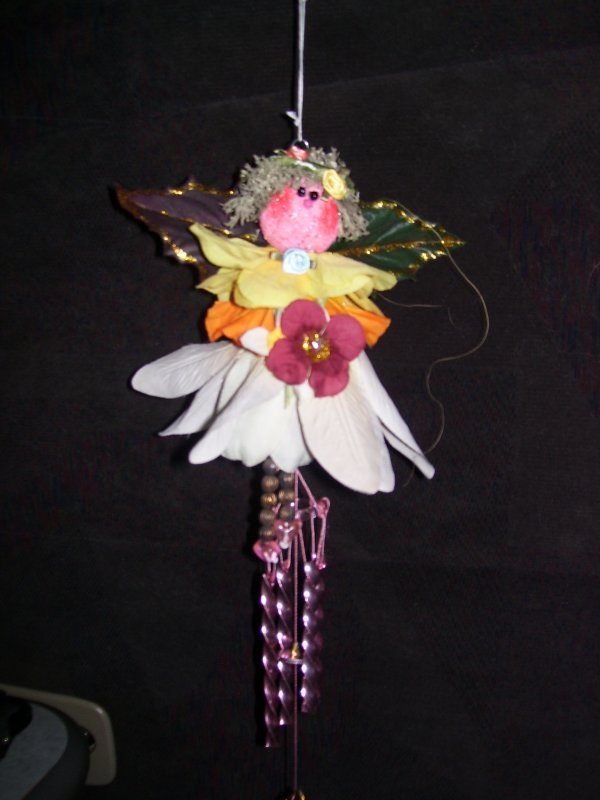
Recently, while treasure hunting for craft supplies in a thrift store, I came across their huge supply of artificial flowers. These are always a bargain and I decided to come up with a Mother's Day gift by using them. These are angels I made using only a few items and no two will be alike. You can give them as they are or add one to a plant or bouquet of flowers. I also found a tiny wind chime for 25 cents and attached it to the bottom of one of the angels. They are quite easy and inexpensive to make.
Approximate Time: 1-2 hrs.
Supplies:
- 3 Styrofoam balls
- artificial flowers, leaves and stems
- paint
- 2 small black beads
- 1 pink ball head pin
- beads
- string
- hot glue
Instructions:
There are no set rules for the angel and each one you create will have it's own personality. The instructions are for the basic building of them, but use your imagination and try different ways to decorate them.
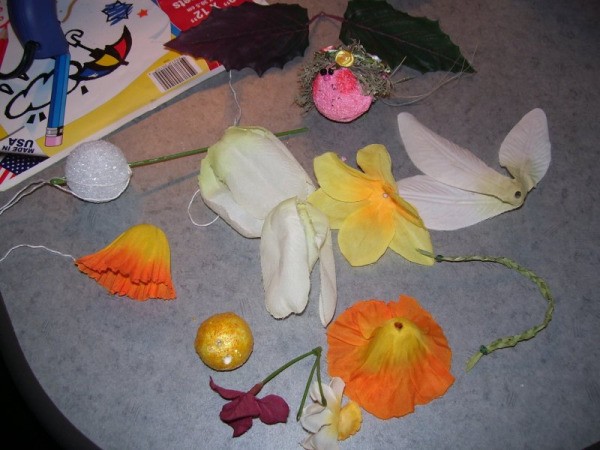
- Decide what flowers you will use for the skirt and top. You can layer several flower pieces for a fuller look. Take the flowers apart completely, including peeling off all plastic parts. I saved the wired stems from the flowers and this is what I used to build my angel on so nothing was wasted.
- Use the entire length of a long stem. You can trim length towards the end. Bend a small loop at one end of wire. This loop will keep the angel on as you build it, plus be the loop you will use to tie a piece of ribbon to hang it by.
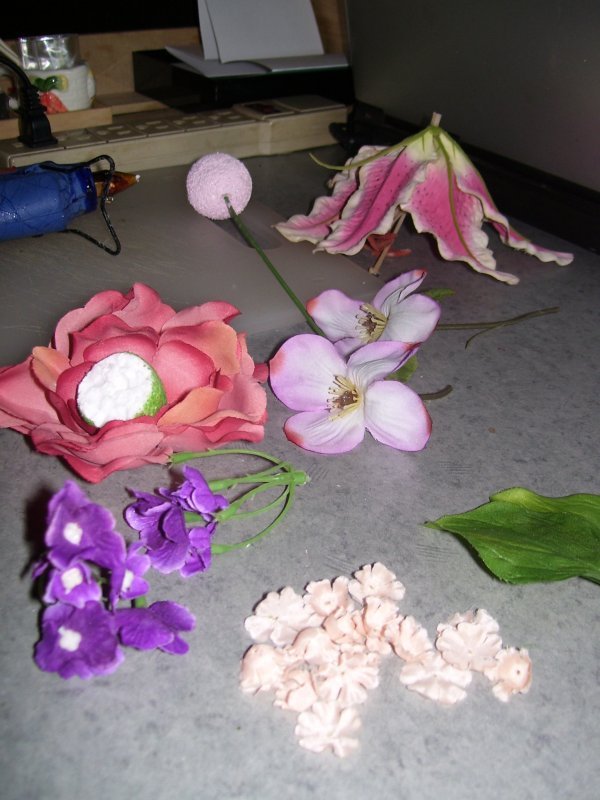
- Push a small Styrofoam ball up the wire and secure under loop with a small amount of hot glue.
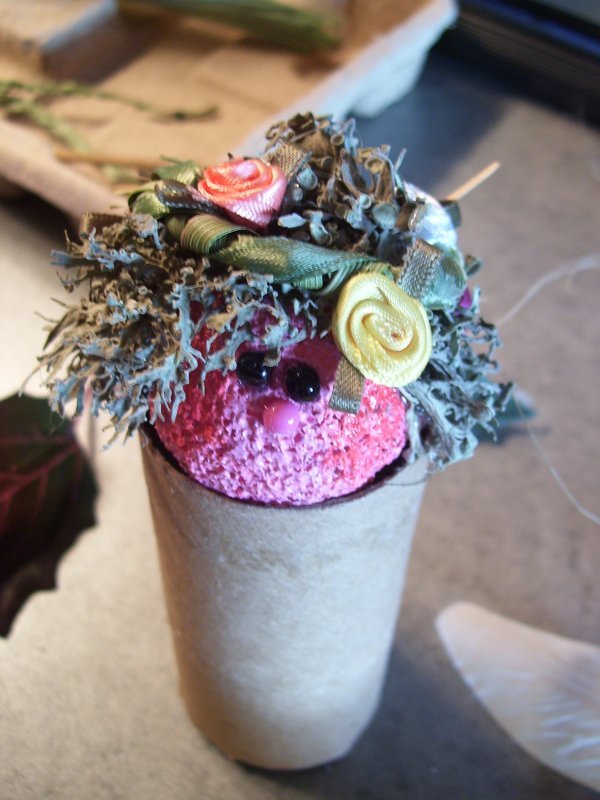
- Paint the ball pink. This will be the angel's head. Add a darker shade for cheeks. Once dried, make two small indentations for eyes and glue small black beads in them. I used a pink ball headed pin for the nose. I applied a drop of glue on the end and pushed it in under the eyes.
- On one, I used natural, dried moss for hair. On another, I used petals from small flowers. Glue your hair material on top and cover top of head well.

- To build the body, start layering the pieces of the flower you chose by sliding each one up the wire, putting a small amount of glue on top of each so that each layer will hold another. Once you are pleased with the top, tie a long piece of string onto wire and knot. You will use these later to build arms.
- Now slide on a half of a Styrofoam ball with the rounded top going up first. Put some glue on top of this half and continue sliding it up with the string on top, until it meets the prior layer. You want all layers to be tightly together.
- Start now by sliding on the flower layers you are using for the skirt. Be sure to dab glue on top of each before sliding it up the wire. Tie on another long piece of string for legs and knot.
- Slide your last Styrofoam ball up onto wire, with the string on top of it, under the last skirt layer. Be sure this is also glued.
- You can now snip off excess wire, being sure to leave a small amount to bend into another loop. This will help keep all pieces secure and enable you to add something to the bottom of the angel, such as a wind chime, if you desire.
- For legs and arms, decide on what beads you would like to use. I used a slightly bigger one at the ends to represent hands and feet. You will be bringing the arms together in front so you can judge how many beads you need to add by this. Tie beads off into a knot when desired lengths are achieved and cut off any excess string. When you are finished, you can choose to bring hands together to hold something such as small flowers or a note.
- Glue or wire hands together. If wanting a halo, you can make one several ways. Just about anything circular will work. You can make the circle from things such as a pipe cleaner, wire, plastic ring from a milk cap and then wrap ribbon or such around this to cover. Glue to head. On one, I made a halo using fresh thin branches and secured it closed with wire. Then wrapped thin strips I tore from a palm frond. The other is a wire base wrapped with ribbon.
- Glue miniature flowers on head, if desired.
- Now choose two leaves for wings. I trimmed mine with glitter glue and once dried, gave them a coat of varnish. I also coated the face with varnish. Glue leaves in center behind angel for wings.
- Tie a ribbon through the top loop to hang. You could also add a photo and hand it from the loop under the angel.

By Mary from Palm Coast, FL

Julia
Bronze Post Medal for All Time! 146 Posts June 22, 20110 found this helpful
This is adorable, and would make such a cute mobile for a little girl's room just by making several (odd number always) and hanging them at different lengths of some type of hanger. Nothing says little girls like "dancing fairies".
Thank you Mary. I love your idea.
Pookarina


