social

Making Thumb Print Turkeys


Bronze Post Medal for All Time! 131 Posts
November 22, 2016

forward facing thumbprint turkeyWe all know that turkeys play a huge role during Thanksgiving. And of course children enjoy activities and crafts surrounding this large bird. One idea I found is super easy to make, appropriate for all ages, and allows for some individualism. The best part is that each child gets to use their own thumbprints to create their turkeys, so every craft is unique!

Advertisement

Total Time: 10 minutes to make, a couple hours to dry

Yield: 2

Source: Pinterest

Supplies:

  • ½ sheet white cardstock per turkey
  • finger paint (brown, orange, red & any other colors you want for feathers)
  • 1-2 wiggle eyes per turkey
  • 1 thin paint brush
  • liquid school glue
  • thumbs (ha-ha)
  • paint palette
  • laminator with sheets
  • hot glue gun with glue stick
Thumbprint Turkey
 
Thumbprint Turkey
 

Steps:

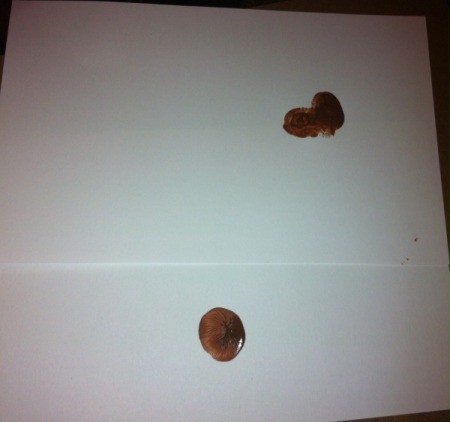
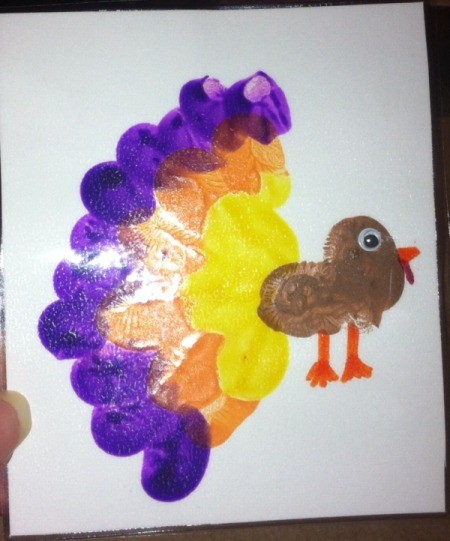
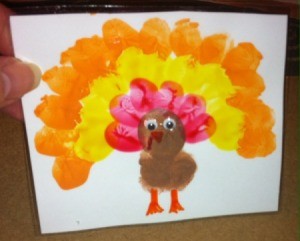
  1. Get your paint ready on the palette. This works better than a paper plate because it keeps the colors separated. Have your child dip a thumb pad in the brown paint first. For a side profile turkey, make two thumbprints closer to the center-right of the page. The prints should be perpendicular to each other and create a backwards L shape. For a front-facing turkey, press one thumb print in the center of the page.
  2. Thumbprint Turkey
     
    Advertisement

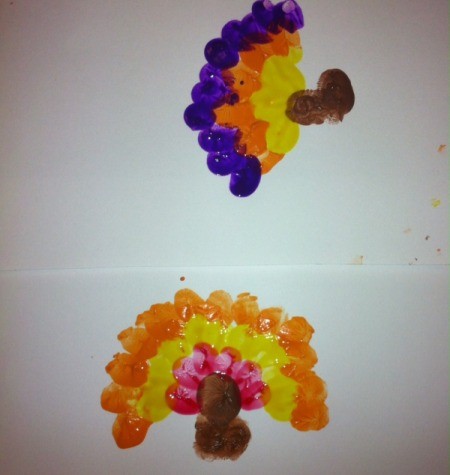
  3. On the front-facing turkey, make a couple prints under the first one for the body. It helps to move the paint around and makes it uneven to create a ruffled look. Rinse off the brown paint and now have them dip the clean thumb into their first choice for the feather colors.

    On the side turkey, make a few thumbprints around the horizontal brown thumbprint to create the first row of feathers. Apply more paint to the thumb after each print. Rinse and repeat with 2nd and 3rd color choices, making two more rings around the turkey. You can add three rows of feathers around the head of the front-facing turkey too. Allow to dry.
  4. Thumbprint Turkey
     
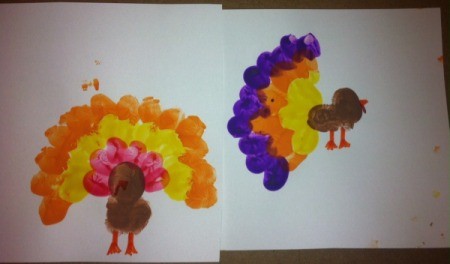
  5. Add the legs, feet, and beak with an orange marker. Use a red marker to add the beard underneath the beak.
  6. Thumbprint Turkey
     
    Advertisement

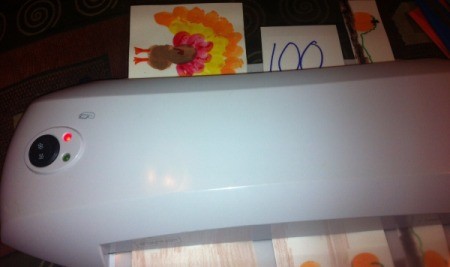
  7. Optional step: Laminate each turkey to make them last for years to come.
  8. Thumbprint Turkey
     
  9. Add the eyes. If you don't laminate, simply use school glue to add the eyes. If you do laminate, use a tiny bit of hot glue afterward to add the eyes. The front-facing turkey will need two eyes, while the side profile turkey just needs one.
  10. Thumbprint Turkey
     

More Solutions

This page contains the following solutions.


Silver Post Medal for All Time! 277 Posts
November 19, 2008

These cute thumb print turkeys make great place cards or note cards. You can use stamp pads or acrylic paint, whichever you have on hand. I used acrylic paint for mine.

note card with thumbprint turkey

Read More...
In These Pages
Categories
Crafts ThanksgivingNovember 15, 2016
Pages
More
🌻
Gardening
🎆
Fourth of July Ideas!
👔
Father's Day Ideas!
Facebook
Pinterest
YouTube
Instagram
Categories
Better LivingBudget & FinanceBusiness and LegalComputersConsumer AdviceCoronavirusCraftsEducationEntertainmentFood and RecipesHealth & BeautyHolidays and PartiesHome and GardenMake Your OwnOrganizingParentingPetsPhotosTravel and RecreationWeddings
Published by ThriftyFun.
Desktop Page | View Mobile
Disclaimer | Privacy Policy | Contact Us
Generated 2024-06-03 21:14:09 in 5 secs. ⛅️️
© 1997-2024 by Cumuli, Inc. All Rights Reserved.
https://www.thriftyfun.com/Making-Thumb-Print-Turkeys.html