social

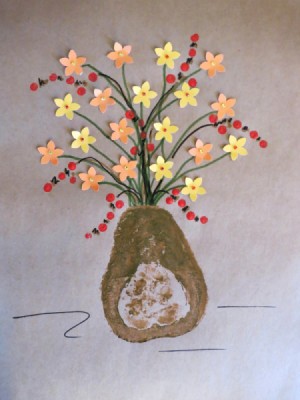
Making a Butternut Squash Print Painting


Silver Post Medal for All Time! 408 Posts
September 9, 2014

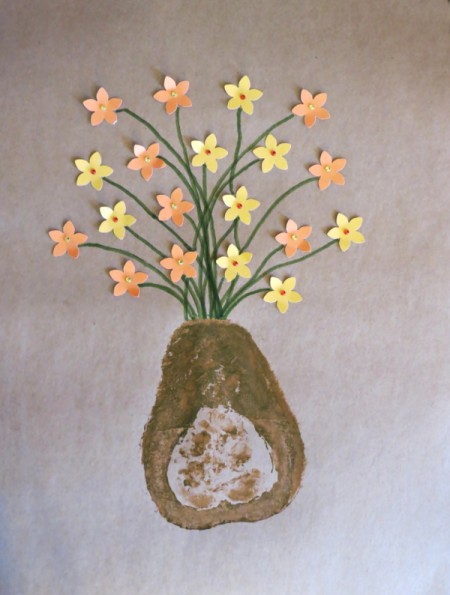
finished projectCut a butternut in two and use the one side of the butternut to print a vase onto brown cardstock. Add some fall colored flowers and cherries, and celebrate the natural beauty of the fall season. Use this colorful artwork to brighten up your room, and impress everyone with your creative skills.

Advertisement

Total Time: 30 minutes

Yield: one artwork

Supplies:

  • 11.7 x 16.5 in natural brown cardstock
  • small butternut
  • large petal palm punch from XCut, code XCU 261811
  • orange and yellow cardstock
  • acrylic paint in the following two colors: dark brown and true red
  • black; brown and green colored felt-tip pens
  • 10 small yellow self-adhesive flat-sided rhinestone beads
  • 9 nine small red self-adhesive flat-sided rhinestone beads
  • 10/32 in paintbrush
  • quick-drying craft glue, such as Bostik Clear
  • old pencil with a flat-sided end
  • sharp knife

Steps:

  1. Start by cutting the butternut lengthwise in half. This step should be done by an adult.
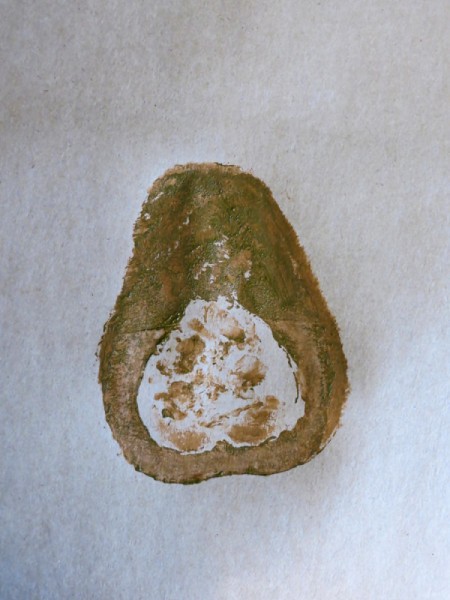
  2. Paint a layer of brown acrylic paint onto the one half of the butternut and print it onto the A3 brown cardstock. This will be the vase for the flowers.
  3. squash print
     
  4. Punch 10 petal flowers from the orange cardstock and nine from the yellow cardstock.
  5. Advertisement

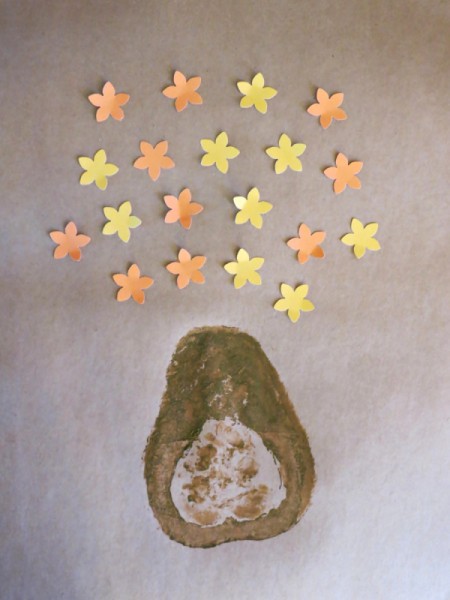
  6. Make an arrangement with the flowers above the vase, and glue the flowers in place. Do not completely glue down all the flower petals ~ create a 3D-effect by allowing some of the petals to curl back slightly.
  7. gluing on flowers
     
  8. Add a yellow rhinestone bead to the centre of each orange flower, and a red one to the centre of each yellow flower.
  9. Use the green felt-tip pen to draw a flower stem for each flower.
  10. adding gems to flower centers
     
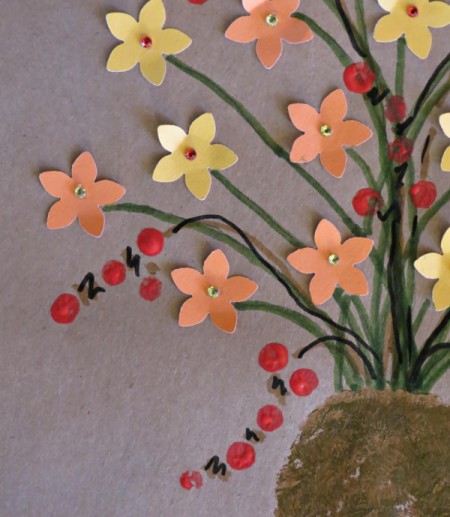
  11. Now use the true red paint and the pencil to add the cherries. Dip the back of the pencil in the paint and print a small circle on the brown cardstock. Keep dipping and printing, until you have added several strands of cherries.
  12. Advertisement

  13. Use the brown and black felt-tip pens to connect the cherries, and to draw stems.
  14. closeup of cherries
     
Comment Pin it! Was this helpful? 8

Videos

October 3, 2014

Here is a fun fall craft using a butternut squash. Lean how to make this print with this short video.

Comment Pin it! Was this helpful? 1
In This Page
Categories
Crafts Crafts For KidsNovember 28, 2016
Pages
More
🐰
Easter Ideas!
🌻
Gardening
🍀
St. Patrick's Ideas!
Facebook
Pinterest
YouTube
Instagram
Contests!
Newsletters
Ask a Question
Share a Post
Categories
Better LivingBudget & FinanceBusiness and LegalComputersConsumer AdviceCoronavirusCraftsEducationEntertainmentFood and RecipesHealth & BeautyHolidays and PartiesHome and GardenMake Your OwnOrganizingParentingPetsPhotosTravel and RecreationWeddings
Published by ThriftyFun.
Desktop Page | View Mobile
Disclaimer | Privacy Policy | Contact Us
Generated 2023-02-20 11:14:21 in 3 secs. ⛅️️
© 1997-2023 by Cumuli, Inc. All Rights Reserved.
https://www.thriftyfun.com/Making-a-Butternut-Squash-Print-Painting.html