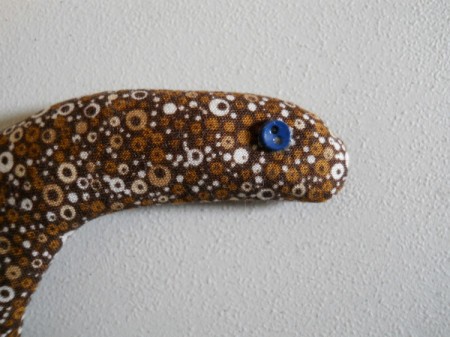
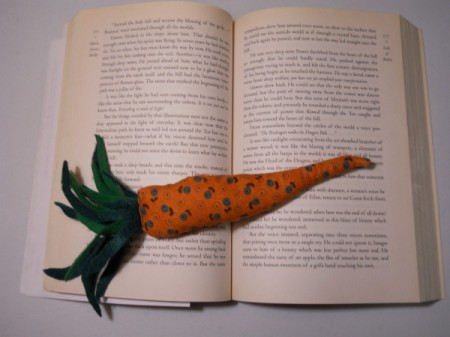
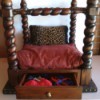
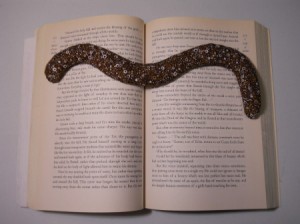
 I was trying to read a book while eating lunch a bit ago and was having trouble keeping the pages open. I searched around the house for something to weigh the pages down and ended up using my cell phone. That was when I decided it would be fun to make some page weights for future use. I tried two different motifs: a carrot (my favorite) and a bookworm. This project shows how I made them and includes a couple of tips about some problems that I had to resolve along the way. Hope you enjoy!
Total Time: 2 hours approximately to complete both
Supplies:
- cotton quilting fabric scraps from stash
- 2-3 sheets recycled printer paper
- 1-2 pieces recycled cardboard packaging, such as cereal boxes
- pen
- scissors
- tape measure
- sand or other filling
- felt, two colors of green
- needle and thread
- hot glue gun
- tiny button
Steps:
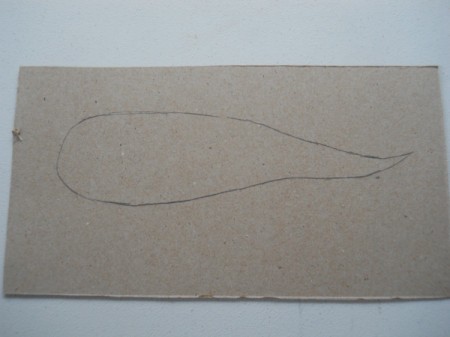
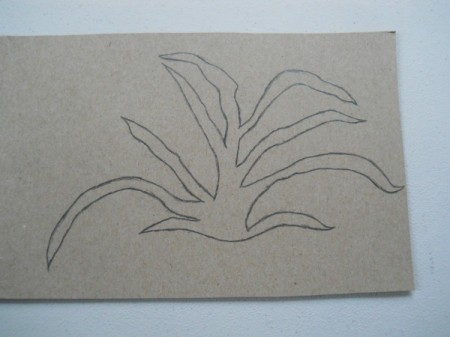
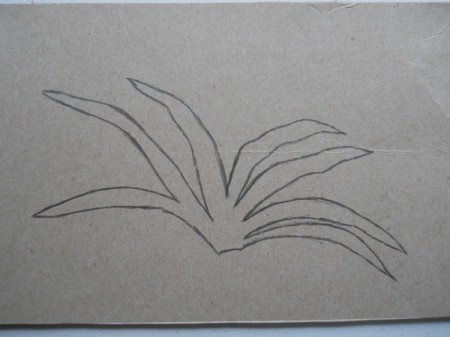
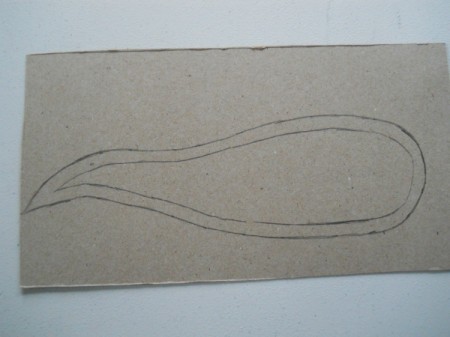
- First I sketched the outlines for my two shapes on recycled printer paper.
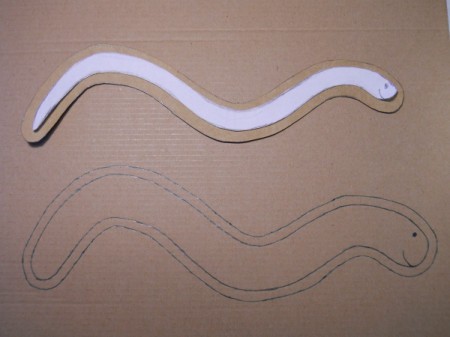
- When I was satisfied with them I traced around the paper templates onto the cardboard.
- I added the seam allowance to the drawing to create the final cutting template.
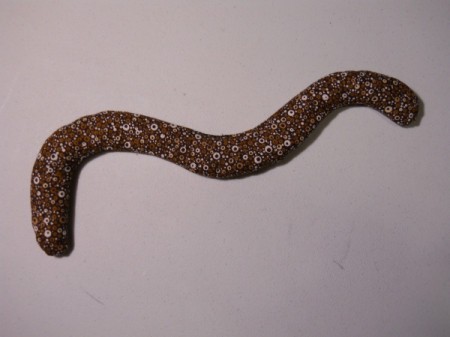
- During the original assembly process I determined that the worm was not large enough and had to remake the template, as shown in photo.

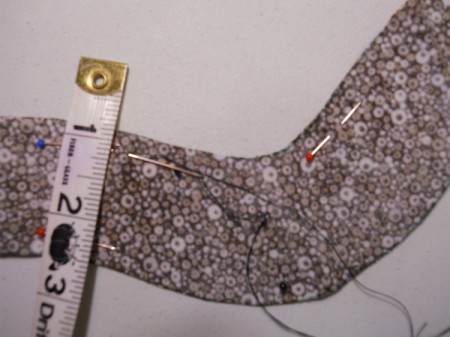
- Now trace your template on the wrong side of your fabric and cut it out.
- Next, I basted the bookworm and carrot root pieces together. Place the fabric with right sides together, baste. I basted along the 1/4 inch sewing line to make the machine stitching step easier.
- Sew the fabric together, leaving an opening for adding your sand or other filler.
- Turn right sides out.
- Fill the worm with sand, turn in seam allowance along fill opening, and hand stitch closed.
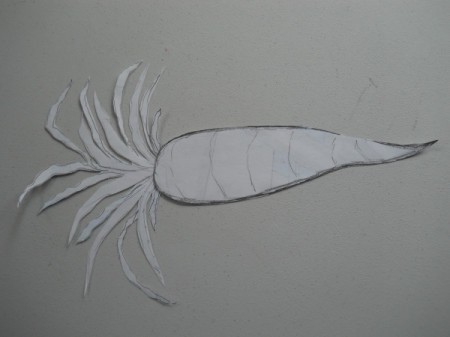
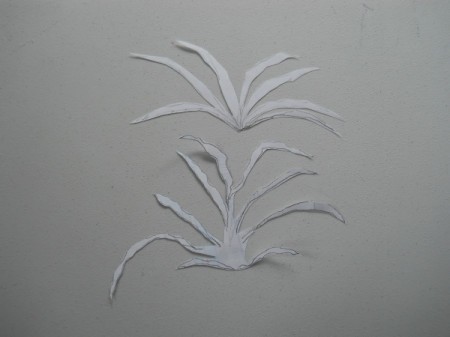
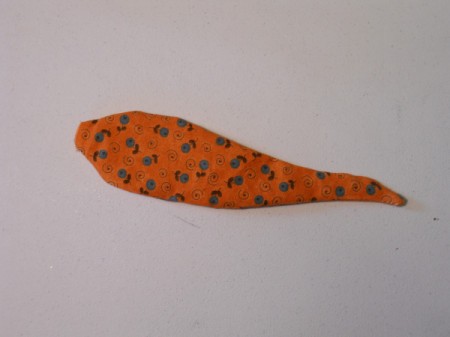
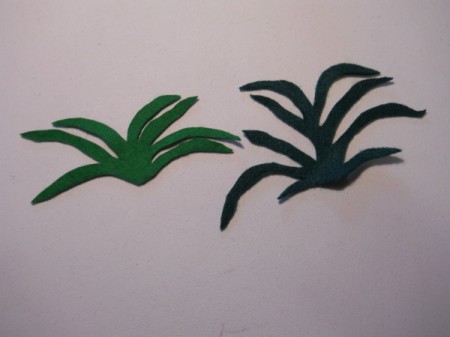
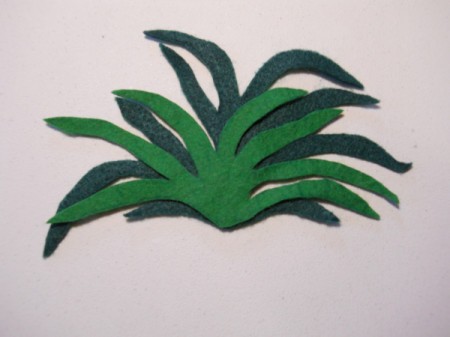
- Cut the carrot tops from your felt. (Note: I if were to remake this weight, I would leave a longer base on the two leaf sets, so that they extended further down into the carrot root.)
- Fill carrot and insert top into fill opening. Turn in seam allowance and stitch closed. I hand stitched and then ran this opening through my machine to ensure a tight closure.
- Optional: I chose to add an eye, using a tiny button glued in place.
You could also make your carrot template longer so that the weight extended closer to the page sides or even beyond, similar to the bookworm. We learn as we go:)