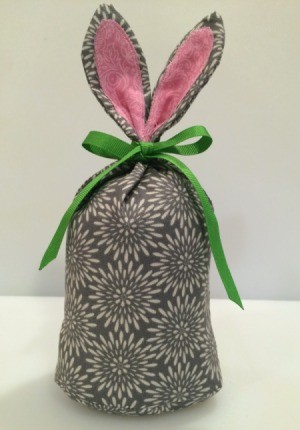
 This adorable bunny makes a great doorstop or can even be used as a tabletop decoration.
Supplies:
- 1/4 yd fabric (for the body)
- fat quarter, coordinating fabric (for the inner ears)
- fat quarter, white fabric (for the weighted insert)
- poly-fil
- white yarn
- ribbon
- decorative sand
- pom pom maker, optional
- thread, white or coordinating
- embroidery floss, white
- needle
- sewing machine
Download the Bunny Doorstop Template
Steps:
- Trace template pieces onto fabric and cut out.
Body: Fold the fabric lengthwise, placing the pattern on the fold. Cut out 2 bunny body pieces. Use thread or pen to transfer the designated marks onto the fabric. There are 3 for the placement of the inner ears (which are only on the front of the bunny) and there are 2 at the bottom for placement of the bottom piece. Also, be sure to account for directional fabric patterns.
Inner Ears: Cut out 2 of the inner ear pieces.
Bottom: Trace and cut out the bunny bottom, making sure to transfer the designated marks onto the fabric.
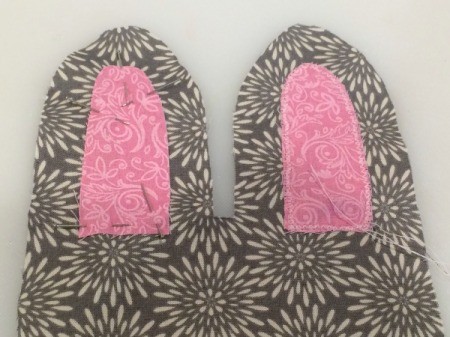
Weighted Insert: Use the template again to cut out 2 pieces of white fabric for the weighted insert. - Pin the inner ear pieces in place on the front of the bunny body. Sew them on using a zig zag topstitch. Tie off and cut threads.

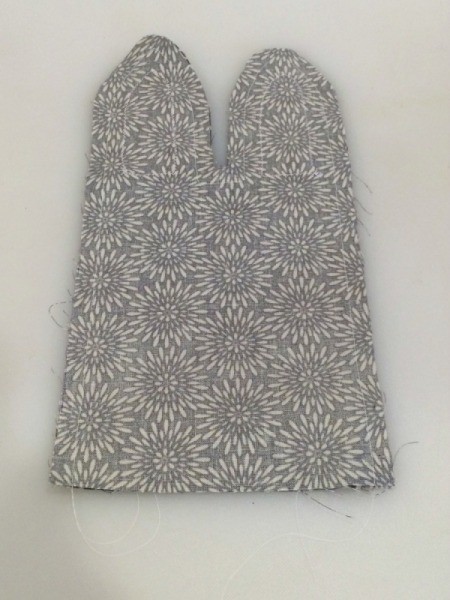
- Pin the 2 bunny body pieces right sides together. Sew along the sides and around the ears, using a 1/4 inch seam. Snip the curves and trim off excess seam material. I suggest double stitching the area between the ears.

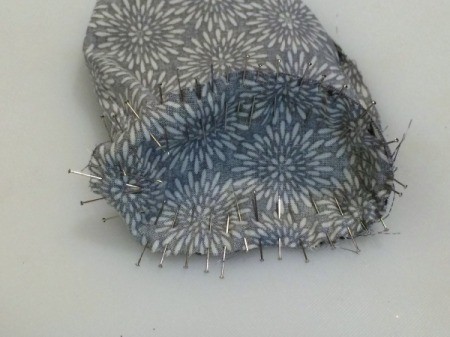
- Pin the bunny bottom to the body, lining up the marks that you made on the fabric. You will need to ease in the excess fabric as you work your way around to avoid puckering.

- Sew the bottom and body together using a 1/4 inch seam. Trim seam and snip curves. Leave an opening big enough to turn and stuff the bunny. As well as slip the weighted insert inside. Turn the bunny right side out.
- Sew the insert pieces together using a 1/4 inch seam, leaving an opening to turn and fill it. Be sure to snip the curves. Turn the insert right side out.
- Use a funnel to fill the insert with sand. Sew the opening shut using a barrel stitch.
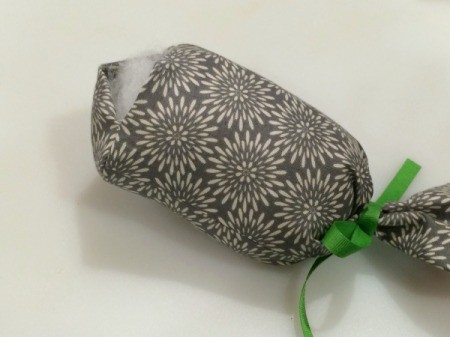
- Cut a length of ribbon. Use a lighter to melt the ends slightly to prevent fraying. Tie the ribbon around the ears of the bunny. Then begin stuffing the body with poly-fil.

- Once it is stuffed to your liking, put the weighted insert inside. Sew the opening shut with a barrel stitch.
- You can create the tail using either a pom pom maker or just a fork. I chose to do the fork method. Wrap the yarn around the fork a bunch of times. Then run a piece of embroidery floss up through the tines, around the wrapped yarn, and tie tightly.
- Remove from the fork and wrap the embroidery floss around again and tie. Leave the extra floss attached. Now use a pair of small, sharp scissors to cut through all of the loops of yarn to create the pom pom. Be careful to not cut through the embroidery floss.
- Then use scissors to trim around the pom pom to make it more round.
- Use the embroidery floss attached to the tail to sew it to the back of the bunny's body. Use a needle to stitch through the fabric and tie it off tightly. Then trim off excess floss.
- Your bunny is now ready to hold a door open or just sit cutely on a tabletop. Enjoy!
- Note: You could add button eyes and some whiskers with embroidery floss if you want. I chose to keep mine simple so that it could be in our baby's bedroom. :)
 This adorable bunny makes a great doorstop or can even be used as a tabletop decoration.