social

Making a Felt Leaf Garland


Bronze Post Medal for All Time! 190 Posts
November 20, 2014

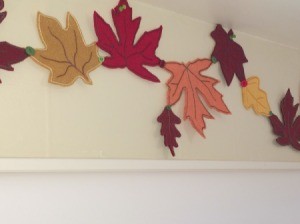
closeup of part of garlandLast fall I made a felt wall swag using oak leaf and acorn elements. I wanted to make a larger garland this year. Originally I was considering something that would hang in the dining room window. Unhappy with the initial results, I decided to follow a process similar to that used for the oak leaf project. This is the final result.

Advertisement


See oak leaf project here: Autumn Felt Wall or Door Hanging

Supplies:

  • felt squares in various fall colors
  • manila folder and other scrap paper templates
  • scissors
  • tape
  • embroidery floss
  • buttons
  • needle and thread
  • pins, optional
  • pen or Sharpie, optional
  • push pins or thumb tacks

Steps:

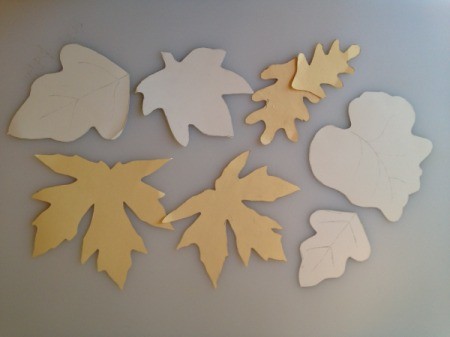
  1. Make leaf templates. I had several left from previous projects. The large maple leaf was made by tracing around a large maple tree leaf that I found on a walk.
  2. paper templates
     
  3. You can try tracing your pattern onto the felt, but I found that even Sharpie does not work that well for this task. So I placed small rolls of tape on the back side of the template and stuck it onto the felt.
  4. template with rolls of tape on back
     
    oak leaf template stuck to felt
     
    Advertisement

  5. Cut out your leaf shapes. Make two for each leaf.
  6. cutting out leaf
     
    cut oak leaf
     
  7. Place the two pieces together and using an embroidery backstitch, outline the leaf shape and add veins. You can pin the two pieces together or simply hold them together as you sew, readjusting if there is any noticeable slippage.
  8. beginning to sew embroidery outline stitching
     
    maple leaf template and completed leaf
     
    small felt maple leaf and template
     
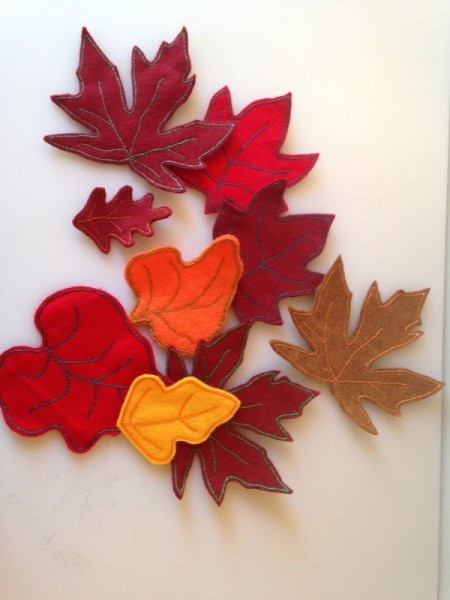
  9. Make as many sizes and shapes as you like to create a garland long enough to fill the space you have chosen to display your handiwork.
  10. scatter of finished felt leaves
     
    Advertisement

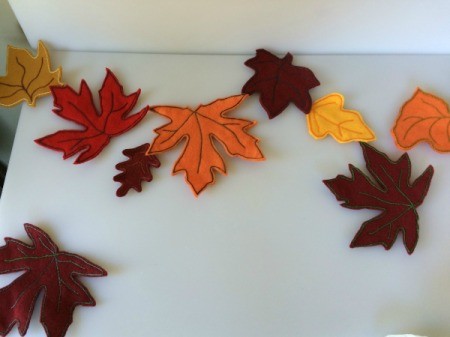
  11. Next I laid the leaves out on the table and arranged them to my liking.
  12. arranging leaves on table
     
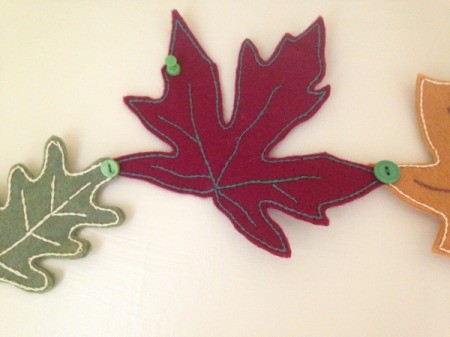
  13. Overlapping the pieces slightly I sewed them together using sewing thread and a small button.
  14. closeup of button connections
     
  15. Finally, I pinned them to the dining room wall using push pins. You could use thumb tacks or whatever method you like to hang your garland.
  16. garland over window
     
    angle photo of garland over window
     
Comment Pin it! Was this helpful? 1
In These Pages
Categories
Crafts ThanksgivingNovember 16, 2016
Pages
More
🎃
Halloween Ideas!
🍂
Thanksgiving Ideas!
Facebook
Pinterest
YouTube
Instagram
Contests!
Newsletters
Ask a Question
Share a Post
Categories
Better LivingBudget & FinanceBusiness and LegalComputersConsumer AdviceCoronavirusCraftsEducationEntertainmentFood and RecipesHealth & BeautyHolidays and PartiesHome and GardenMake Your OwnOrganizingParentingPetsPhotosTravel and RecreationWeddings
Published by ThriftyFun.
Desktop Page | View Mobile
Disclaimer | Privacy Policy | Contact Us
Generated 2022-10-23 07:32:26 in 4 secs. ⛅️️
© 1997-2022 by Cumuli, Inc. All Rights Reserved.
https://www.thriftyfun.com/Making-a-Felt-Leaf-Garland.html