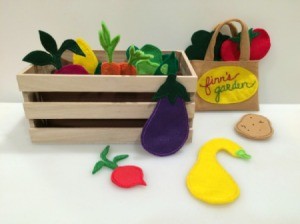
 My mom and I recently made this fun toy for my son. It turned out cuter than I ever imagined. :)
Supplies:
- felt
- embroidery floss
- polyfil
- needle
- scissors
- wooden crate
- veggie templates (or create your own)
- sewing machine
Click here to download the veggie templates.
Steps:
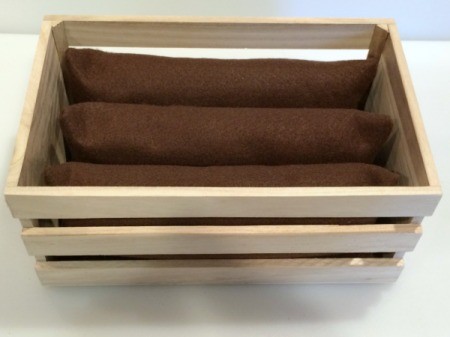
- For the garden, cut a piece of brown felt large enough to cover the inside bottom of the crate. You can glue it in place if you want.
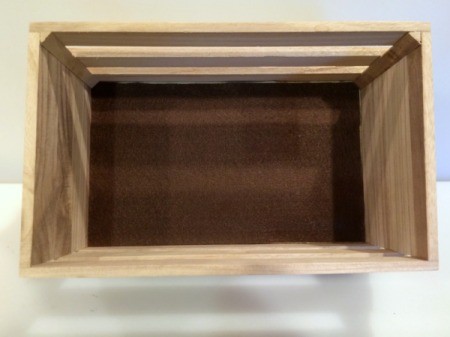
- Measure the width of the crate and cut pieces of felt that are 1-2 inches longer than the crate width (this will allow for seams). Decide how tall you want your "garden rows" to be. Cut pieces of felt to make the rows.
- Sew along the 3 sides of the felt, leaving an opening for turning and stuffing. Clip the corners.
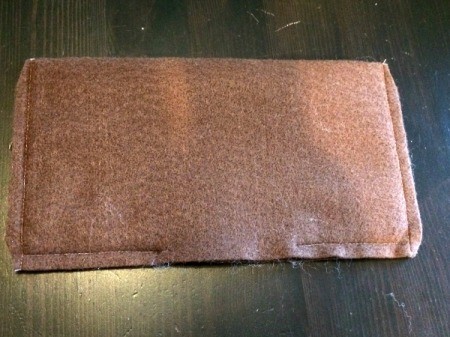
- Turn the sewn row right side out.
- Stuff with polyfil. Use a barrel stitch to close up the row. Make enough rows to fill the crate.
- Put the rows into the crate. You can glue them in place if you desire.

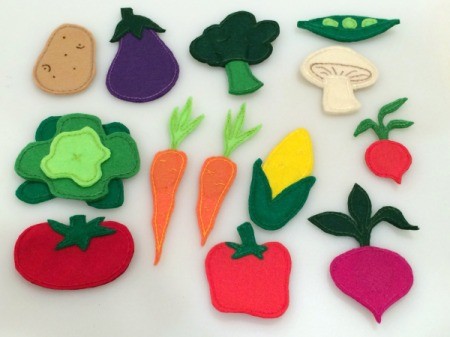
- Detailed instructions are below for all of the veggies pictured here:

- Cut out the pieces for each vegetable. Use embroidery floss to backstitch the pieces together.
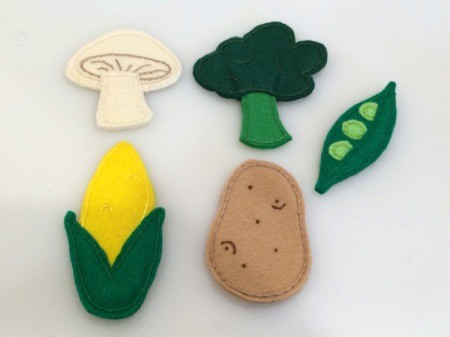
Mushroom: Cut out 2 (#1), 1 (#2), and 1 (#3). Sew the #1 pieces together, around the cap, then attach #2. Add the gills. Now stitch on the #3 piece.
Broccoli: Sew the #1 pieces together. Then put the top of the stem in between the #2 pieces. Sew around the outer edge. Add details to the head if you desire.
Corn: Sew the #1 pieces together. Put the ear in between the #2 pieces. Sew around the outer edge. Add extra stitches where the husk meets the ear for added security.
Potato: Sew the two potato pieces together. Add the eyes (using French knots) and other details.
Peas: Sew the #1 pieces to one of the #2 pieces. Now sew the #2 pieces together. Add the #3 piece and sew in place. 
- Cut out the pieces for each vegetable. Use embroidery floss to backstitch the pieces together.
Pepper: Sew the #1 pieces together. Then place a #2 piece on each side. Sew the #2 pieces in place.
Eggplant: Sew the #1 pieces together. Then place a #2 piece on each side. Sew the #2 pieces in place.
Tomato: Sew the #1 pieces together. Then place a #2 piece on each side. Sew the #2 pieces in place.
Carrots: Sew the #1 pieces together. Make two sets if you are making 2 carrots. Place a carrot top between the #2A pieces and the #2B pieces. Sew together. 
- Cut out the pieces for each vegetable. Use embroidery floss to backstitch the pieces together.
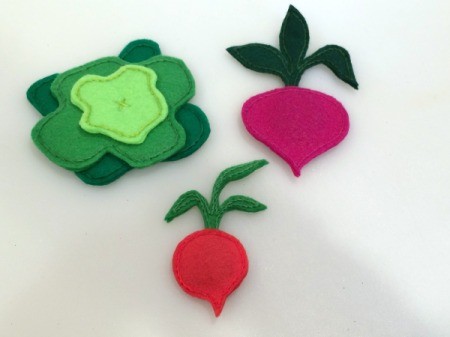
Lettuce: Sew the #1 pieces together. Sew the #2 pieces together. Sew the #3 pieces together. Layer the three pieces together, then sew together with an "x" in the center.
Beet: Sew the #1 pieces together. Then place the beet top between the #2 pieces. Sew around outer edge of the #2 pieces.
Radish: Sew the #1 pieces together. Then place the beet top between the #2 pieces. Sew around outer edge of the #2 pieces. 
- We created a little shopping bag, to hold the extra veggies, out of scraps of felt. We also created a crook neck squash at the last minute. :)
- To plant the garden just simply tuck the veggies into the rows.
 My mom and I recently made this fun toy for my son. It turned out cuter than I ever imagined. :)

