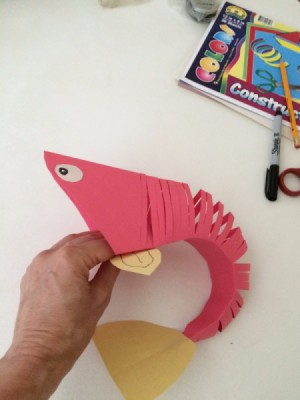
 A great project for home, camp, Scouts, and babysitting. The fish has a spine that bends. You can make a whole school of them!
Total Time: If you help a child, it will take about a half hour. If you have a group of children who need help, it will take a bit longer.
Yield: 1 fish
Source: Shared on Facebook
Supplies:
- one piece of construction paper in main color
- one piece of construction paper in a different color
- white paper for the eyes
- scissors
- glue or tape
- marker
Steps:
- Using the main piece of construction paper, fold the edge to make a square.
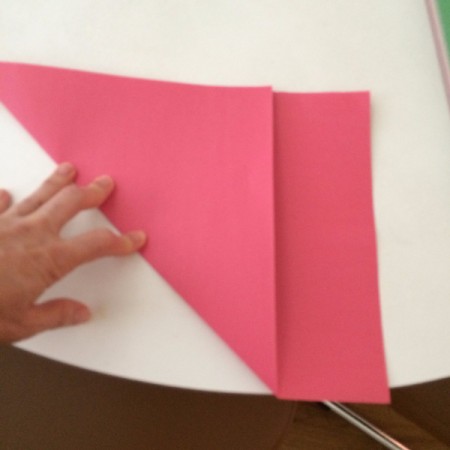
- Cut off the excess.
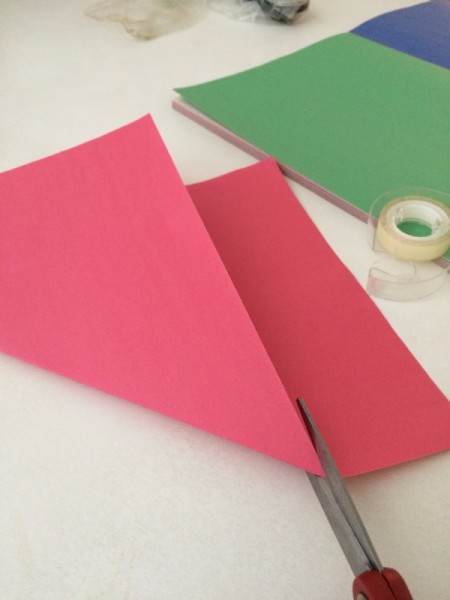
- Open the square. Fold the sides in, meeting the center crease.
- Open the square and fold it in half.
- Make 1/4 inch cuts in the paper, starting about an inch from the end. Make sure you cut up to the crease.

- Keep cutting until you get to about an inch from the other edge. In the picture my finger points to where to stop.

- Open the paper. Put tape or glue on one side.

- Bring the other side over it to fasten.
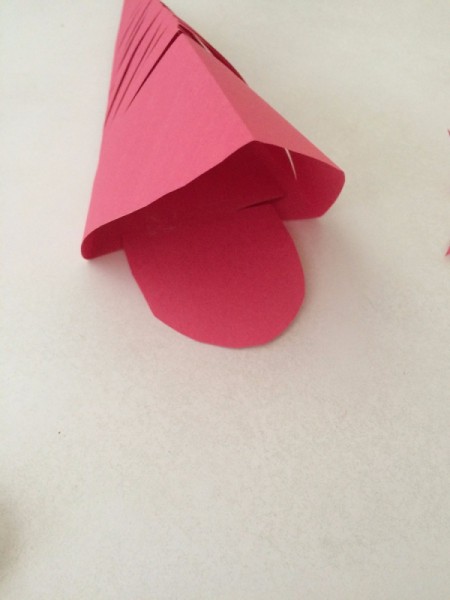
- Cut off the point on top and round it out to make the fish head.

- Using the scrap of the main color, cut out the mouth of the fish.
- Put glue on the edge and fasten it to the body.

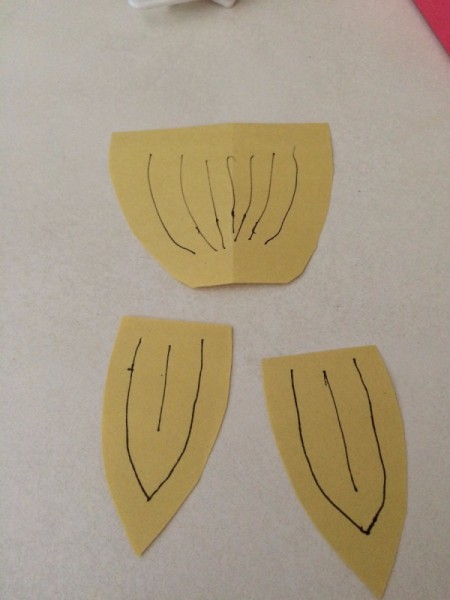
- Use the contrasting color to cut out the fins and the tail.
- Decorate the fins and tail with the marker.

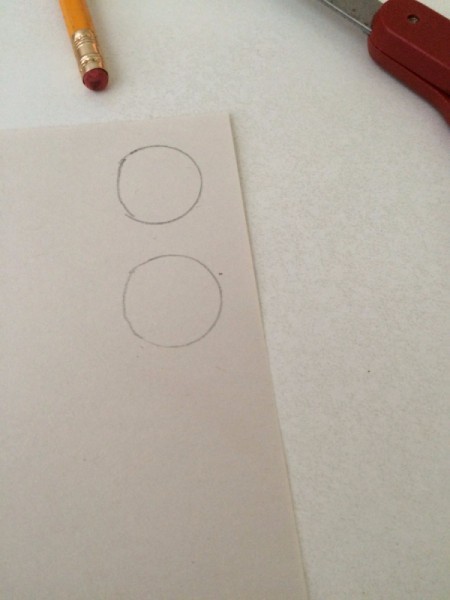
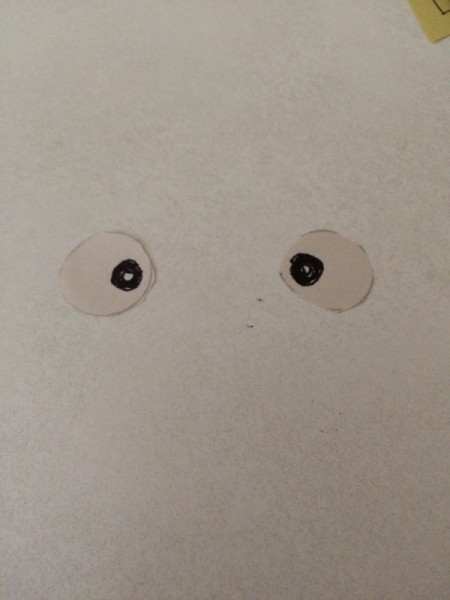
- Use the white paper for the eyes. I used a measuring spoon to get a good circle.

- Use the marker to draw the eyes.

- Tape or glue the eyes.
- Tape or glue the fins.

- Tape or glue the tail.

- Have fun with it!

 A great project for home, camp, Scouts, and babysitting. The fish has a spine that bends. You can make a whole school of them!


