social

Making a Paper Plate Hedgehog


Bronze Post Medal for All Time! 239 Posts
January 4, 2020

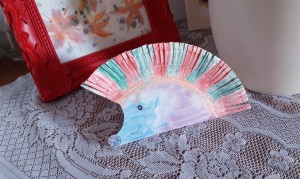
Paper Plate Hedgehog - cute paper plate hedgehog on a lace runnerTry this fun colourful hedgehog made from a paper plate that kids will be proud to put on display. Little ones may need a bit of guidance getting the right shape and help with the cutting out, but older children should do just fine on their own.

Advertisement

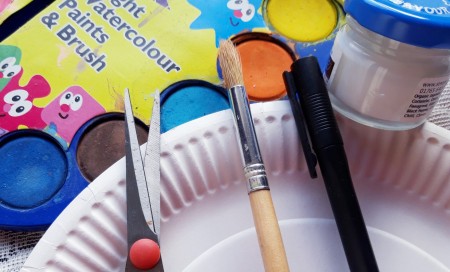
Supplies:

  • 1 paper plate
  • crayons or paint for colouring
  • 1 pen
  • scissors
  • glue
Paper Plate Hedgehog - supplies
 

Steps:

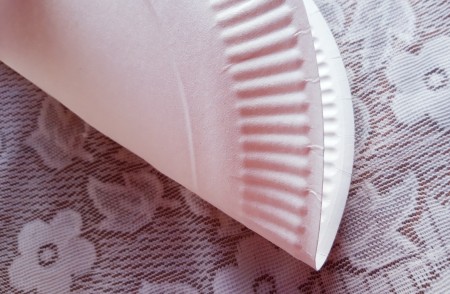
  1. Fold your plate in half to find the halfway mark.
  2. Paper Plate Hedgehog - fold plate in half to find the center
     
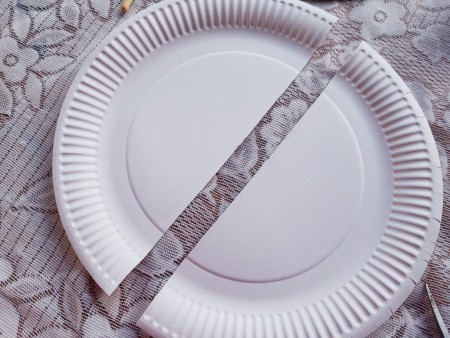
  3. Cut the plate in half with scissors.
  4. Paper Plate Hedgehog - cut in half
     
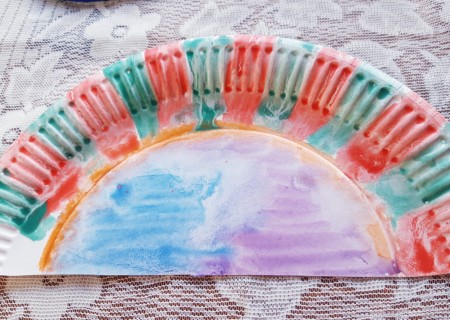
  5. Colour your plate with crayons or paint. You can use browns and greys like a real hedgehog, or like me, you can choose some nice bright colours.
  6. Paper Plate Hedgehog - paint or color one half
     
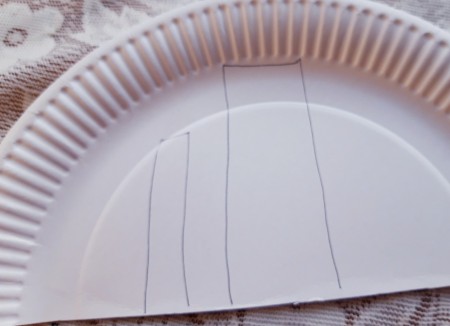
  7. While the paint dries mark 2 rectangles on the other half of the plate, one big and one small as shown.They don't have to be accurate. You will use these to make a stand.
  8. Paper Plate Hedgehog - draw a long and a shorter rectangle on the plain half
     
    Advertisement

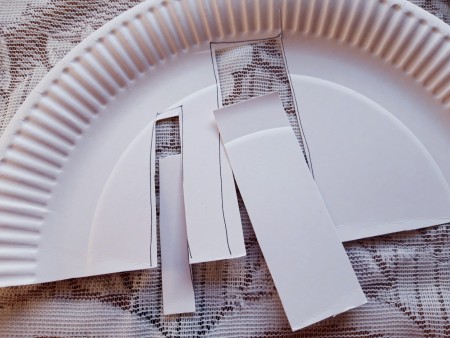
  9. Cut out the rectangles.
  10. Paper Plate Hedgehog - cut and fold as per instructions - one end on the longer
     
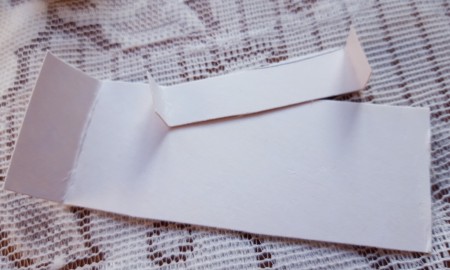
  11. Bend down one end of the large rectangle and both ends of the small rectangle.
  12. Paper Plate Hedgehog - fold up both ends on the smaller rectangle
     
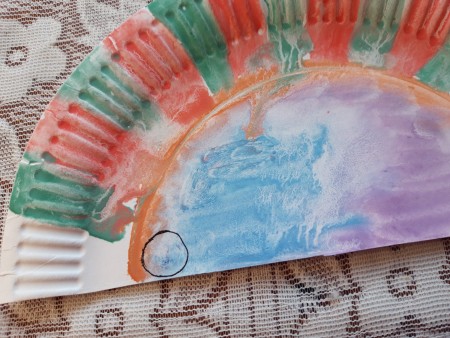
  13. Draw a nose on the coloured half, positioning it as in the photo.
  14. Paper Plate Hedgehog - draw a circle for the nose as shown
     
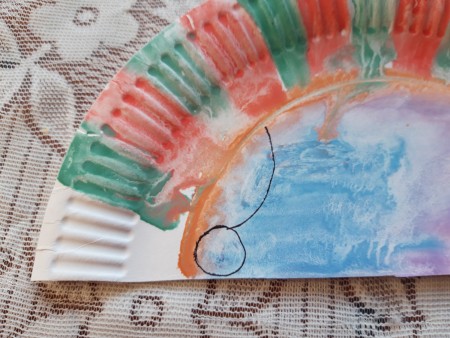
  15. Draw a curved line upwards from the nose.
  16. Paper Plate Hedgehog - draw a curved line up from the nose as shown
     
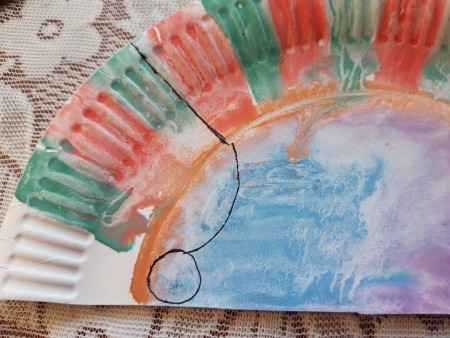
  17. Draw a straight line to the edge of the plate.
  18. Paper Plate Hedgehog - draw a straight line as shown from the end of the curved line
     
    Advertisement

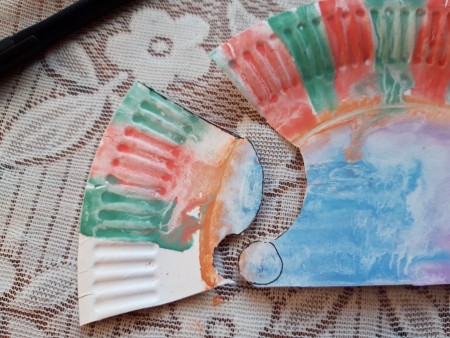
  19. Cut along the lines.
  20. Paper Plate Hedgehog - cut away around the nose and along the lines
     
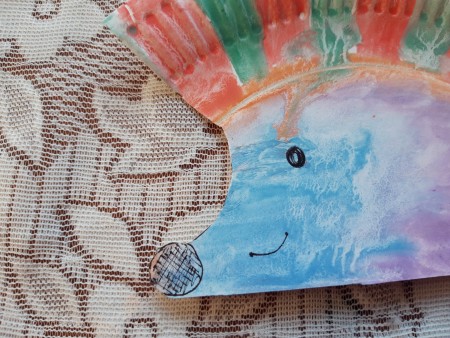
  21. Draw a cute face.
  22. Paper Plate Hedgehog - draw on a cute face
     
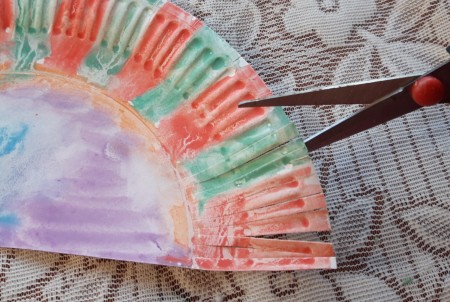
  23. Cut a fringe all around.
  24. Paper Plate Hedgehog - cut in from the edges on the paint plate making fringe
     
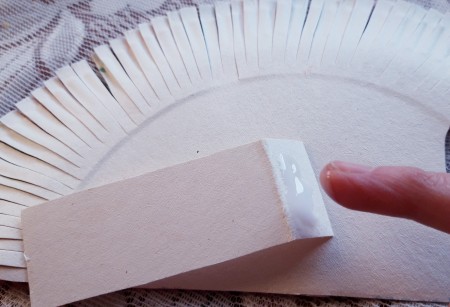
  25. Apply glue to the folded end of the large rectangle.
  26. Paper Plate Hedgehog - apply glue to the folded edge of the large rectangle
     
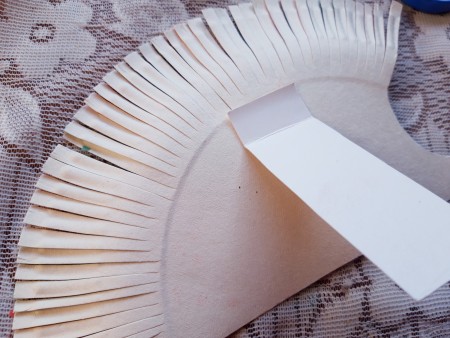
  27. Stick it to the back of the hedgehog just below the spines.
  28. Paper Plate Hedgehog - tape to the back of the plate half just below the fringe
     
    Advertisement

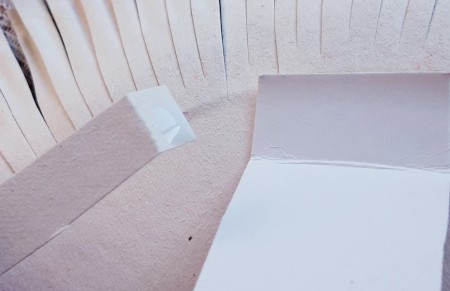
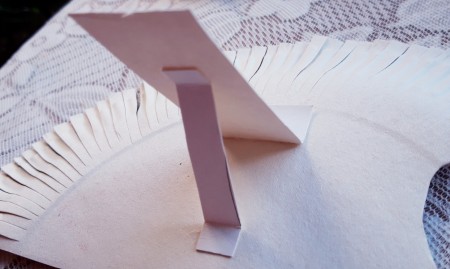
  29. Apply glue to both ends of the small rectangle.
  30. Paper Plate Hedgehog - apply glue to both folded edges of the smaller rectangle
     
  31. Stick the small rectangle in place between the other rectangle and the plate. You can now display your hedgehog as it will stand on its own.
  32. Paper Plate Hedgehog - attach one end to the middle of the larger rectangle a attach the other end to the plate to create a stand
     
Comment Pin it! Was this helpful? 1
In This Page
Categories
Crafts Crafts For KidsMarch 10, 2020
Pages
More
🍂
Thanksgiving Ideas!
🎃
Halloween Ideas!
Facebook
Pinterest
YouTube
Instagram
Contests!
Newsletters
Ask a Question
Share a Post
Categories
Better LivingBudget & FinanceBusiness and LegalComputersConsumer AdviceCoronavirusCraftsEducationEntertainmentFood and RecipesHealth & BeautyHolidays and PartiesHome and GardenMake Your OwnOrganizingParentingPetsPhotosTravel and RecreationWeddings
Published by ThriftyFun.
Desktop Page | View Mobile
Disclaimer | Privacy Policy | Contact Us
Generated 2022-10-25 14:36:36 in 4 secs. ⛅️️
© 1997-2022 by Cumuli, Inc. All Rights Reserved.
https://www.thriftyfun.com/Making-a-Paper-Plate-Hedgehog.html