Jackie H.
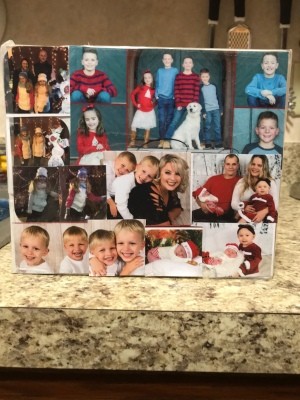
Silver Post Medal for All Time! 355 Posts  What do you do with those Christmas photo cards? Well, last year I made this keepsake for myself and did it again this year! It is easy and fun to make! And gives you a treasure to hold onto and it does not look like Christmas!
Total Time: Less 1 hour
Supplies:
- 1 6" x 8" x'2" thick piece of wood, (you can get clearance wood at hardware stores), the 2" thickness allows it to stand on its own
- small tube of white acrylic paint
- medium paint brush
- roll of regular tape
- 1 roll of wide clear shiny Scotch Brand packing tape
- good scissors for cutting
- your photo cards
Steps:
- Take your piece of wood and sand it smooth, then take a rag and wipe it good.
- Using newspaper, start painting one entire side and the edges. Let dry. Most paints dry quickly. When dry, use plastic wrap now, not newspaper. You don't want it to stick to the paper. Paint the other side and any undone edges. Let dry.
- While waiting for the wood to dry, take all your picture cards, cut out all the photos you want to use. Start planning and arranging the pictures for the way you might want to display them.
- You can create a collage by overlapping them or if you don't have enough, you can just put them side to side. Filling the block of wood.
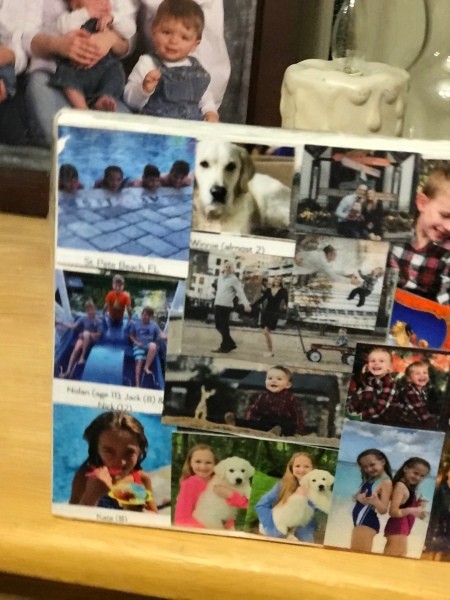
- I used the one I made last year! By just turning it over. That worked out great!
- So, after deciding how you want your block to look with your pictures, gently lift each picture and roll a small piece of tape and put it under the picture. Do this until all the pictures are done and where you want them.
- Happy about your picture block?
- Now, using the wide shiny tape, cut off pieces longer than the block of wood, carefully start at the top and lay a piece of tape across tightly. Then continue doing this until the block is completely covered. Lift and smooth all the edges around the back neatly!
- Now you have a treasured keepsake from this Christmas! 2019

Add your voice! Click below to comment. ThriftyFun is powered by your wisdom!

 What do you do with those Christmas photo cards? Well, last year I made this keepsake for myself and did it again this year! It is easy and fun to make! And gives you a treasure to hold onto and it does not look like Christmas!