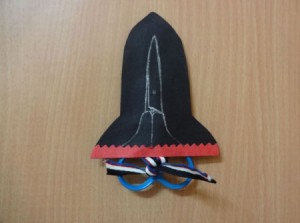
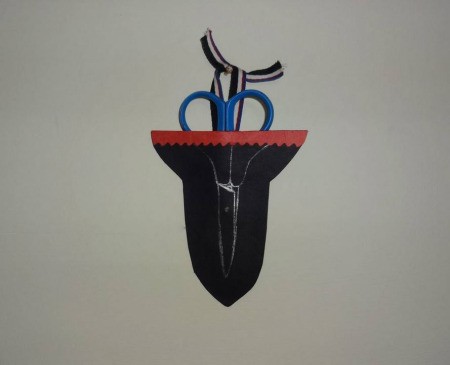
 Carrying scissors is dangerous, making a protective case a must! This project shows how to make a protective case for scissors using paper and cardboard. It's quick to make, and does a pretty good job too. This is especially relevant to children for whom a protective case for scissors is important.
Total Time: 10-15 minutes

Supplies:
- thick paper
- small square of (corrugated) cardboard
- pencil
- glue
- scissors/blade
- ribbon
Steps:
- For making a template, place your pair of scissors on a (thick) sheet of paper and trace its outline. Make sure a little part of the handles is protruding outwards (as shown in the picture). Now make another outline 2 cm away from this original outline of the scissors, as shown in picture. Cut this out and create another cut-out which will act as the back of the case.
- For the cardboard filler take a small piece of cardboard and draw the same scissors outline on it. Draw another outline 1 cm away from this. Cut along both the lines. This cardboard piece will act as a filler and protect you or your child from the pointy tip of the scissors.
- Glue the cardboard piece onto the paper. Then take a piece of ribbon and staple or glue it at the back as shown in the picture. This ribbon will help in securing the pair of scissors to it's protective case. The ribbon can also be used to hang this case if needed!
- Apply glue on the outside part the cardboard and stick the other paper outline on to it. Push the ribbons though the handles of the scissors, this ties them to the case and they're now safe!
You can decorate the case however your imagination permits. I'm rather fond of rockets hence mine was plain black and red, but this case can be made in any colour and pattern!
 Carrying scissors is dangerous, making a protective case a must! This project shows how to make a protective case for scissors using paper and cardboard. It's quick to make, and does a pretty good job too. This is especially relevant to children for whom a protective case for scissors is important.