social

Making a Quillow?


Bronze Post Medal for All Time! 221 Posts
December 21, 2021

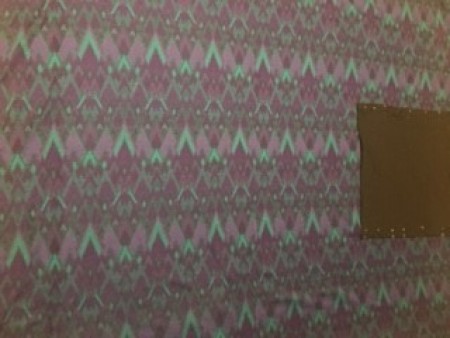
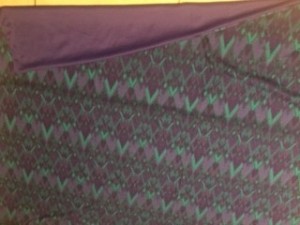
Showing both sides of the quillow.This is a quilt and a pillow, called a "Quillow"

Advertisement

Total Time: 2 to 3 hours

Yield: 1

Supplies:

  • fabric (width and size desired)
  • thread
  • sewing machine
  • pins
  • needles
  • scissors
  • yarn
  • large eye needle for tying
  • 2 19 x 19 inch fabric squares for pillow

Steps:

  1. Cut front and back of quilt from fabric. I had two pieces of knit fabric that looked good together. The pieces I had measure 60 by 84 inches, which is about the size of a twin quilt. Using knit fabric allows you to have a wider quilt since knit fabrics come in 60 inch width. Then purchase the yardage according to how long you want the quilt, two yards would be 72 inch, and so forth. Four yards of 60 inch knit fabric would be a good size. I had some black knit which I cut for the pillow part of the quilt, 19 by 19 inches.

    Some people like to make their quillow with a batting layer, but I found that by using knit fabric, I can easily skip this step and the quilt will still serve its purpose, making it less expensive and easier to make.
  2. Advertisement

  3. Placing wrong sides together, sew around the sides of the pillow fabric, leaving a 3 to 4 inch opening for turning on one of the sides. Turn right side out and sew opening closed with a slip stitch to make your pocket pillow. Repeat this process for the two pieces of quilt fabric. You now have a completed pillow pocket and a completed quilt. Place the pillow pocket at the top of the quilt, centering the pillow with the center of the quilt and pin across. (This is the width side of the quilt.) Pin three sides of the pillow pocket to the quilt. The bottom of the pillow pocket is left open. Sew around the three sides.
  4. Sewing the sides of the quillow.
     
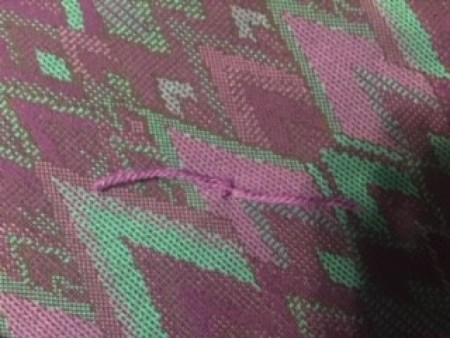
  5. Using yarn and a large eye needle, tie the quilt together spacing "ties" about 4 to 6 inches apart going from one side of the quilt to the other, working your rows from the bottom to the top and placing the "ties" on either side of the pillow pocket.

    *Do not place ties on pillow pocket or you won't be able to fold your quilt into the pocket.
  6. Adding ties to the quillow.
     
    Advertisement

  7. The quillow is complete. To fold the quillow and place into the pocket:

    Place quilt with pillow pocket side down (not showing). Fold one side of the quillow toward the middle, using the seam of the pillow pocket as your guard where the fold should be. Repeat with the other side. This is basically folding the quilt into thirds. Carefully flip over to the pillow pocket side. Reach your hands inside the pocket and turn pillow pocket out. Smooth the quilt inside of the pillow pocket and push the corners out. Starting at the bottom of the quilt make shorter folds all the way up to the bottom of the pillow pocket and place inside of the pocket for storage or to use as a pillow until it is to be used as a quilt, thus the name QUILLOW.
  8. Folding the quillow.
     
    The folded quillow.
     
    Advertisement

Comment Pin it! Was this helpful? Yes

3 Questions

Ask a QuestionHere are the questions asked by community members. Read on to see the answers provided by the ThriftyFun community or ask a new question.

September 15, 2009

I remember seeing at Arts and Crafts a pillow that you could open up and it was then a blanket or throw for a chair or couch. Any ideas on how to make one?

By Cathy from TX

Answers

September 16, 20090 found this helpful
Best Answer

I know them as "quillows". Basically it is a quilt or a blanket with a pocket sewn on the back bottom center. When the quillow is folded in 1/3 long ways and then &frac; on the last fold it is stuffed into the pocket.

Advertisement

The Pocket's size is 1/3 the width and 1/4 the length

Reply Was this helpful? Yes
September 19, 20090 found this helpful
Best Answer

If you crochet its a booklet called "Pillow Pocket Afghan" # 981002 from the Needlcraft Shop in TX, ebay has this booklet, Some call them Pillow-ghans.I have made it & we love it, also I have made from Annie's Attic Foot-Pocket Throws # 876517. I hope this helps

Reply Was this helpful? Yes
Answer this Question

July 22, 2009

There is a rag quilt and there is a quillow. I'd like directions for a rag quillow. I have looked for directions/pattern for rag quillow, but I can't find one. If anyone has directions or pattern for a rag quillow I'd sure appreciate it. Thanks.

By judy allen from IN

Answers


Gold Post Medal for All Time! 846 Posts
July 24, 20090 found this helpful
Best Answer

There are quite a few sites about making Quillows and I would asume it's the same steps for making a Rag Quillow as it is for any other type of fabric Quillow. The third link is a printable pdf.

Advertisement

www.straw.com/.../quillows.html

www.sewvac1.com/.../fleecequillow.htm

www.capitalquilts.com/.../makeaquillow.pdf

Reply Was this helpful? Yes
Answer this Question
In This Page
Categories
Crafts QuiltingNovember 6, 2016
Pages
More
🍂
Thanksgiving Ideas!
🎃
Halloween Ideas!
Facebook
Pinterest
YouTube
Instagram
Contests!
Newsletters
Ask a Question
Share a Post
Categories
Better LivingBudget & FinanceBusiness and LegalComputersConsumer AdviceCoronavirusCraftsEducationEntertainmentFood and RecipesHealth & BeautyHolidays and PartiesHome and GardenMake Your OwnOrganizingParentingPetsPhotosTravel and RecreationWeddings
Published by ThriftyFun.
Desktop Page | View Mobile
Disclaimer | Privacy Policy | Contact Us
Generated 2022-10-23 07:25:28 in 3 secs. ⛅️️
© 1997-2022 by Cumuli, Inc. All Rights Reserved.
https://www.thriftyfun.com/Making-a-Quillow-1.html