R Barbara
Bronze Post Medal for All Time! 190 Posts 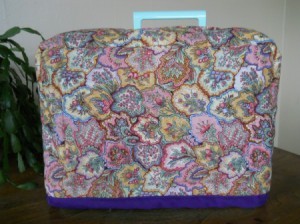 I purchased this little machine for my grandchildren to use, but found that it was a great travel machine for me too. After a couple of years of use the original thin vinyl cover began to tear around the opening for the handle.
Total Time: 3+ hours
Supplies:
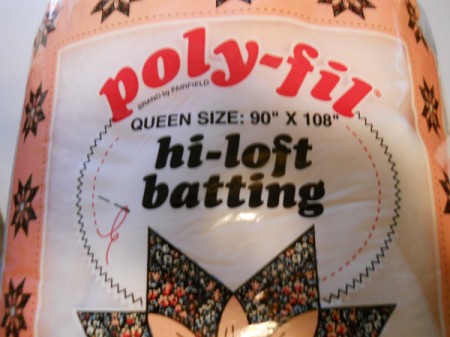
- poly-fil polyester quilt batting
- sewing machine
- needle and thread
- sewing pins
- tape measure and ruler
- scissors
- paper for pattern
- cotton fabric
- quilt width double fold bias tape
Steps:
- I measured the old cover and added 1/2 inch to the measurement of the width of the front and back pieces. I used the original measurement for the long strip that crosses over the top.
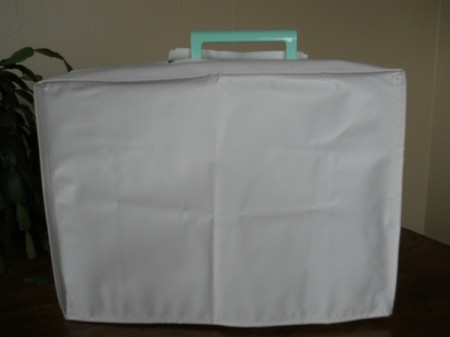
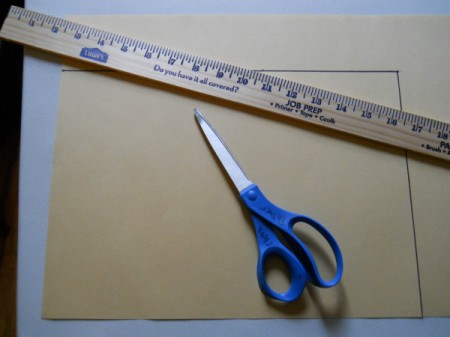
- I made a pattern using newsprint paper.

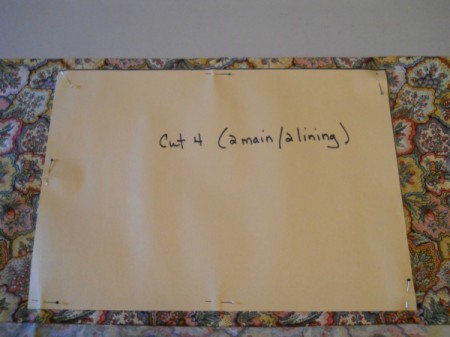
- Cut 4 pieces of fabric for the main body, front and back. I cut two of the main color and two of my lining fabric choice. Cut two pieces of fabric for the long top to sides strip.

- Cut two pieces of batting using the front/back pattern and one using the crossover piece.

- Sandwich batting between fabric with right sides out. Baste.
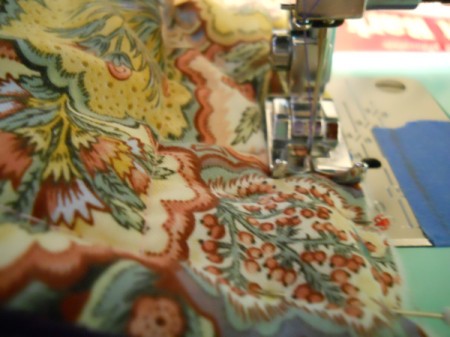
- I wanted to do some machine stitching to secure the fabric and batting. I stitched around the front and back rectangles and the long cross over strip approximately 1.5 inches in from the basted edges. I felt that I wanted additional machine quilting, so I created a design on the front and back by basting a ray from the upper left corner to the opposite corner. Then I added a second and third ray by basting from the upper corner to the center of the right side and the lower stitching lines. Stitch along basting and remove threads.
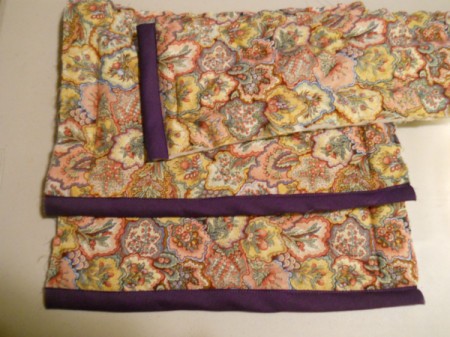
- Now stitch a length of bias tape to the bottoms of front and back pieces and the short ends of the crossover strip.

- I needed to make an opening for the carry handle. I made a bound opening. I marked the length needed to accommodate the handle on the outside of the top strip. Then I cut a rectangle of fabric longer and wider than the opening needed. Mine was a bit too small, but it worked. I would recommend that your rectangle be at least 1 inch longer on each end and 1 inch wider top and bottom, measuring from the cut line marking. On the wrong side of the fabric rectangle mark the line where you will cut the opening and a stitching line at least .25 to .5 inches from the cutting line. Position the fabric, right sides together, lining up the cutting line with the placement markings on the cover. Sew on the stitching line, starting in the center of the top of the rectangle, all of the way around. Now cut along the cutting line stopping 1/4 inch from the ends, from here cut at an angle toward the corners. Turn the fabric to the inside of the cover. Stitch around the opening to secure.
- Pin the front to the long strip right sides together and stitch taking approximately .25 inch seam. Repeat for the back. Tie threads and turn right side out. You are done, enjoy your new cover.

Note: I was making a replacement cover, but you can follow this same process, once you have measured your machine to determine the dimensions for the cover. Remember to give yourself extra for seam allowances.

Add your voice! Click below to comment. ThriftyFun is powered by your wisdom!

 I purchased this little machine for my grandchildren to use, but found that it was a great travel machine for me too. After a couple of years of use the original thin vinyl cover began to tear around the opening for the handle.

