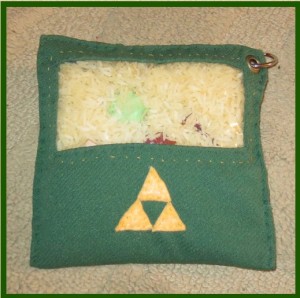
 This sort of thing is also called an I Spy Bag or a Peek-A-Boo Bag, but I call them Seek Sacks. I'm a sucker for alliteration. Anyway, this is a sort of solitaire hide-and-seek game involving a bag with a clear window, some sort of neutrally colored filler, and small tokens, toys, or other items.
Total Time: Depends on the size and method or sewing.
Yield: 1
Source: http://www.favecrafts.com/Sewing-for-Kids/DIY-I-Spy-Bag
Supplies:
- scissors
- cloth of your choosing--sturdy but flexible
- matching or complementary thread
- needle or sewing machine
- plastic filler beads, rice, or tiny pasta
- small objects (unbreakable, not sharp)
- strong, flexible vinyl, like the bags comforters come in
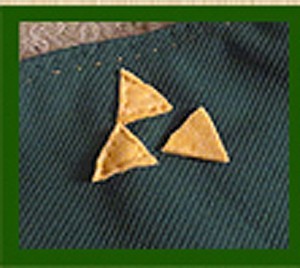
- optional: felt, buttons, paint, fabric markers, or other things for decorating your Seek Sack
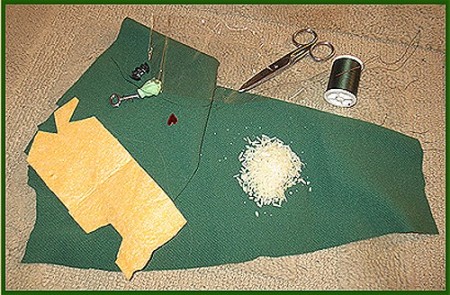
Steps:
- Gather or create the objects you want to include. Depending on how big the items are and the size of the Seek Sack, I like to put anywhere from 8 to 25 objects in a single bag. Bigger objects (especially if brightly colored) are easier to find, and thus better for younger kids. If you want to be completely evil, use clear objects or objects that match the color of your filler. This is a themed Seek Sack, so I am using Legend of Zelda themed items.
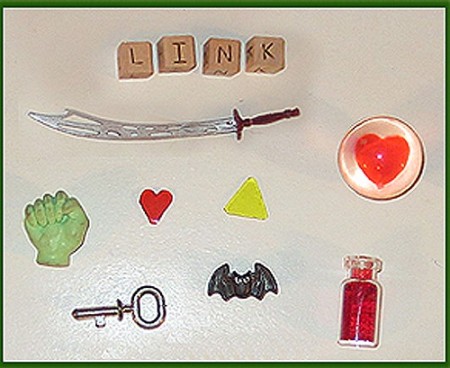
- Optional: lay your objects out, take a pic, label them, and print out a copy as a checklist of items to be found. Laminate it for durability.
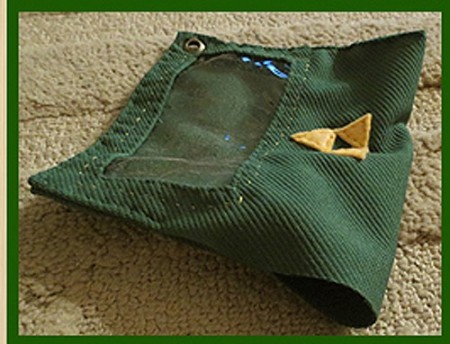
- Take two pieces of your fabric (or one twice as long as necessary and fold it over) in a simple shape: circle, square, etc., for the body of your Seek Sack. This should be at least 6 inches on its shortest side. Cut a window in "one" side of the sack. The smaller the window, the tougher the game.
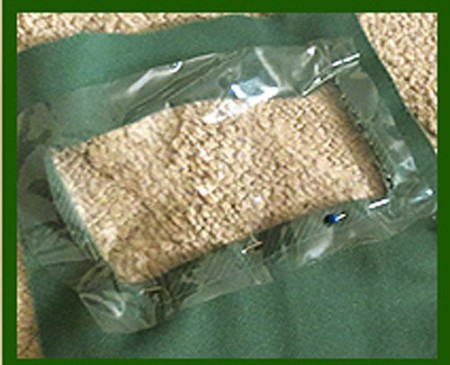
- Cut out a piece of your vinyl a half-inch to an inch wider on all sides than the window you have cut out. Place this little window on the wrong side of your fabric and stitch around the edges. I like to use two rows of stitching, as added durability. I also like to fold over/hem the cloth around the window to discourage fraying and reinforce the corner stitching.

- If your decoration includes embroidery or sewing, now's the time to do it. If not, then move on to the next step.

- Sew around the edges, leaving about a three-inch gap through which to pour your filler and items. I like to fold my cloth over and sew it so that the stitching shows. If you prefer to sew wrong-side out first, then remember to turn your sack right-side out before you fill it. I also prefer to do a double line of stitching. Make sure you don't catch any filler or items between the two seams.

- Optional: in one corner, put a strong, metal eyelet for attaching the list of items. Follow the instructions on the eyelet packaging.
- Pour in objects and filler (I am using rice for this one.) Uncooked rice and pasta are greener and cheaper than the plastic pellets, but they cannot get wet, pasta in particular can get sticky. If you want to use plastic, the white ones you find in bean-bag type dolls can be found in the dollmaking part of hobby stores. Plastic, colored air gun pellets work well, too, though they are a bit pricey. Fill the bag so that it's nicely full but not bulging. You want to obscure your items, but leave it squishy enough so that your little one can manipulate the sack to find their items.
- Finally, sew the gap and you are finished! You have your very own Seek Sack.
Suggested themes: princesses, super heroes, animals, dinosaurs, shapes or colors. Use your imagination!

December 12, 20140 found this helpful
Thanks! I love 'em myself. I made one for a friend's three-year old and got him to sit still for nearly a half hour...and with this kid, that's saying something. XD
 This sort of thing is also called an I Spy Bag or a Peek-A-Boo Bag, but I call them Seek Sacks. I'm a sucker for alliteration. Anyway, this is a sort of solitaire hide-and-seek game involving a bag with a clear window, some sort of neutrally colored filler, and small tokens, toys, or other items.

