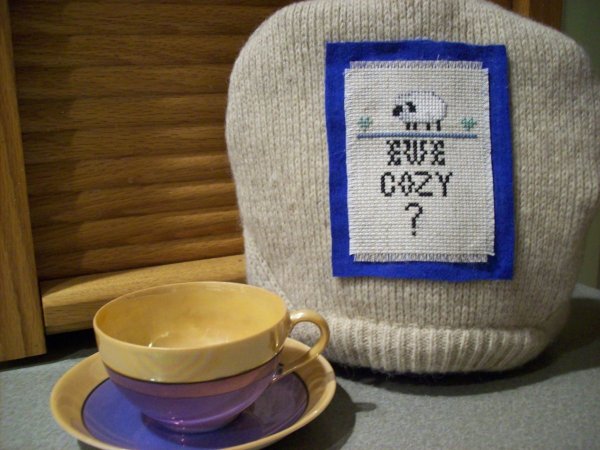
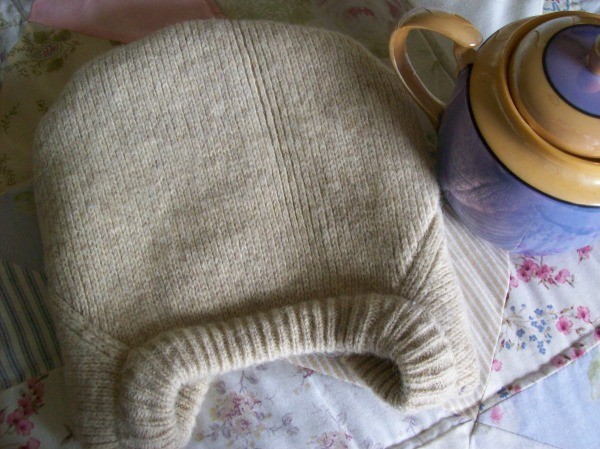
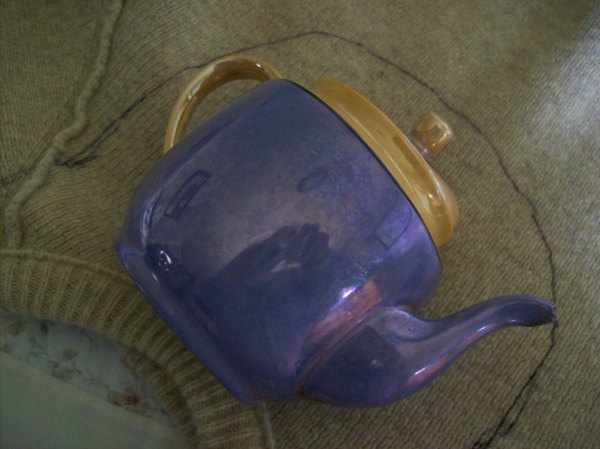
Make a tea cozy by using the neck opening of an old sweater. I simply eye-balled the amount of sweater I needed by laying the tea pot on the inside-out sweater and drawing a sewing line around it.


Stitched on the line, then cut it out leaving about 5/8 seam allowance beyond the stitching. Turn right-side-out. Slip it over your tea pot.

Decorate if you want or leave it plain. Wool holds heat in and keeps my tea hot. Lots of sweater left for making other stuff too.
By ~gloria from western NY
This page contains the following solutions.
A quick, easy, and frugal way to keep your teapot hot and decorative way to serve your guests. It is sure to be the hit of any tea party or gathering.
If you're a tea lover, here is a very easy sewing project. They also make great gifts for family and friends. I always use my tea cozy whenever I brew a pot of tea, and it will keep the teapot warm for several hours.
Tea cozies are sure to keep your tea warm in the pot much longer than not having one. Plus this one is way cute! This craft would also make a great gift for tea drinkers.
Here are the questions asked by community members. Read on to see the answers provided by the ThriftyFun community.
I am looking for a tea cozy pattern.
By tiller from Amsterdam, NL
I hope it is for a sewn pattern. Here's some to look over.
lifewithmonkey.wordpress.com/
www.associatedcontent.com/
www.getcreativeshow.com/
search.yahoo.com/
One site I visited suggested taking a placemat, fold it wrong sides together and sew up the sides. Turn right side out, add a loop at the top and you have a cozy.
 I'm making your tea cozy. As you can see, it's my first attempt hence the very simple quilting. I just want to do a test run before I make more.
I am a little confused on how to finish off the start and end points of the binding that goes along the curve. You say in point 10, "folding under the ends of the bias tape on both sides". How do you stitch this so it looks neat on the inside. Please post a picture, if possible, to show how to finish the binding at the bottom sides. Thank you for an excellent tutorial.
By Sandy N.