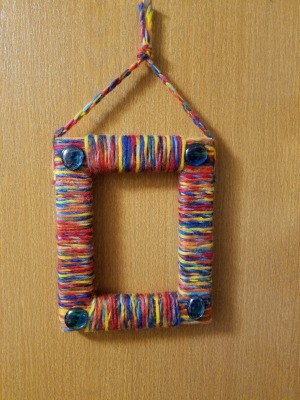
 I made this from a wooden frame and some of the prettiest yarn I have ever seen. I hope you like it.
Total Time: 1.5 Hours
Yield: 1
Source: I have done and seen these but this is my take.
Supplies:
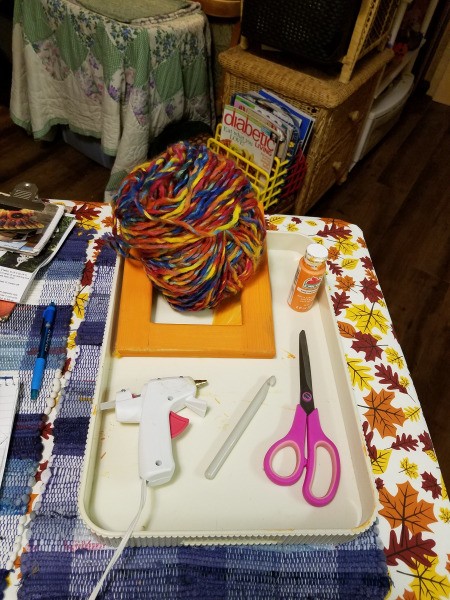
- wooden (or plastic) 8 by 10 frame
- 4 oz yarn of your choice
- hot glue gun and 4 sticks
- scissors
- 4 glass nuggets
- size N hook
- 2 Tbsp white glue
- 1 paint brush

Steps:
- Because I knew the frame's corners on top and bottom would show, I painted the frame. In hindsight, I could have just painted the part I knew would be exposed, but live and learn!
- Hot gluing the yarn to the back of either the top or bottom, carefully run the glue along the front edge and around the corner, laying the yarn as you go. The first row of yarn will have to be glued, but after that, you need to paint on the white glue. You can see a bit oozing out below the last row. If that happens and you don't notice it before it dries, don't worry. The other yarn will cover it up.
- Once the top and bottom are done, continue the yarn around the sides, in the same direction. A variation on a theme would be to make the yarn be vertical on the top and bottom, then horizontal on the sides. This would expose the four corners, but if you paint them, you could embellish with small photos, gems, etc. The last thing I did to the back was run a generous bead of glue around the four sides. This helped to keep things in place should things need to be.
- Now it was time to pick an embellishment. I thought about painting wooden beads, or buttons. But I went with glass nuggets. I am glad I did.
- The hanger can be as short or long as you want it. I crocheted a chain of 50, then glued the ends to the sides, trimmed the tails, and then put a knot in the chain to shorten it. N-JOY!!
 I made this from a wooden frame and some of the prettiest yarn I have ever seen. I hope you like it.