 It was fun making projects during our grade school years. Our school projects included simple handmade artistic tricks. One of which is the one we once called a zigzag picture. Only later did I learned that it's actually called a 3D photo effect or a 3D picture frame.
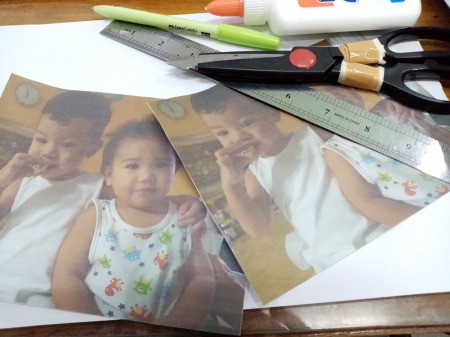
Supplies:
- 2 photos of the same size
- 1 piece of paper
- glue
- ruler
- pencil
- scissors
Steps:
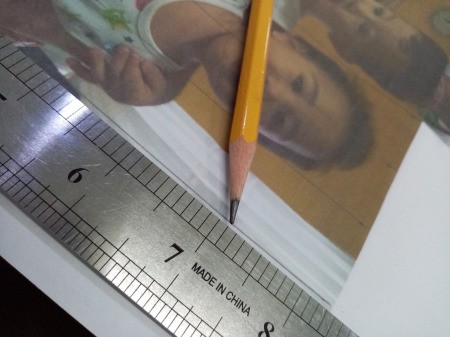
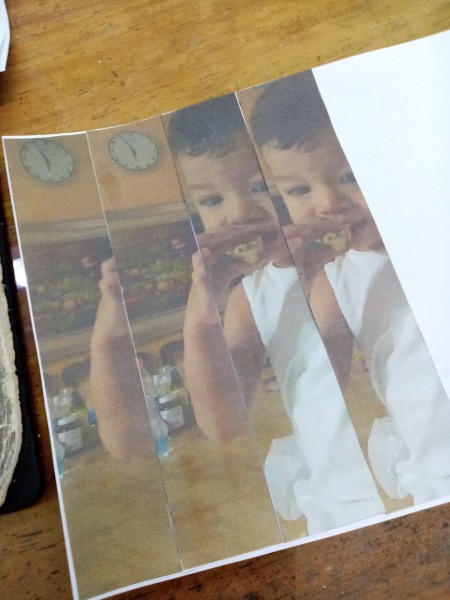
- Measure the size of the photo using a ruler. Make equal divisions and mark dots on both sides with a pencil.
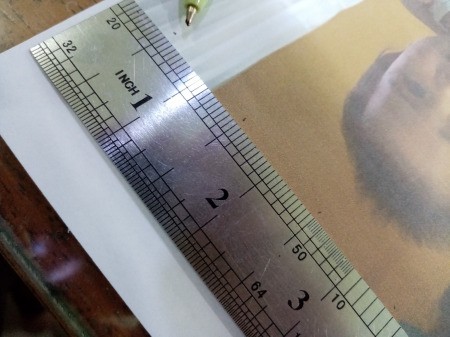
- Draw lines to connect the dots of both sides. Set aside.

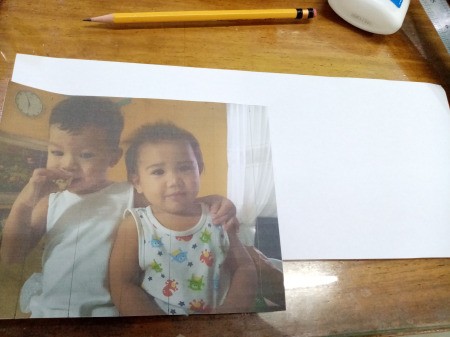
- Take a piece of paper and cut it twice the length of the photo.
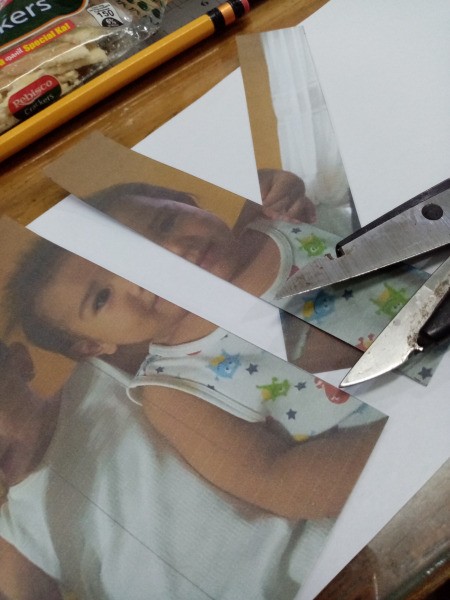
- Now, cut along the lines drawn on the two pictures. Separate the two photos so they won't get mixed up.
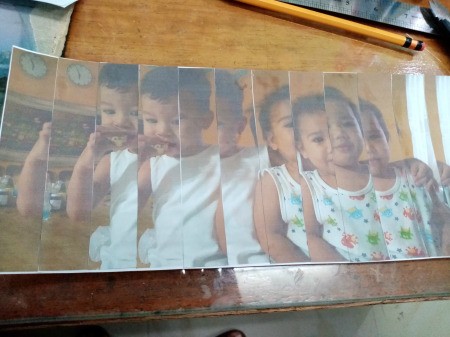
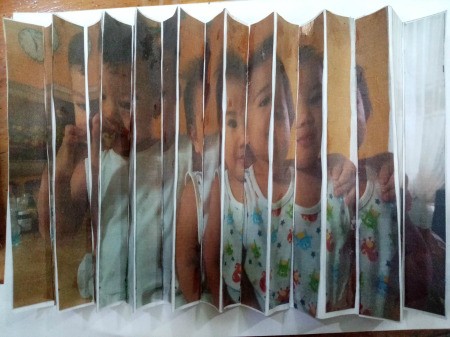
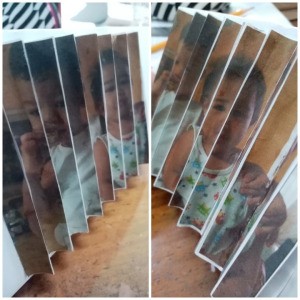
- Align the strips of the two pictures alternately. See photo. Glue in place.
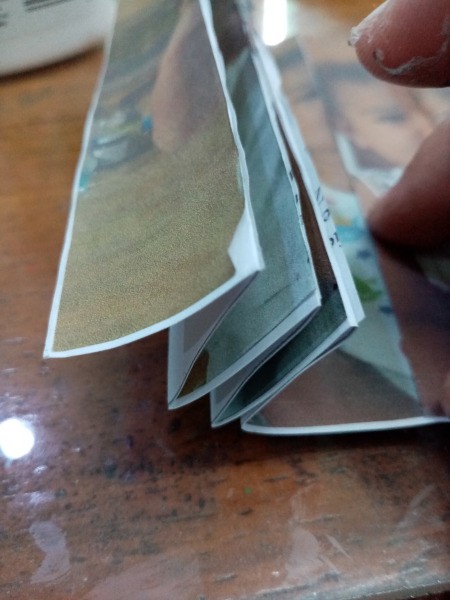
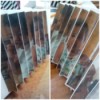
- Make a zigzag or accordion folds. Start flipping along the edges of each strip. See photo.
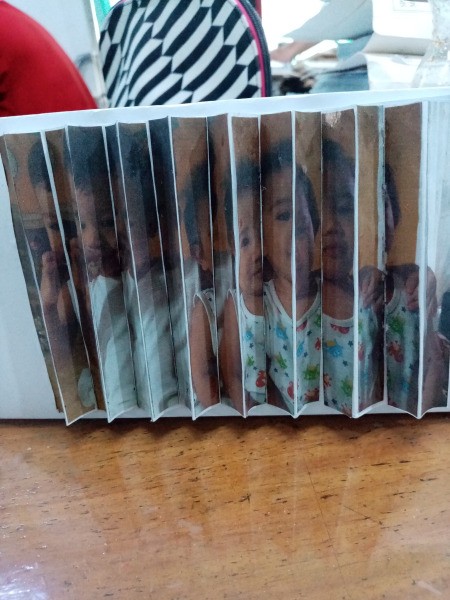
- You can stick it into a picture frame and display in a slanting or side view position to emphasise effect.
Add your voice! Click below to comment. ThriftyFun is powered by your wisdom!