melissa
Silver Post Medal for All Time! 293 Posts 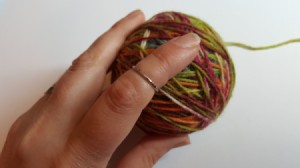 These midi rings are quick, fun, and easy! If you have a few minutes and some inexpensive bangles, you can make these too. Have fun!
Total Time: A few minutes
Yield: About 4 rings from 1 bangle.
Source: Inspired by you tube
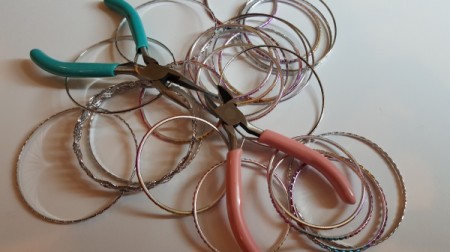
Supplies:
- 2 pairs jewelry pliers
- 1 pair jewelry wire snips
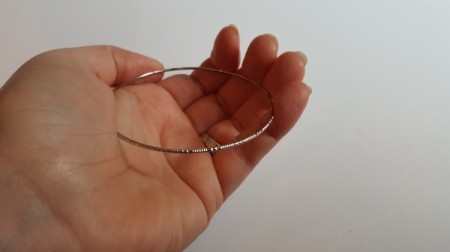
- 1 bangle bracelet
- tape measure
Steps:
- First you will need to choose your bracelet. A bit of advice, the cheaper the better. The super thin bendable ones will be best. You can pick these up in multi packs from Walmart for hardly anything. Or, they are pretty common at thrift shops.

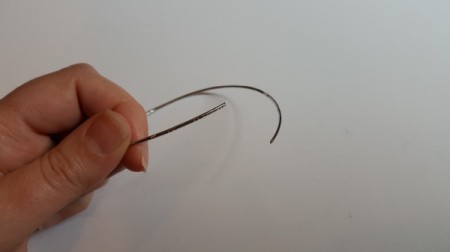
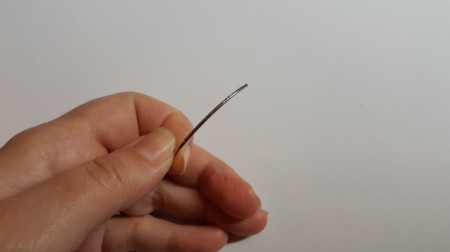
- Make your first snip to cut the bracelet.
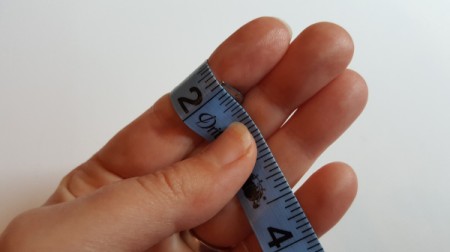
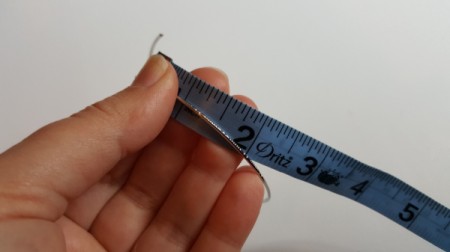
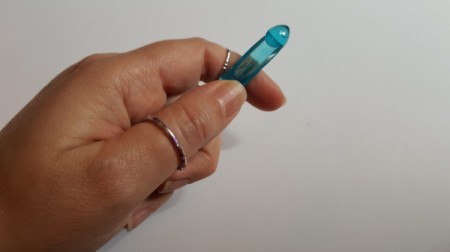
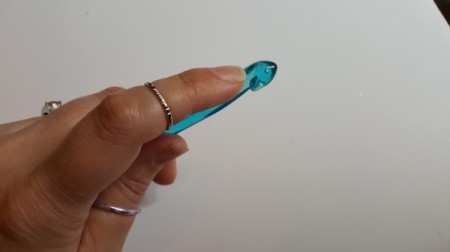
- Measure your finger. Don't worry if you cut a bit too long, you can easily trim and make smaller.
- Now cut the measured length from your bracelet.
- This is what you have now.
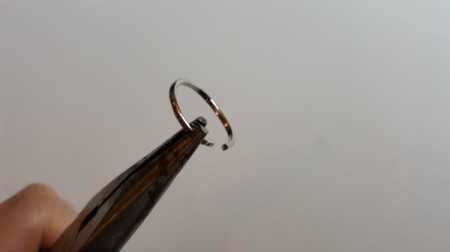
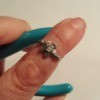
- Now we will carefully bend our wire into our ring. You need to be gentle and do this slowly so that you do not break your wire. Grab both pair of pliers. Holding the wire steady with the pliers in your left hand, use the pliers in your right hand to start bending. You will bend just a short distance away from the steadying pliers. After making a slight curve, move both sets of pliers over about 1/8" and repeat. This is what it will look like when you are done bending!
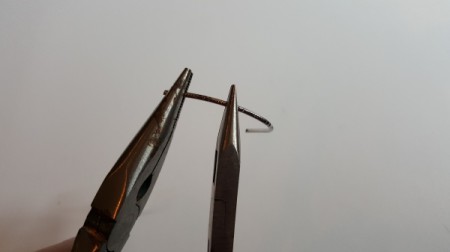
- You will need to push the ends into each other to "seal" your ring.
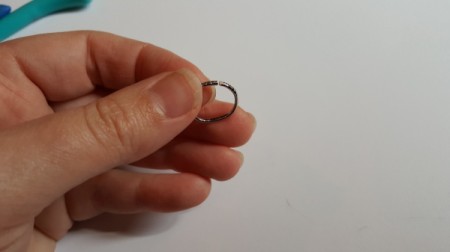
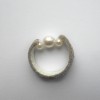
- See?
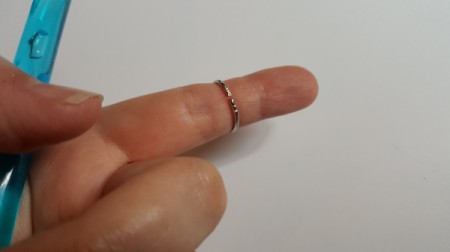
- I also made a thumb ring.
- You may wish to simply make a traditional ring that sets all the way down on your finger. Whatever you do, have fun! :)
Add your voice! Click below to comment. ThriftyFun is powered by your wisdom!
June 6, 20150 found this helpful
Love this! Thumbs up to you!
Add your voice! Click below to comment. ThriftyFun is powered by your wisdom!