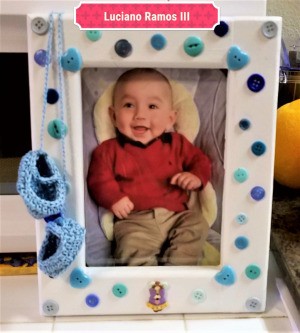
 I made this for a friend's new grandnephew, Luciano. It's time intensive, but I love how it turned out.
Total Time: With dry time, 8 hours
Yield: 1
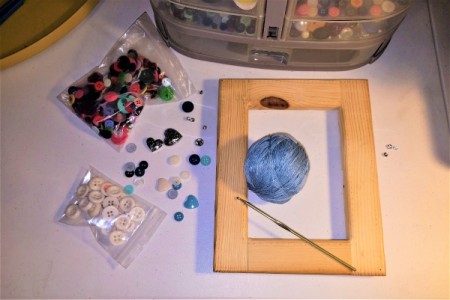
Supplies:
- wooden frame ($.50)
- 1 oz white paint ($.50)
- paint brush ($0.00)
- home made mod podge ($.10)
- Multiple buttons ($.10)
- scissors ($0.00)
- hot glue gun ($.05)
- 1 piece plastic film 5X7 inches ($0.00)
- photo ($.05)
- 1 oz blue crochet thread ($.05)
- size G hook ($0.00)
- cooling rack or something to dry the frame on. ($.50)
- darning needle
Steps:
- The first thing I should have done, but didn't, was to sand the frame. But you will be smarter than me so yes, sand any frame you are using that is raw wood.

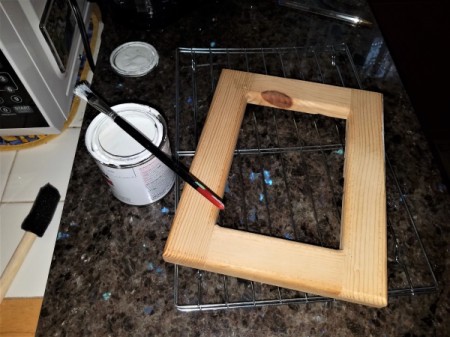
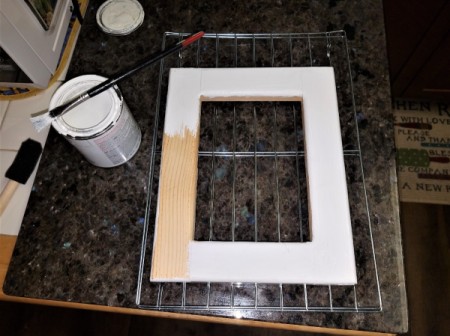
- I then painted the frame. I didn't bother to prime it as I knew it would be inside someone's home, not outside. You can of course prime if you want to. I painted 2 coats and let them dry during each step. While I did that, I crocheted the mini booties.

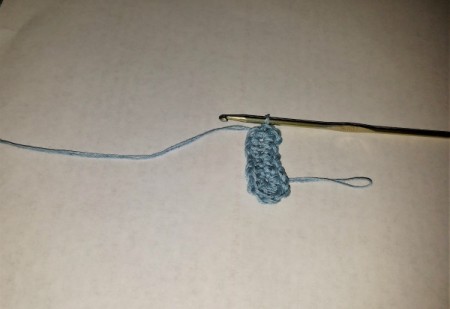
- Use any baby booty pattern you like, just make it with crochet thread and a small hook. For me, this one worked best. I used double thread so it works up faster. That is up to you. Chain ch 7, sc in 2nd ch from hook and on each of 4 ch across, 4 sc in last ch, turn to opposite edge of starting ch, sc in next 4 sts, 3 sc in last st, sl st on the 1st sc to join. This creates your base for both.

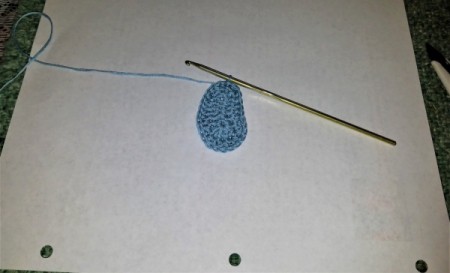
- Ch 1, sc in 4 sc, hdc in next sc, 2 hdc in next, 3 dc in next, 2 dc in next, 2 hdc in next, hdc in next, sc in next 4 sc, 2 sc in each of next 2 sc, join. You can start to see the shape of the sole now.

- Ch 1, sc in the back loop only of each sc around, join This is row 3 and you will begin to see the shape even more now. Ch 1, sc in 5 sc, hdc/dc together on the next 2 sc, dc in next sc, 3-dc together on the next 3 sc, dc in next sc, dc/hdc together on the next 2 sc, sc in next 5 sc, (sc together the next 2 sc) twice, join
- The little straps are super easy to make, and are done without regard to "left or right" for this decoration. Insert hook at left side of bootie in 2nd sc from st marked, pull up loop, ch 7, sc in 2nd ch from hook and on each ch across, sl st on same st as the beginning; sl st in each of the next 7 sts at the front part of booty, sc in the remaining sts of rnd 4, sl st on the same st as the beginning, sl st on next st. Leave 18 inches tail, fasten off. Attach the end of the strap with the darning needle to the other side of the booty. I then made a chain for each from the heel to the other heel, for this frame it was 14".
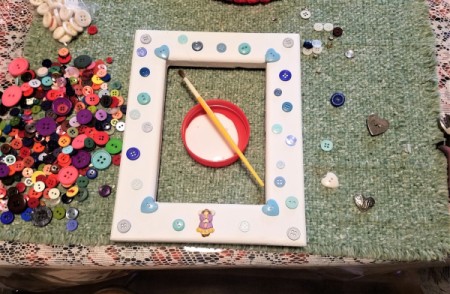
- Now that the booties are done and the paint is dried, you can put the buttons on. I thought of decoupaging it, but liked this simple plan best. Hot glue them on and when cooled, I covered the whole frame with my home made glue mixture. It's 1 cup of glue and 1/3 cup of water.

- While the glue was drying, I did the photo. It's simply a sheet protector that I cut larger than the opening for the photo. I slipped in the printed out photo and glued it to the back. I thought of tape, but this looked nicer. Once that was cool, I tacked on the booties to the corner and it was done. N-JOY!!
Add your voice! Click below to comment. ThriftyFun is powered by your wisdom!

Linda L.
Bronze Tip Medal for All Time! 64 Tips June 12, 20180 found this helpful
Even without the crochet booties this would be adorable I would use buttons from my stash

June 13, 20180 found this helpful
That is very sweet of you to say. Buttons Rock!!
Add your voice! Click below to comment. ThriftyFun is powered by your wisdom!
 I made this for a friend's new grandnephew, Luciano. It's time intensive, but I love how it turned out.
