DianaHM
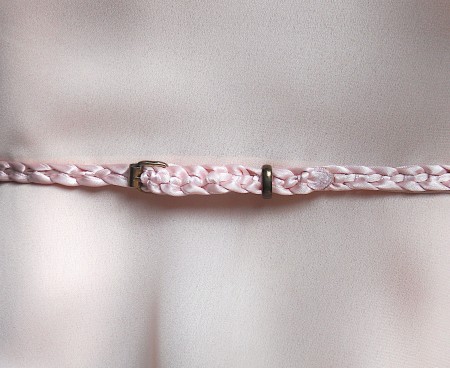
Silver Answer Medal for All Time! 440 Answers 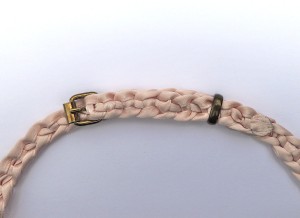 Even if your old belt looks very disgusting, don't rush to throw it away. Use the buckle and double sided satin ribbon to braid a new cute unique belt.
Total Time: 30 Min
Supplies:
- 1 Old belt, 1 cm wide
- 16 ft Double-sided satin ribbon, 1 cm wide
- 1 Scissors
- 1 Office binder clip
- 1 Candle
- 1 Matches / Lighter
- 1 Needle
- Thread
Steps:
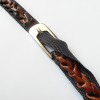
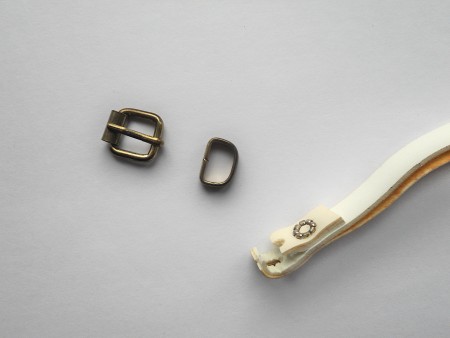
- Cut an old belt and remove a buckle and loop.
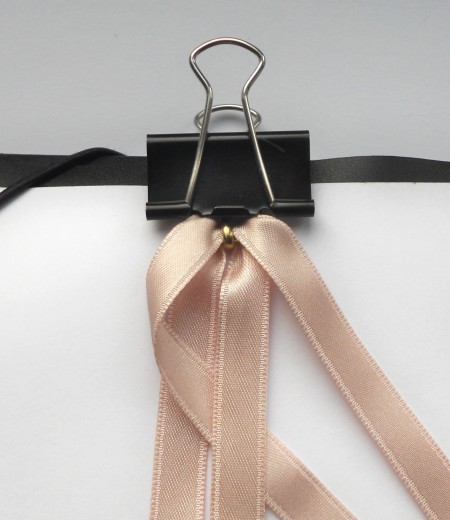
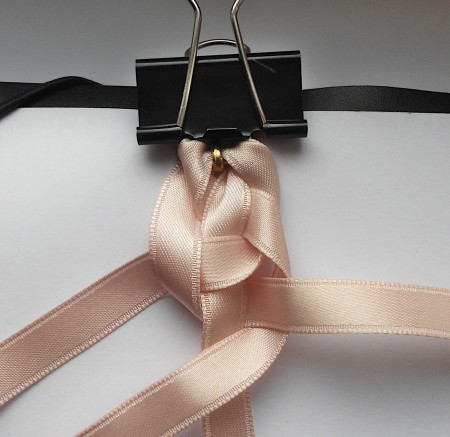
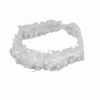
- Cut two pieces of ribbon. Fold the ribbons in half and thread through the buckle. As a result, you will get four ribbons, located around bar.
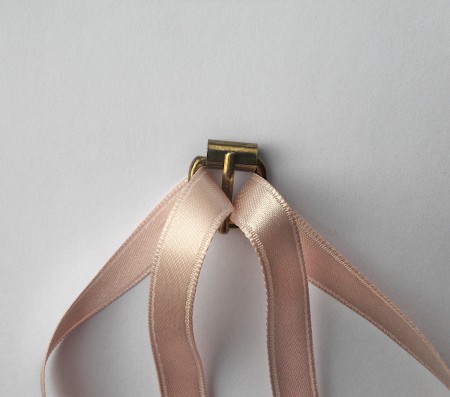
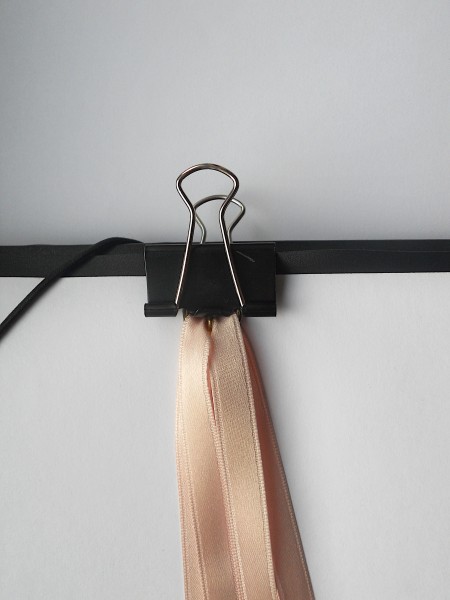
- Clip the buckle to a folder or a book.

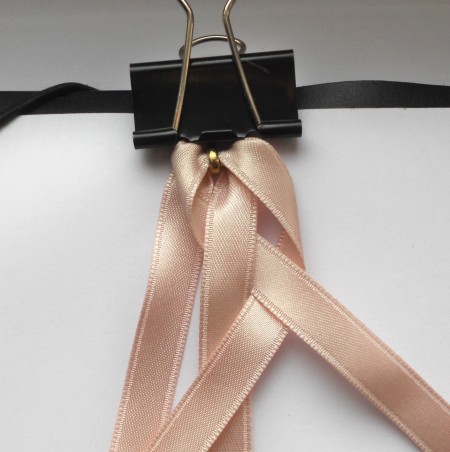
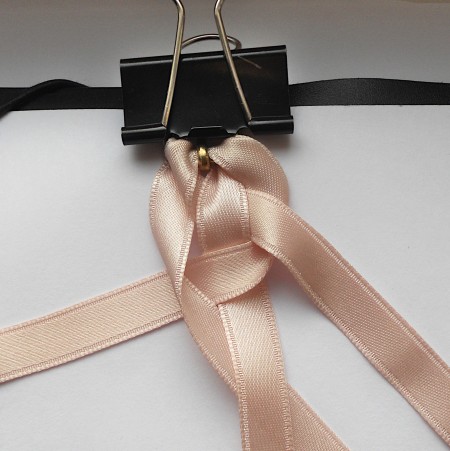
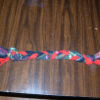
- Start braiding as in the photographs. Make sure you always have the same ribbon in the middle. This ribbon will keep your belt from stretching.
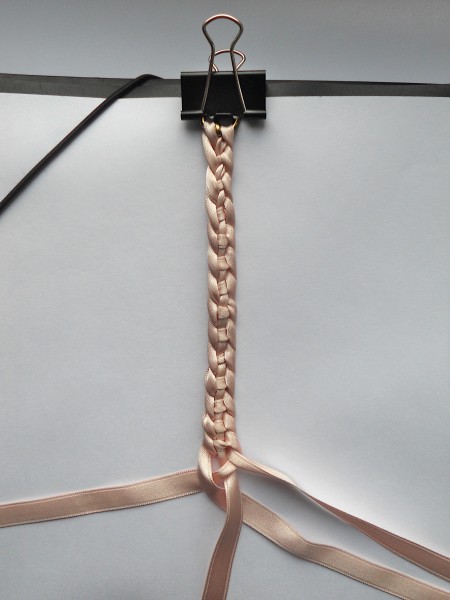
- Braid the belt to the length you want. Try to ensure that the ribbons are woven evenly and enough neatly.
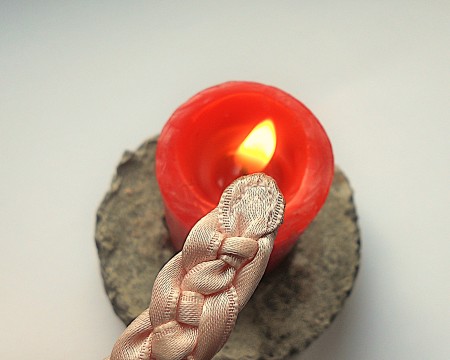
- Cut ribbons and singe the ends with a candle. Do this very carefully so as not to burn the ribbons.
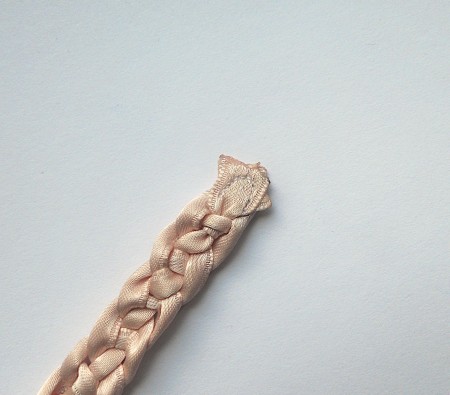
- Weave the ribbons almost at the end. Fold the ends of the ribbons together. Sew a corner to secure the ends of the ribbons and form the end of the belt.
- Trim the end of the belt near the seam and singe the edges carefully. The ends of the ribbons will be welded together and you will have a nice solid end of the belt.
- Insert the belt loop and you can try on your new belt. You don't need to make holes as braided belt has a lot of holes.
Add your voice! Click below to comment. ThriftyFun is powered by your wisdom!