lalala...
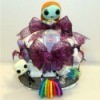
Gold Post Medal for All Time! 899 Posts 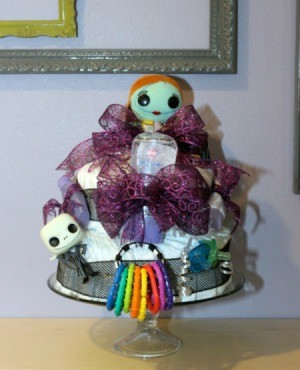 This Nightmare Before Christmas themed diaper cake is easy to make and can be customized in so many ways!
Supplies:
- 1 pkg. newborn diapers
- 1 pkg. size 1 diapers
- wire-edged ribbon
- white curling ribbon
- safety pins
- 2 paper towel tubes
- piece of white tissue paper
- lotion, baby oil, soap, etc.
- baby toys
- Nightmare Before Christmas toys
- scissors
Steps:
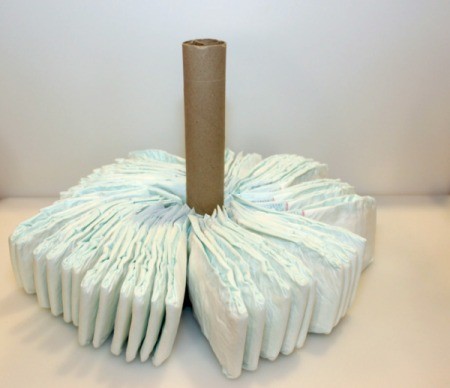
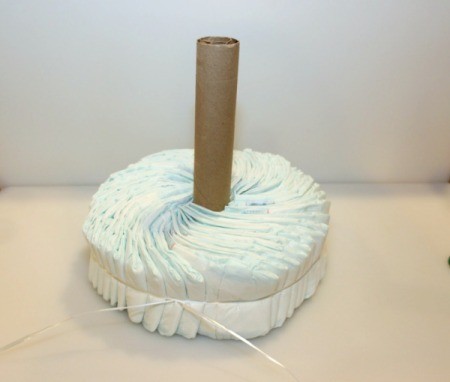
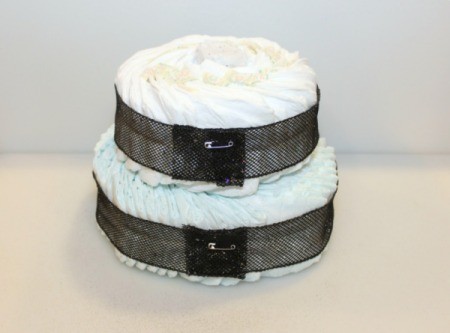
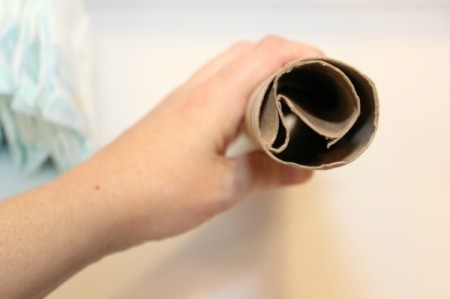
- Stuff one paper towel tube inside the other. This will help make the tube more rigid for the center of the diaper cake.
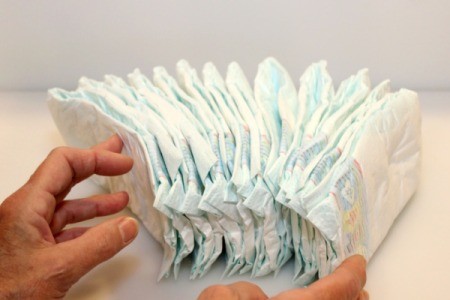
- Remove the size 1 diapers from the package. Stand them on the long edge and begin arranging them around the tube.
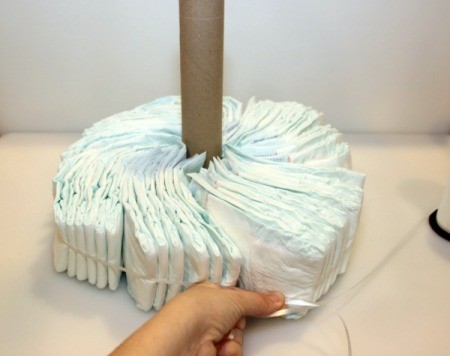
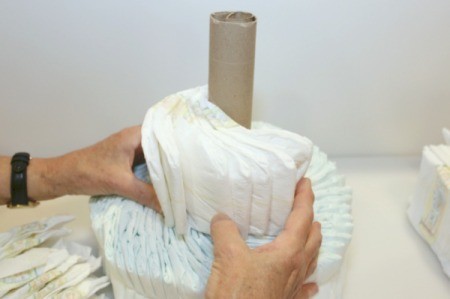
- Wrap a piece of curling ribbon around the diapers and pull it tight. Work the diapers around the tube, they should overlap a little bit. NOTE: This step is much easier if you can get a second set of hands.
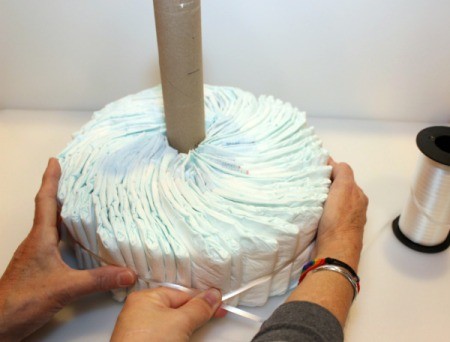
- Tighten the ribbon more and wrap it around a second time. Then tie it and trim the ends short.

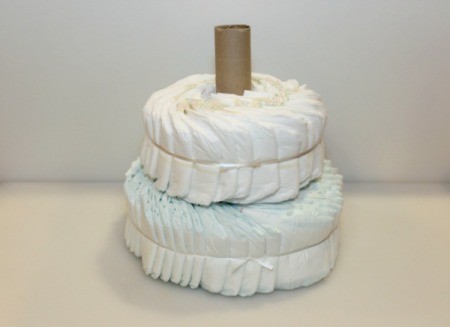
- Remove the newborn sized diapers from their package. Stand them on the long edge on top of the bottom layer and begin arranging them around the tube.
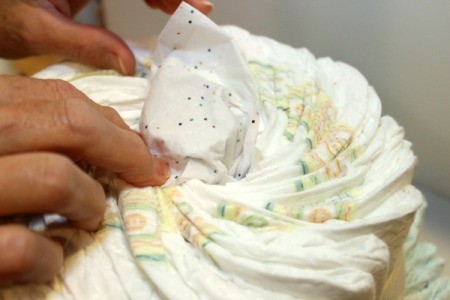
- Repeat steps 3 and 4 to create the top layer. Cut any excess tube off, then cover the top of the tube with a piece of tissue paper.
- Wrap a piece of decorative ribbon around each layer. Pinning the ends together with safety pins.
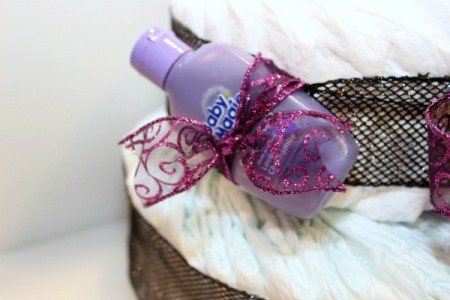
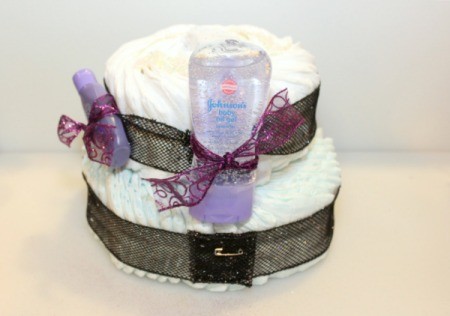
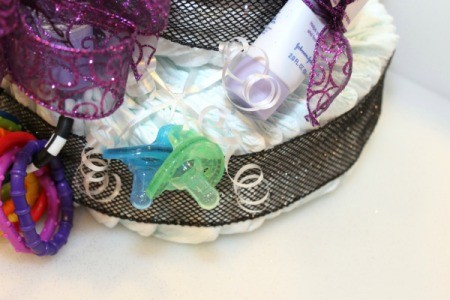
- Using pieces of decorative ribbon, begin attaching bottles and other items to the cake.
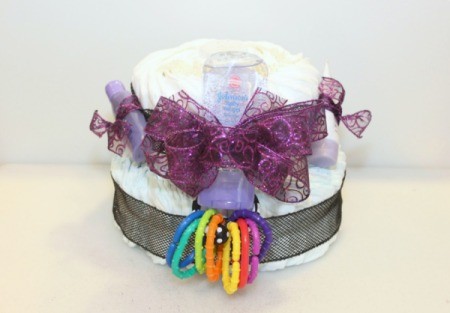
- I created a large center bow for the front of the cake. To attach the ring toy, I used a piece of curling ribbon and wrapped the ribbon around the cake in between the layers. NOTE: Making a Decorative Bow
- When I attached the colorful pacifiers I ran a piece of curling ribbon in between the layers then tied the pacifiers to it. I finished off the ends by curling them.
- I placed a wooden dowel into the center of the cake, leaving about 2-3 inches sticking out of the top. I secured the Sally doll to the dowel with another bow. Add other Nightmare Before Christmas toys/decorations if you have them.
Add your voice! Click below to comment. ThriftyFun is powered by your wisdom!