August 10, 2011
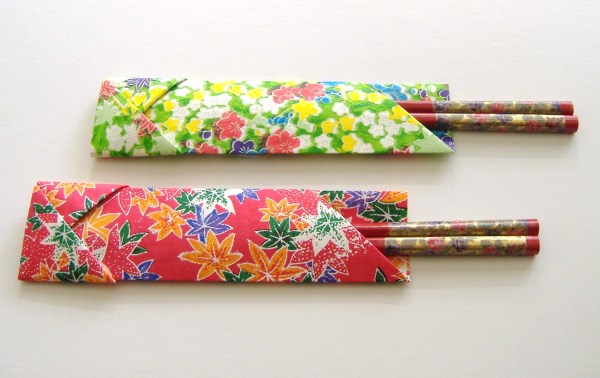
Wrap your chopsticks in patterned origami paper to add an Asian flair to your oriental-style home party.
Approximate Time: 5 minutes
Supplies:
- 1 sheet of origami paper, 7 x 12 inches
Instructions:
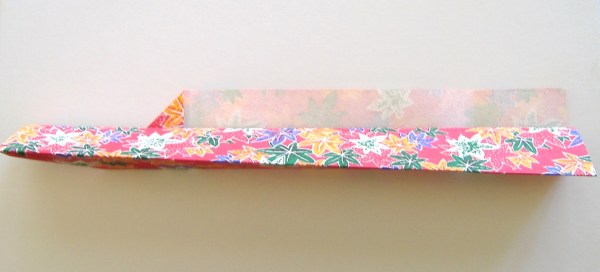
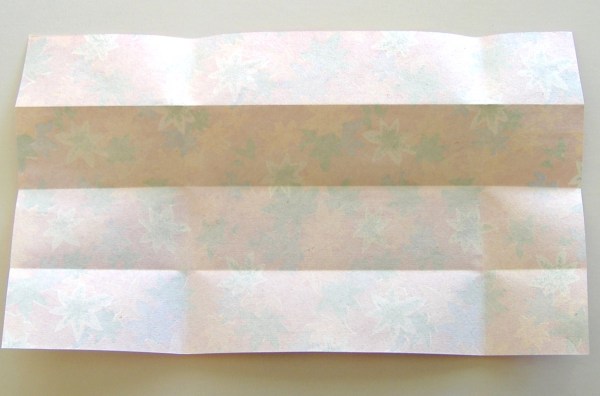
- Fold the paper in half and then each half again into the center.
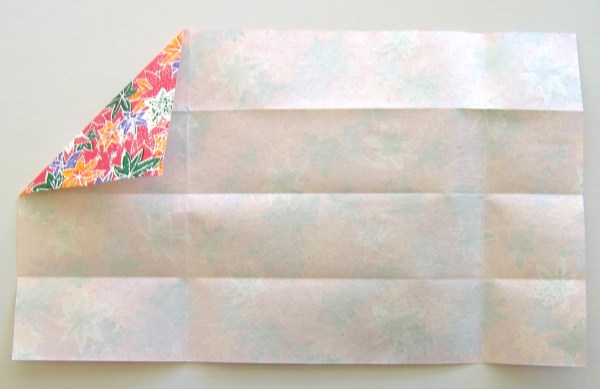
- Unfold and turn the upper left corner down to the center crease.
- Fold the bottom up into the center, making valley folds, and continue until the object is the width of one fold.

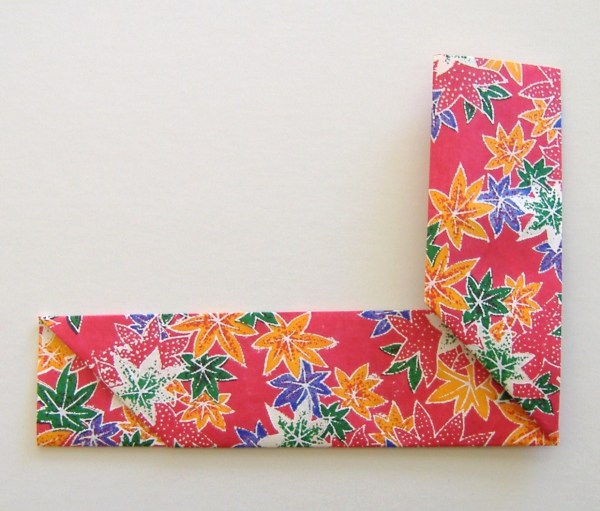
- Turn over the end, marking the crease when the turned end is level with the visible edge of the turned corner.
- Fold back the end, turning it at right angles and making a mountain fold.
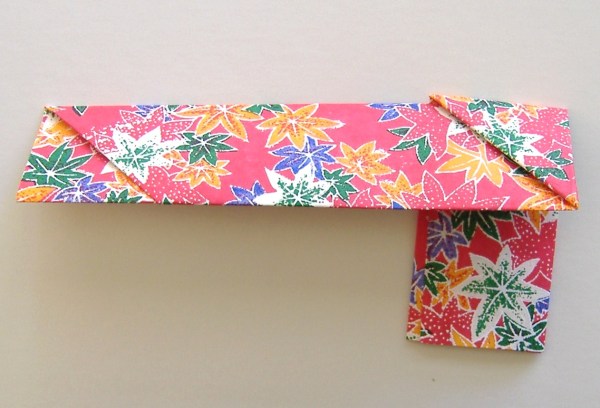
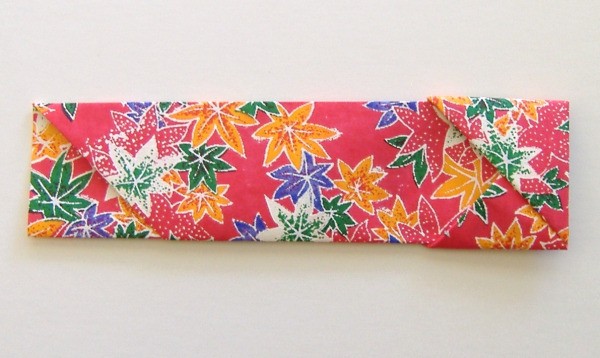
- Lift the paper and wrap the tail once around the bottom of the object.
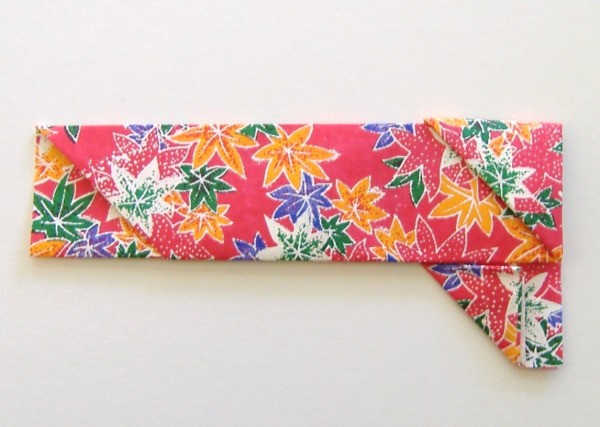
- Fold the end of the tail into a triangle before turning the end over and tucking it in place.
Note: To finish your table setting, put the sharp end of the chopsticks inside the wrapper, with the handles extending out of the wrapper.
By HellofromMhay from Fairfax, VA
Comments
August 10, 20110 found this helpful
Sorry. I need a diagram. Otherwise the picture is very pretty!
August 11, 20110 found this helpful
Huh? I'm like timntan, I need a diagram, please.