15mhhm15
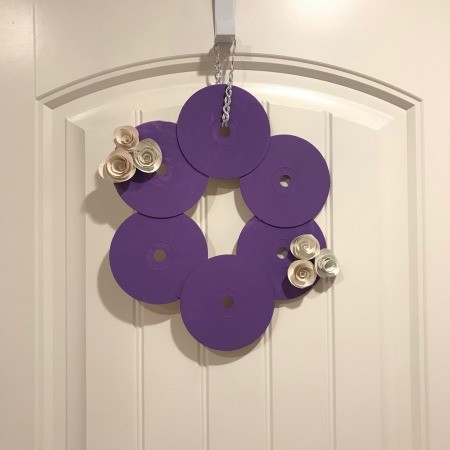
Diamond Post Medal for All Time! 1,298 Posts 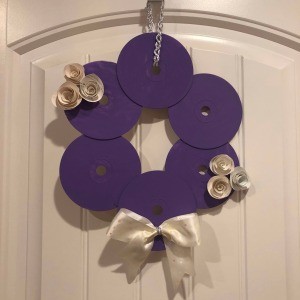 You can achieve this wreath with just 6 CDs, acrylic paint, paper, and ribbon. Or, make your own twist and use the CD as a base as this craft is versatile!
Total Time: 35 minutes + drying time.
Yield: 1 wreath
Supplies:
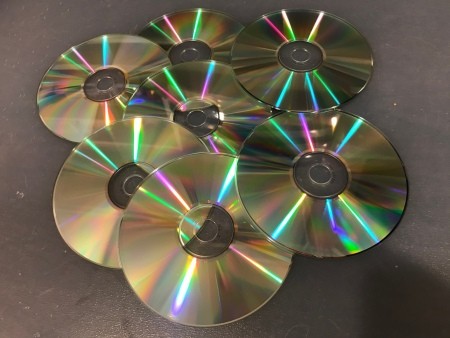
- CDs
- acrylic paint/paintbrush
- hot glue
- ribbon
- scissors
- paper
Steps:
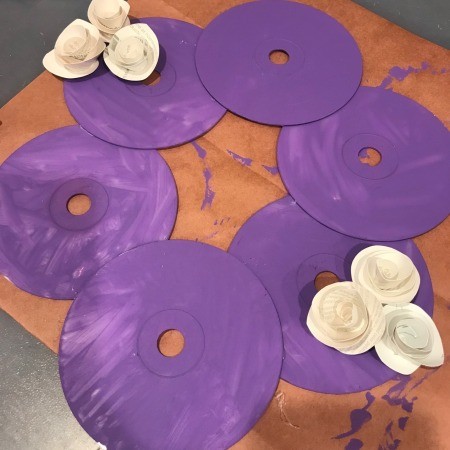
- Paint 6 CDs in your color of choice and allow to dry.
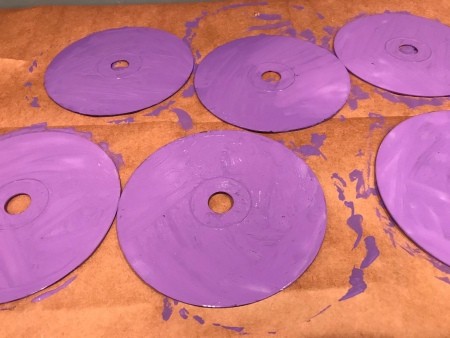
- Hot glue CDs together in a circular shape to achieve your wreath.

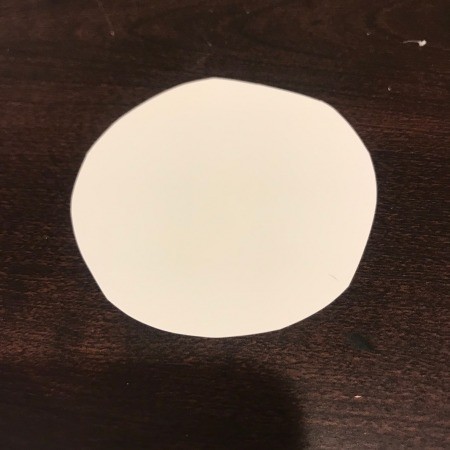
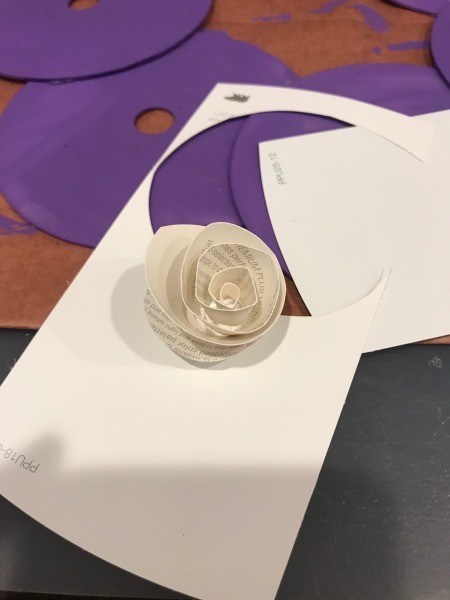
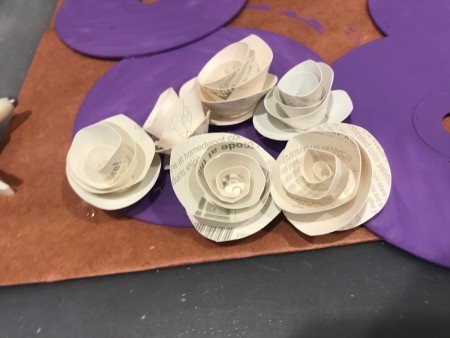
- Now you are ready to decorate your wreath how you'd like. I used leftover paint samples as my paper. I cut out circles.
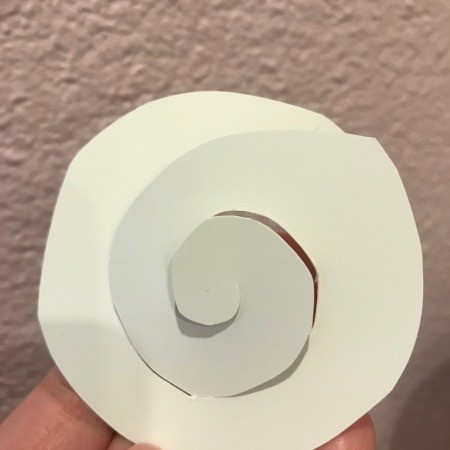
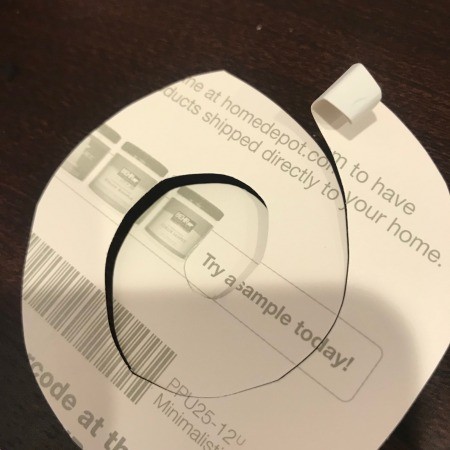
- Then cut out a spiral shape.
- Roll from the outer end of the spiral to the inner to achieve a flower shape and then apply glue. I liked both the solid and the exposed letter look, but that option is yours (if your paper has words).
- Repeat process until you have the amount of flowers you would like.
- Figure out the position of your flowers and glue them down.
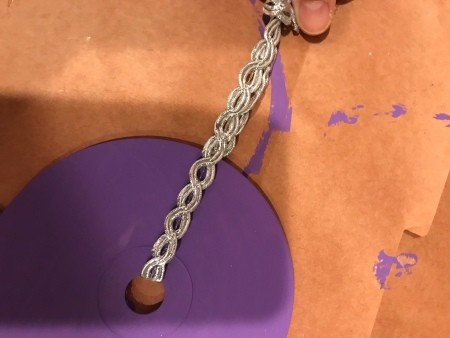
- Loop a piece of ribbon through the top center CD and secure with a knot so you can hang your wreath.
- You could leave your wreath like that (simple), or add any other gems, decorations, or finishing touches like a name, or bow. I hot glued a bow at the bottom. Now ready to display/hang!
Add your voice! Click below to comment. ThriftyFun is powered by your wisdom!