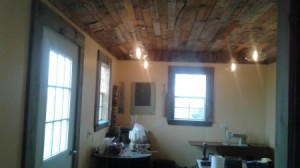
 My husband and I were looking for an affordable option for the ceiling in my new workshop. After looking at many options we came across the idea to use pallet slats. He found a place locally that was giving away pallets for free for disposal.
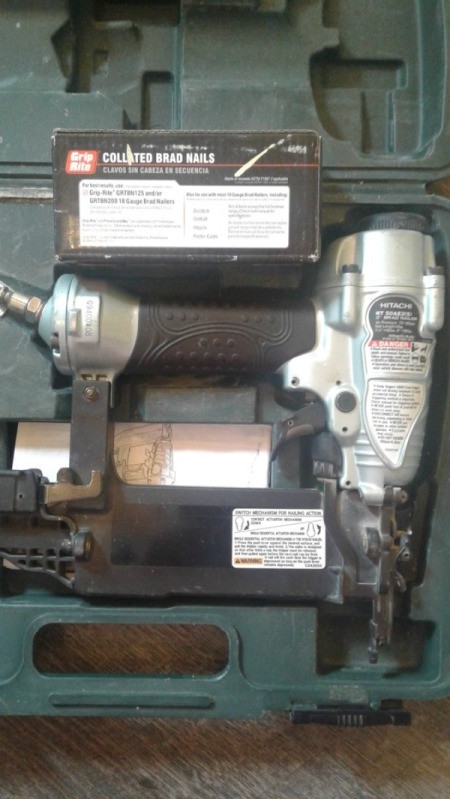
He spent about 1 day tearing apart about 45 pallets by cutting the nails with a saw. He then laid them out and pressure washed them. After they dried he started applying them to the ceiling with brad nails or finish nails. Behind the slat ends that aren't over a truss he nailed short pieces to give it more stability.
It turned out beautiful! Everyone that visits my workshop comments with rave reviews that I have to pass on to my handy husband.
Total Time: 3-4 days
Yield: 1 beautiful ceiling
Supplies:

Add your voice! Click below to comment. ThriftyFun is powered by your wisdom!
Smart thinking. This looks great. And no matter how many times your tip is used, due to variations in the pallet wood, each ceiling will be a unique, one of a kind.
Thank you! One thing I love about it is the unique one of a kind!! Some boards have circles & some have paint on the ends & there is so many colors of wood that it blends with my decor wonderfully!
That ceiling is unbelievable! I love it! You had a wonderful idea that turned out beautiful!!
This is really cool! My son uses free pallets for shelves in my green house and many other things so I will surely pass this on to him.
I agree - smart thinking!
Thanks for taking the time to photograph and explain your (husband's) project as I believe it will live on in our ThriftyFun's archives as a very useful tip.
Betty
Thank you! One thing I didn't mention is that we also used the pallet wood for window & door trim. It gives a rustic & cozy look. I like the shelf idea too! I'll have to try that too!
How did you fix the pallets to the ceiling ??
Add your voice! Click below to comment. ThriftyFun is powered by your wisdom!