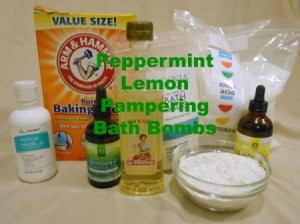
 These bath bombs combine the refreshing scent of lemon with the relaxing scent of peppermint to create a bath bomb that will knock the socks off the ones you buy at the mall. With an infusion of oil and sea salt in them, your skin will feel like it has spent the day at the spa. And the best part? These will cost you a fraction of the price of store (or mall) bought ones.
Total Time: 15 minutes to make, up to 24 hours to dry.
Yield: 12 bath bombs
Supplies:
- 2 cups baking soda
- 1 1/2 cup citric acid
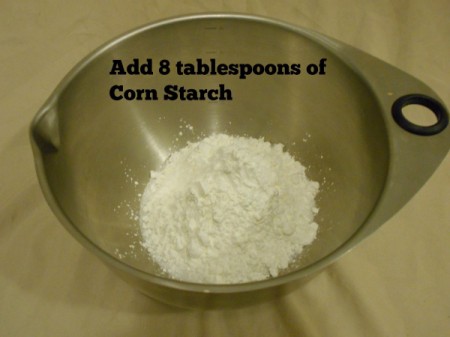
- 8 Tbsp corn starch
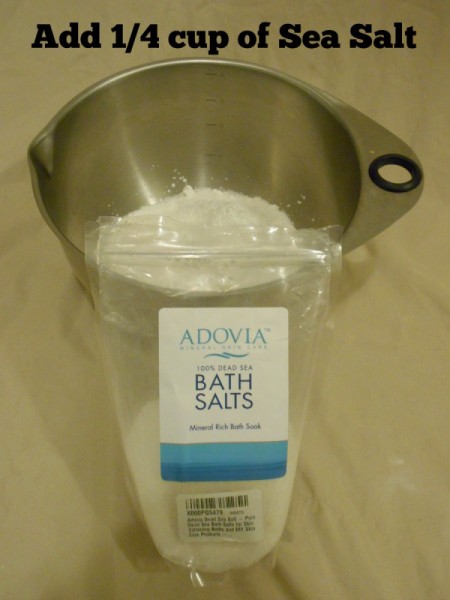
- 1/4 cup sea salt
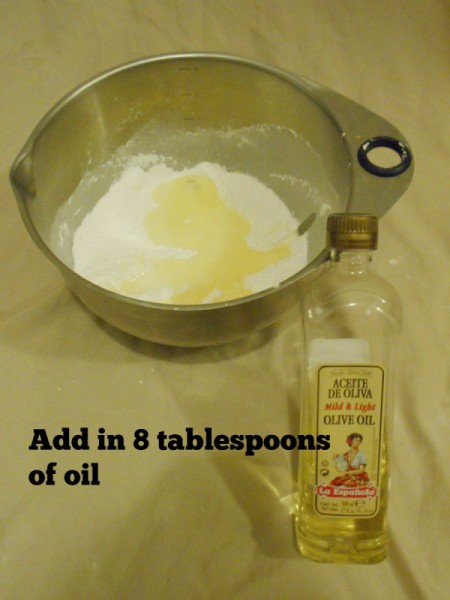
- 8 Tbsp oil of your choice
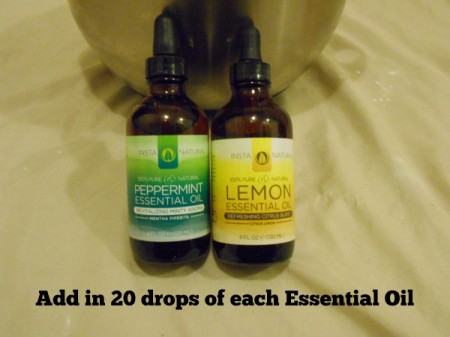
- 20 drops each of lemon and peppermint essential oils.
- witch hazel (in case your mixture is too dry)
You will also need a bowl to mix in, a measuring cup, a tablespoon and a mold of some sort. I'm using my handy silicone cupcake pan. Perfect for desserts and bath goodies.
Steps:
- First you will need to measure out the two cups of baking soda into your mixing bowl. Now add the cup and a half of citric acid on top of that.
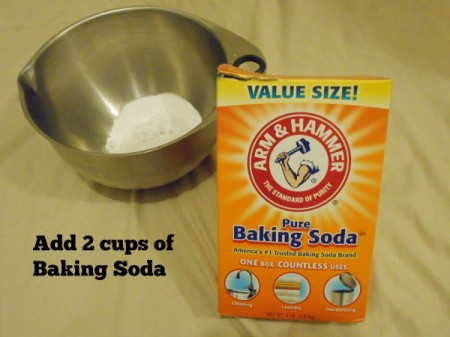
- Next goes in your eight tablespoons of corn starch, then the quarter cup of sea salt.

- Give it a good stir just to make sure everything is clump free and mixed up before we start adding in the wet ingredients.

- In goes the eight tablespoons of the oil you picked out. In my case, it is light olive oil.

- Right on top of the oil, you will add the twenty drops each of your lemon and peppermint essential oils. If you want a stronger scent you can obviously add more of one or both of them.

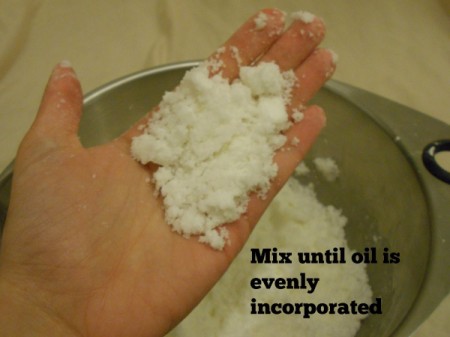
- Now mix everything up until it is a nice and even mixture. I find it is easier to use my hands once the oil has been mixed it. You want to watch out for dry chunks or oil pockets.

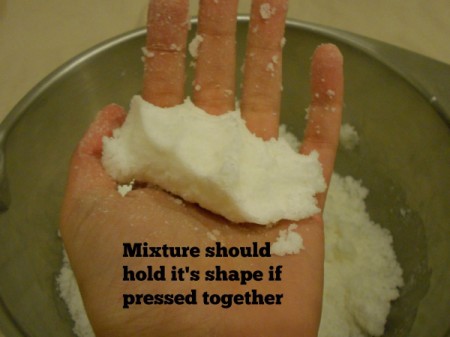
- Your finished mixture should retain it's shape if you squeeze some in your hand. If it is too dry and crumbly, put some witch hazel in a spray bottle and give it a few sprays, re-mix, then test again. Keep doing this until it retains it's shape. If you mixture seems too damp, that's OK. It just means it will take longer to dry.

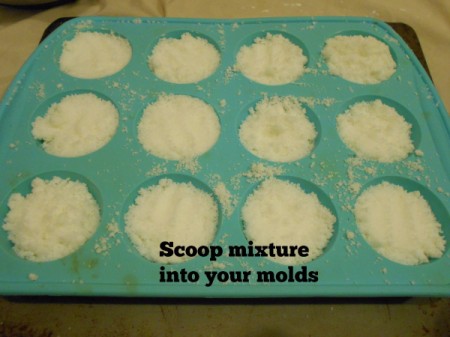
- Now you want to scoop the mixture into your molds. I just put one handful into each cupcake spot to start out with.

- Let dry until hard (mine took a full 24 hours), then just pop them out and store them in an airtight container until your next bath. These also make wonderful gifts, and can be made in large batches.
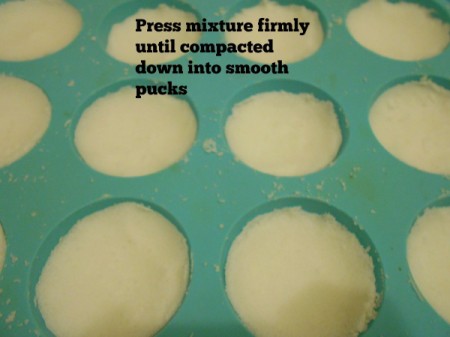
- Using something hard (I used the metal tablespoon), start pressing the mixture into the cups. You want to press any air and space out of it, so expect them to compact down halfway into the cup. Just add in any leftover mixture and keep pressing until you have used all the mixture. This made a dozen pucks in my cupcake pan, each at least three quarters of the way filled.

- Let dry until hard (mine took a full 24 hours), then just pop them out and store them in an airtight container until your next bath. These also make wonderful gifts, and can be made in large batches.
Add your voice! Click below to comment. ThriftyFun is powered by your wisdom!

Jess
Silver Post Medal for All Time! 267 Posts March 17, 20151 found this helpful
Awesome! I have been wanting to make dinosaur egg bath bombs since the boys were little. You have inspired me to make them. :)

March 17, 20150 found this helpful
I bet these smell delicious. Can't wait to try making our own bath bombs!

December 2, 20160 found this helpful
I followed this recipe to a T - the bath bombs have been "drying" for about 3 days now on my counter. They are still soft, and if I push on them, they crumble apart. What am I doing wrong?

April 18, 20180 found this helpful
I put our Christmas bombs outside for the Night and they are still awesome
Add your voice! Click below to comment. ThriftyFun is powered by your wisdom!
 These bath bombs combine the refreshing scent of lemon with the relaxing scent of peppermint to create a bath bomb that will knock the socks off the ones you buy at the mall. With an infusion of oil and sea salt in them, your skin will feel like it has spent the day at the spa. And the best part? These will cost you a fraction of the price of store (or mall) bought ones.
