attosa
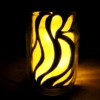
Diamond Post Medal for All Time! 1,246 Posts 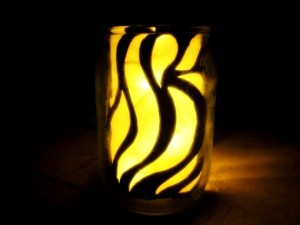 This LED light fixture is fun and easy to make, and will look beautiful outside at your summer barbecues when the sun starts going down. They also work great indoors. I like to put some around the bathroom for bath time. :)
Total Time: 1 hour
Yield: 1 light
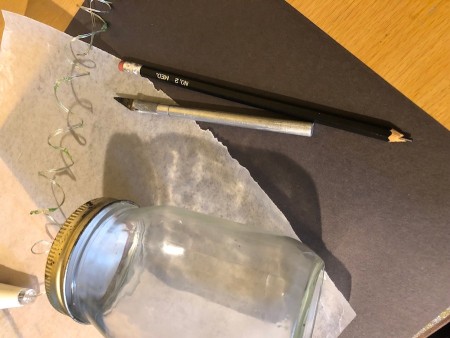
Supplies:
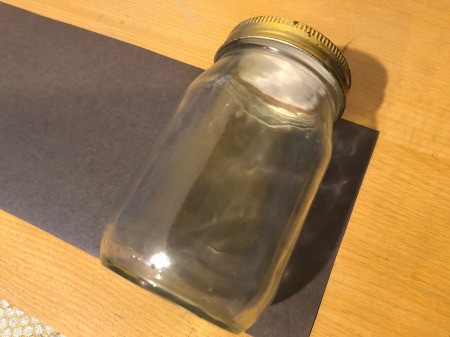
- mason jar
- black construction paper
- scissors
- pencil
- X-acto knife
- wax paper
- LED lights
Steps:
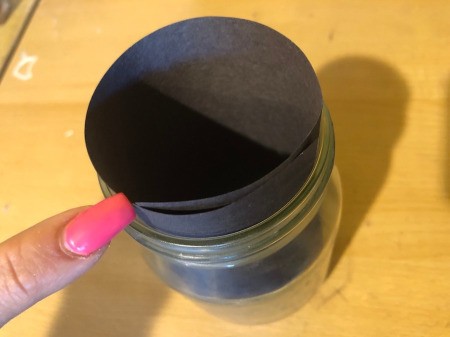
- Measure your black paper against the jar to see how high it should be cut. Allow 1 inch in excess so we can cover the bottom of the jar nicely.
- Roll the black paper into a tube and place in the jar. Mark where it will need to be cut so it's just a couple millimeters in overlap.

- Cut to size, then fold up the excess 1 inch upwards. This 1 inch of paper will not be drawn on nor cut with design.
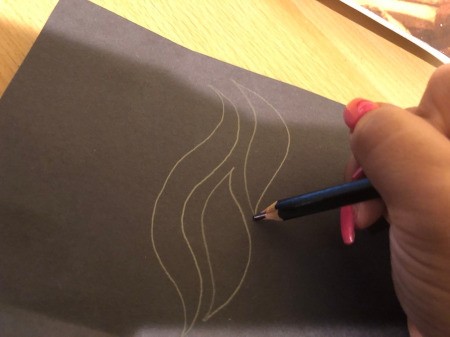
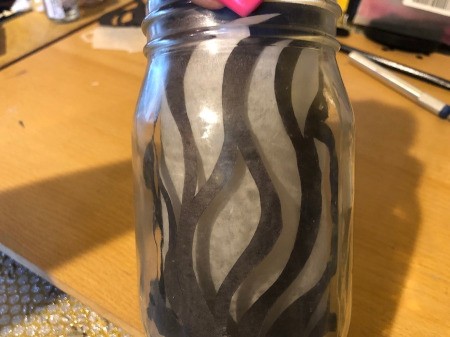
- Use your pencil to draw your design of choice onto the black paper. I went with random wave shapes.
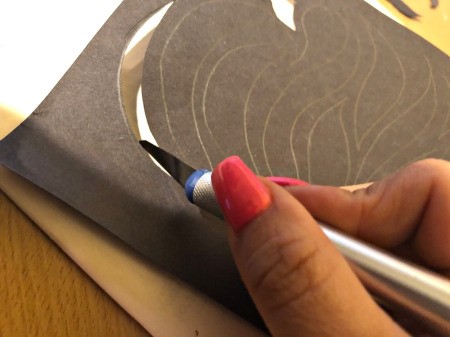
- Use your X-acto knife to carefully cut out the shapes you drew. Make sure you have something between your paper and your work surface. I used an old pamphlet.
- Carefully cut out any fuzzy/rough bits from the edges.
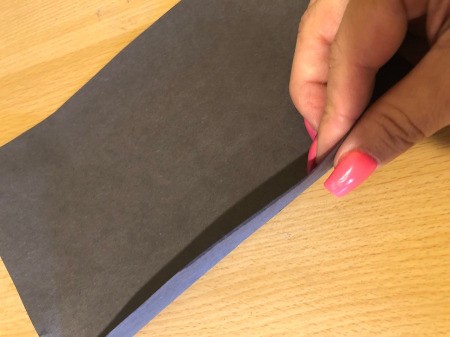
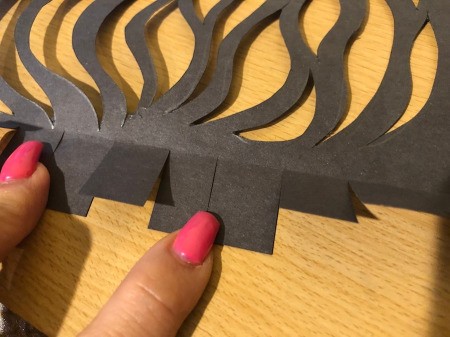
- Take the excess 1 inch fold of the paper and cut little notches into it. These will overlap when you roll the paper and create a nice base for the bottom.
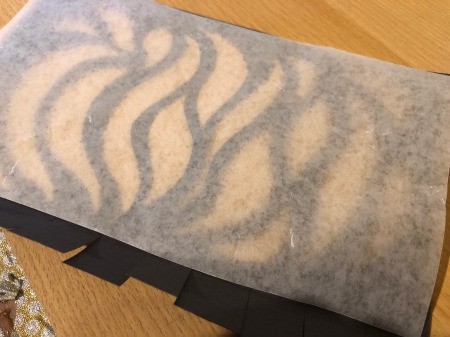
- Cut out a piece of wax paper the same size as your design segment. Lay it on the design.
- Roll the 2 pieces of paper into a tube and stuff into the jar. Turn on your LED lights, place inside, and screw the lid onto the jar.
Add your voice! Click below to comment. ThriftyFun is powered by your wisdom!