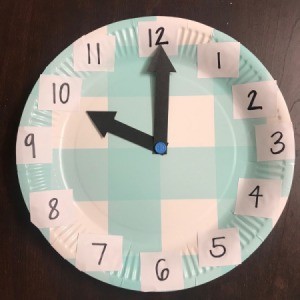
 This is an inexpensive learning tool you can make to help your child learn time. This paper plate clock is made with household supplies you probably already have at home!
Total Time: 15-20 minutes
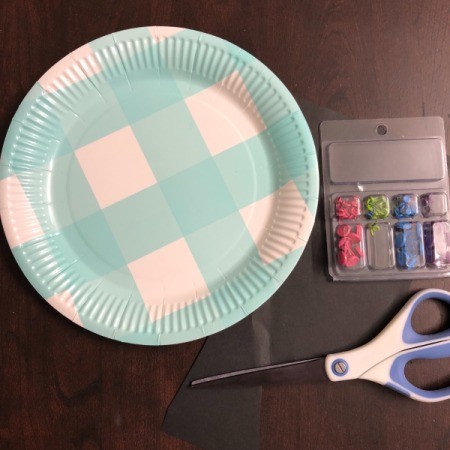
Supplies:
- paper plate
- paper fastener
- stickers
- scissors
- construction paper
- paper
- thumbtack
- Sharpie, pencil, or pen

Steps:
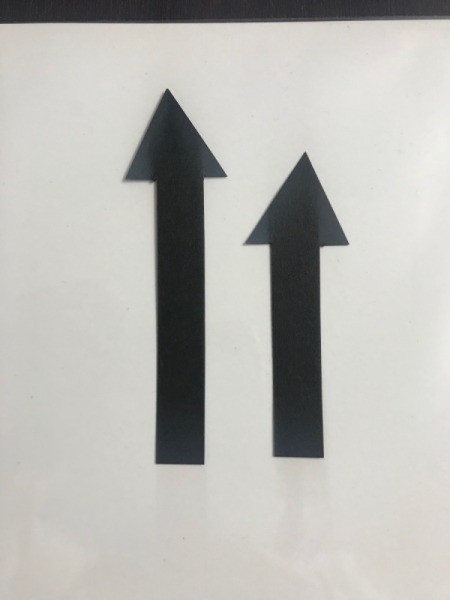
- I used a scrap piece of printer paper and cut out an arrow. Then, I traced the arrow on black construction paper.
- I cut another piece of black paper the same length and cut out both arrows together.
- Then, cut one arrow shorter.

- Using a thumbtack poke a hole in the center of the plate.
- Poke a hole in the arrows with the tack, then you can attach the arrows to the paper clock with the fastener.
- You could use a Sharpie to draw in the numbers for the clock, however since the paper plate has ridges the number would not show up nicely. Instead I cut square shapes from white stickers and on each square wrote the numbers.
- Stick on the numbers to complete your clock.

 This is an inexpensive learning tool you can make to help your child learn time. This paper plate clock is made with household supplies you probably already have at home!

