melissa
Silver Post Medal for All Time! 293 Posts 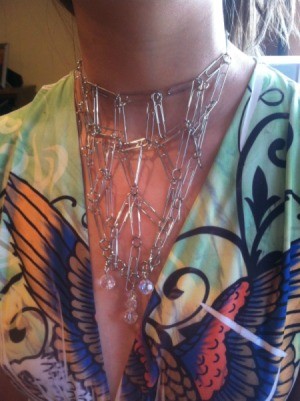 Statement necklaces are so popular nowadays. I have a special event coming up and I wanted a special necklace to wear to it. I also didn't want to have to spend any money on it.
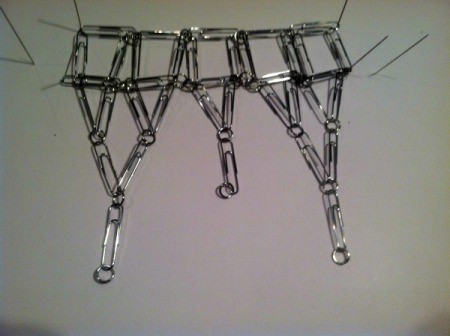
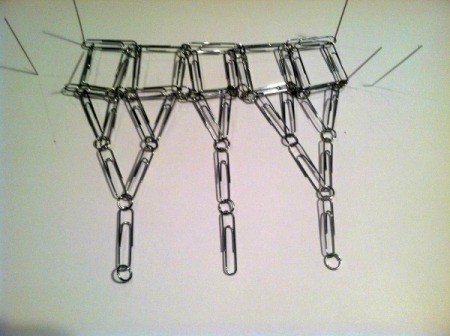
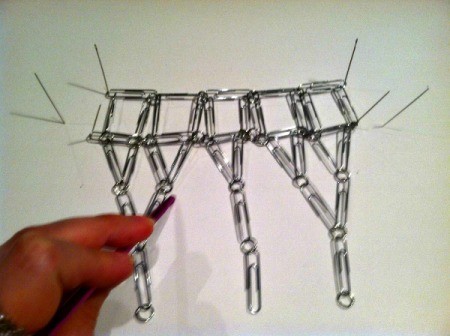
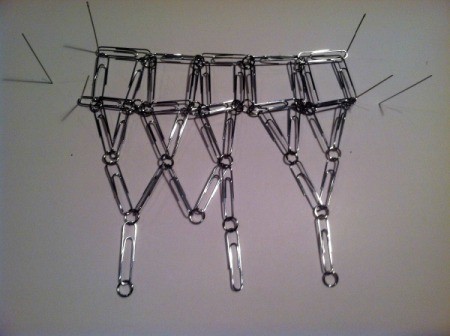
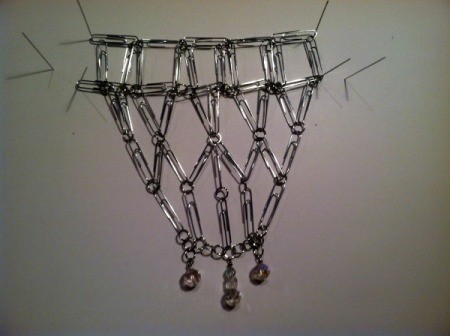
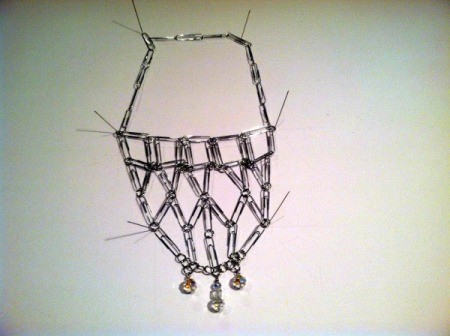
I've had some extra paperclips for quite some time that I forgot about. I decided to try and create something useful from them. This is what I came up with! This is a bit time consuming, but only requires a bit of patience no special jewelry making skills.
I'm happy with how this turned out and hope you have fun making your own. I have no doubt this will make a great conversation piece.
Total Time: Under 2 hours
Yield: 1
Supplies:
- 50-60 1 1/4 standard size paperclips. They can be purchased at the dollar store.
- 40-50 1/4" diameter jump rings
- wire cutters
- needle nose pliers
- 3 head pins
- 5 glass beads
- straight pins
- foam board
Steps:
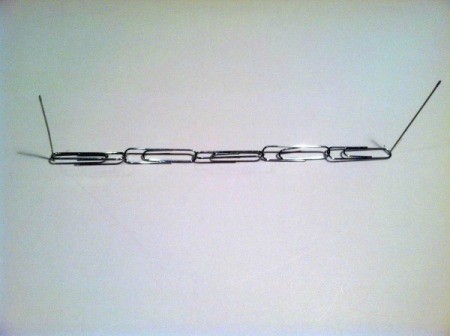
- You will be making your necklace on a foam board. As you progress, you will anchor your necklace with straight pins. This will make it much easier to work on your necklace without it getting tangled. Begin with 5 paperclips.
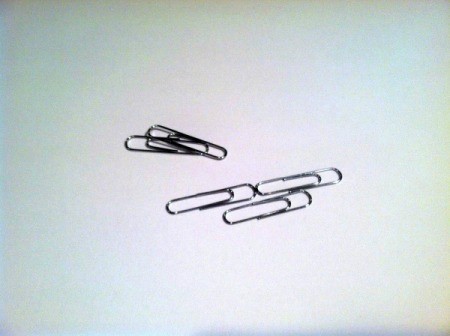
- You will hold your clip so that your outside curve is on the left. Start sliding your next clip on. Now you have your first two connected!
- Add your remaining clips for a base row of 5.

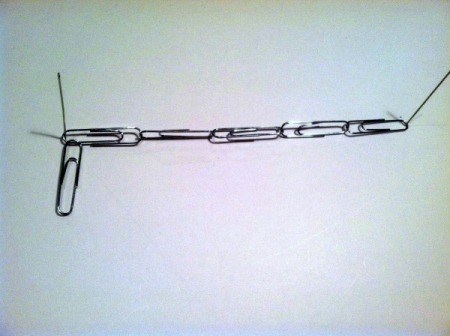
- Now attach your first clip here before the curve.

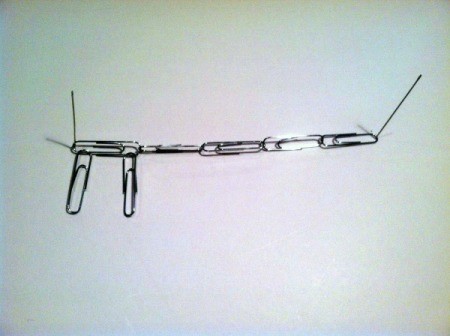
- Second clip here. Continue by adding 2 clips to each. You will end up with 2 clips hanging vertically from each horizontal clip.

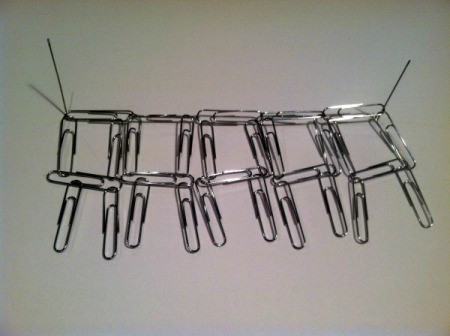
- You will now attach a clip horizontally to the first 2 vertical clips. Finish your row.
- Add 2 more vertical clips to the bottom of each horizontal clip.

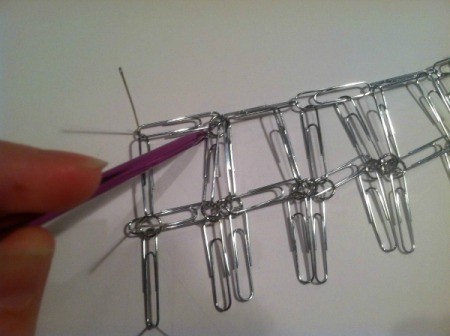
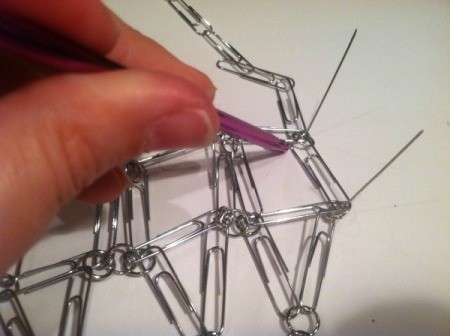
- You will now need your jewelry pliers so that you can add jump rings to your joints. Please be sure to run the ring through all 3 clips. This is where your first one will go. See?
- Add your second jump ring here. Continue joining these areas until the end of the row.
- You will now add a jump ring here. Be sure to run the ring through the clips and rings, not just each ring. This makes nicer joints. Join joints in the same manner until the end of the row.
- Add jump rings to your top row joints as well.

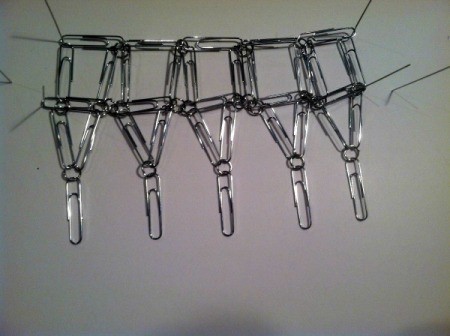
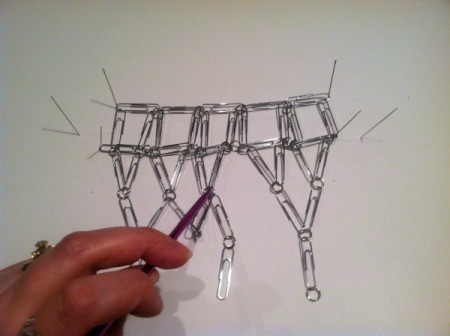
- You will now join the ends of your first 2 clips with a jump ring to create a "V". Repeat this for the entire row.
- Add 1 more clip to each ring.

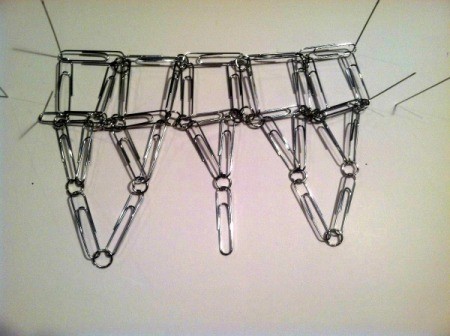
- You will now create a "V" with each end clip.

- Add a clip to the end of each "V" and a jump ring to the center clip.

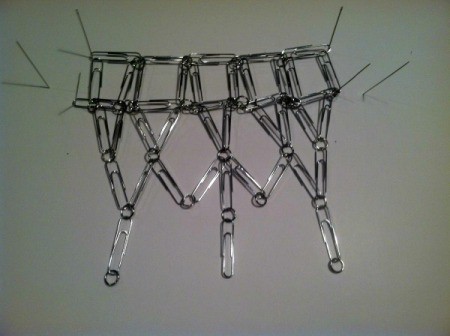
- Add a jump ring to the end of each clip.

- Add a clip to the middle jump ring.

- Add a clip here.

- And here. See?
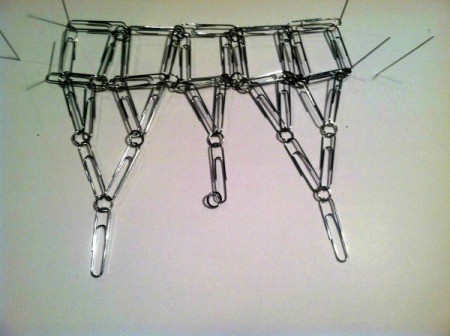
- Join the ends with a jump ring to create another "V".

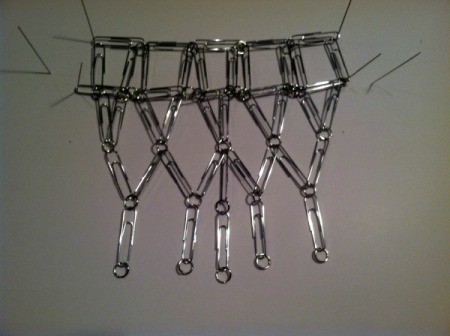
- Add a clip here.

- And here. See?
- Connect ends with a jump ring to create another "V".

- Add a clip here and here.
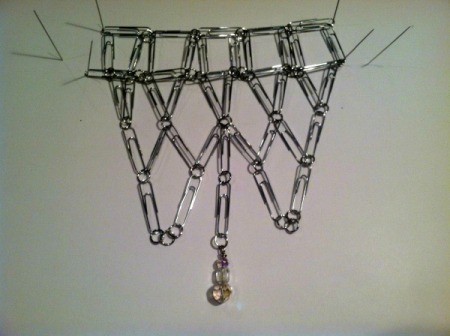
- Add a jump ring to the bottom of your clips.

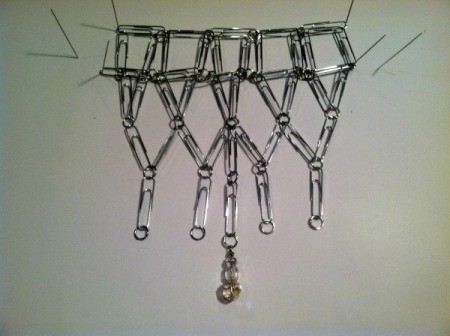
- You will now add 3 small beads to a head pin. Create a loop and wrap your pin end around your stem so that you can attach it to the center jump ring.

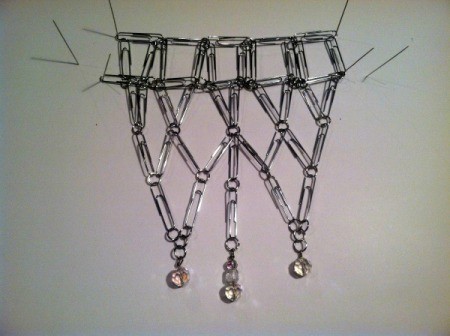
- Join your ends with an additional jump ring to create 2 more "Vs".

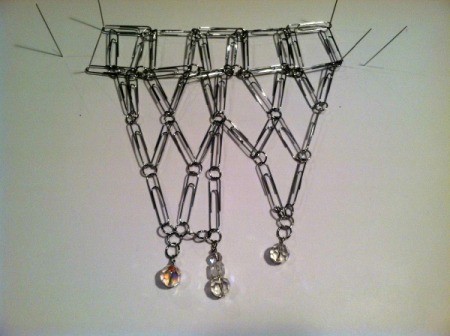
- Add 2 more head pin stems of 2 beads to each end.

- Join these jump rings with an additional jump ring.

- These as well.

- Reinforce each top corner with another jump ring as well.

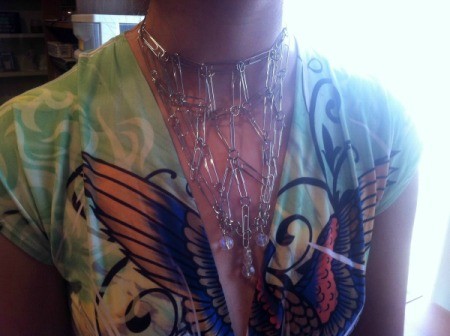
- You will now start at your corners and link together about 9 clips for the "chain" part of your necklace. The important thing is to have the chain fit snug like a choker around your neck. This will display the design better. See?

- Enjoy!

Add your voice! Click below to comment. ThriftyFun is powered by your wisdom!

Becky Miles
Bronze Feedback Medal for All Time! 158 Feedbacks March 30, 20150 found this helpful
Wow! That's amazing!

attosa
Diamond Post Medal for All Time! 1,246 Posts January 6, 20160 found this helpful
Suuuuuper! Love it!
Add your voice! Click below to comment. ThriftyFun is powered by your wisdom!

 Statement necklaces are so popular nowadays. I have a special event coming up and I wanted a special necklace to wear to it. I also didn't want to have to spend any money on it.
