lalala...
Gold Post Medal for All Time! 899 Posts 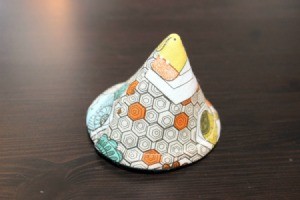 These handy diaper changing cones are an great way to avoid getting tinkled on by your baby boy. They are easy to make and super absorbent. (Also known as Pee Pee Teepees.)
Yield: 10-12 cones
Supplies:
- 1/4 yd cotton print fabric (44"-45" wide)
- 1/2 yd cotton flannel (44"-45" wide)
- thread
- pins
- scissors
- cardstock (for template)
Steps:
- Prewash fabric and dry it on high to take care of any shrinking that will occur.
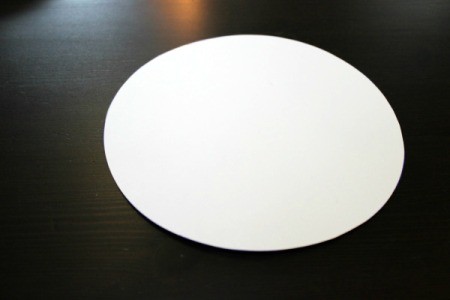
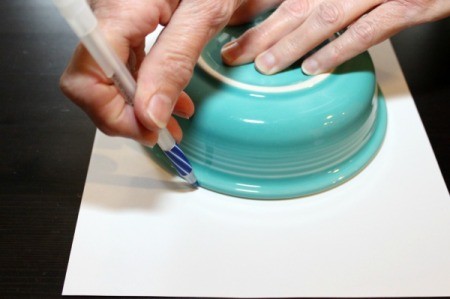
- Create a circle template (6-7" in diameter) on a piece of cardstock using a bowl or plate.
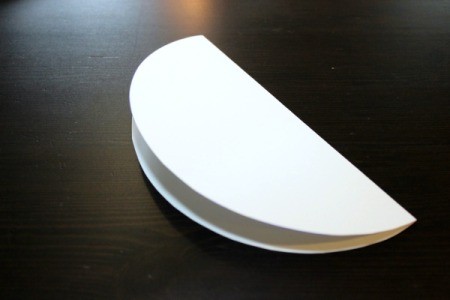
- Cut out the template and fold the circle in half.
- Trace around the template onto the cotton print fabric. Cut out.

- Trace around template twice onto the cotton flannel. Cut out. NOTE: I recommend two layers for extra absorbency.
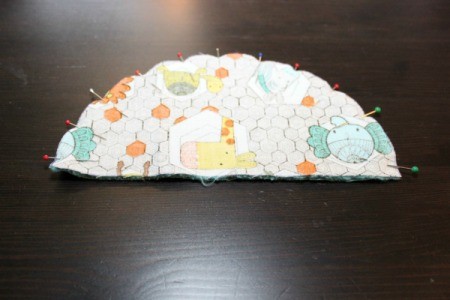
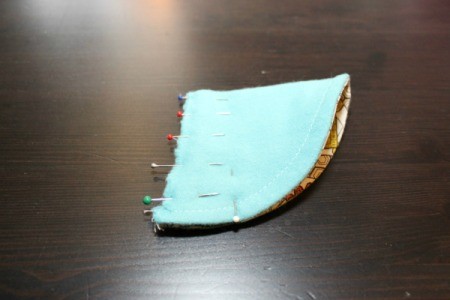
- Pin the three pieces together with print fabric face down.
- Sew the pieces together along the curved edge, then turn right side out. Top stitch along curved edge. Tie off thread and snip off any extra thread.
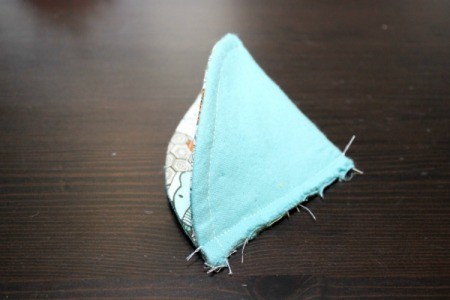
- Fold in half right sides together, lining up the curved edges and pinning along the straight side.
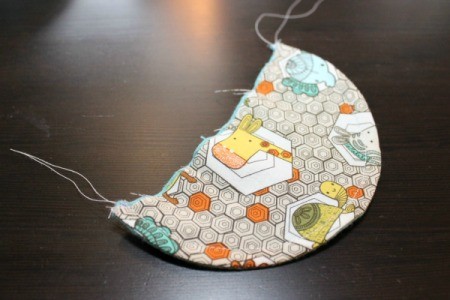
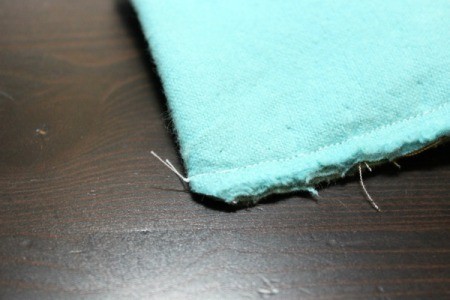
- Sew along straight edge, tying off thread and snipping off ends. Snip off the pointy end of fabric at the top of the cone to make turning it right side out easier.
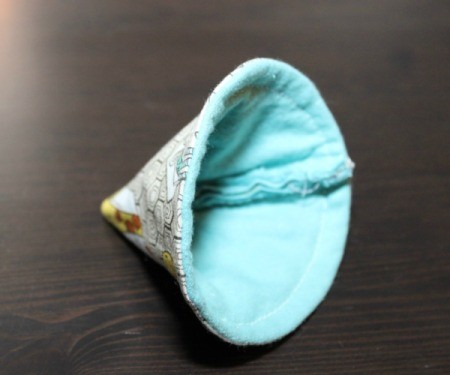
- Turn the cone right side out and gently shape the cone, pushing something dull into the tip to create a nice point.
Add your voice! Click below to comment. ThriftyFun is powered by your wisdom!