15mhhm15
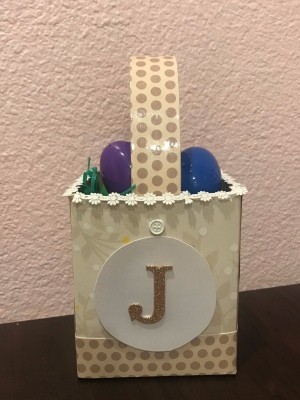
Diamond Post Medal for All Time! 1,298 Posts  Do you have an empty tissue box laying around? If not, you still have plenty of time. Here is how you can transform your tissue box into an Easter basket!
Total Time: 30 minutes
Supplies:
- tissue box
- scissors/paper cutter
- thumbtack
- scrapbook paper
- glue stick
- hot glue
- packaging clear tape
- brads
- ribbon
- pen
- cardboard glitter letters
- grass/eggs/filling (candy)
Steps:
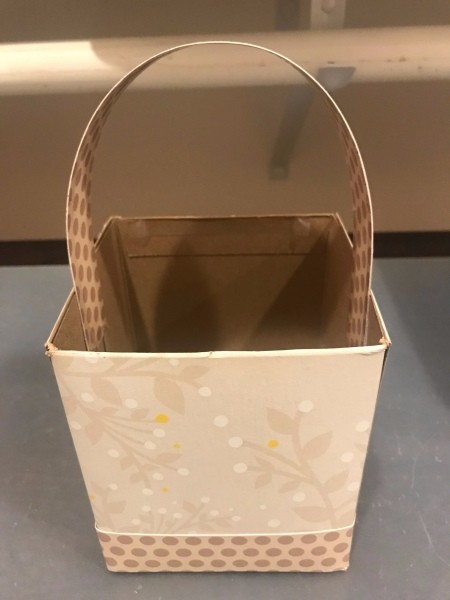
- You will need to cut off the top of your tissue box.
- Depending on your tissue box, figure out a way to cover the words. My tissue box has wording at the bottom, so I cut out 1.25" strips of scrapbook paper to glue around the bottom.
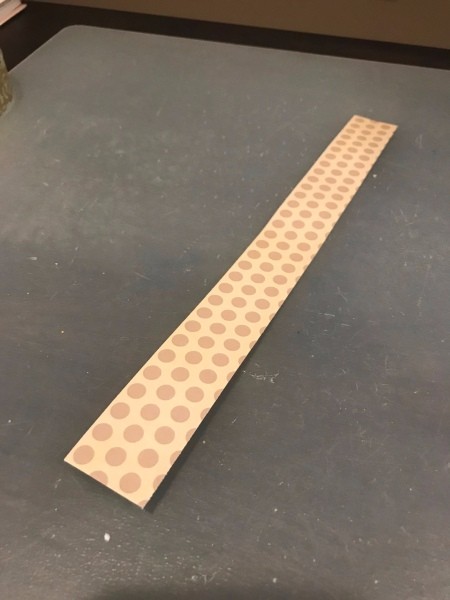
- I also cut out additional two strips to glue together (that way the polka dots can be seen on both sides as well as make it a more sturdy handle).

- Optional - so the handle is not sharp from the paper, I laid the handle on packaging tape and wrapped it with the tape. This also makes the handle more sturdy. Trim off any excess tape.
- Figure out if you would like your handle to be on the inside or outside.

- Once you decide your handle position - use a thumbtack to poke a hole on each side of the tissue box and then poke a hole through the handle. Secure the brad in place and repeat for other side.
- Ready to decorate/add detailing to the basket. For the top trim, I used this floral ribbon. Measure out pieces and then hot glued the floral ribbon down.
- Optional - adding a personalized touch with an initial letter. Trace a circle on cardstock and cut out. Glue the circle down along with your letter. If you don't have a letter, you could always freehand draw it out.
- Ready to add fake Easter grass, eggs with treats, small gifts, or anything you would like.
Add your voice! Click below to comment. ThriftyFun is powered by your wisdom!

 Do you have an empty tissue box laying around? If not, you still have plenty of time. Here is how you can transform your tissue box into an Easter basket!
