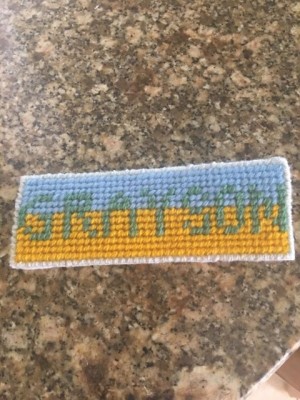
 Don't throw away those small pieces of leftover canvas. Instead, make personalized needlepoint bookmarks. I am making some for my grandkids.
Total Time: 1 hour
Yield: 1
Supplies:
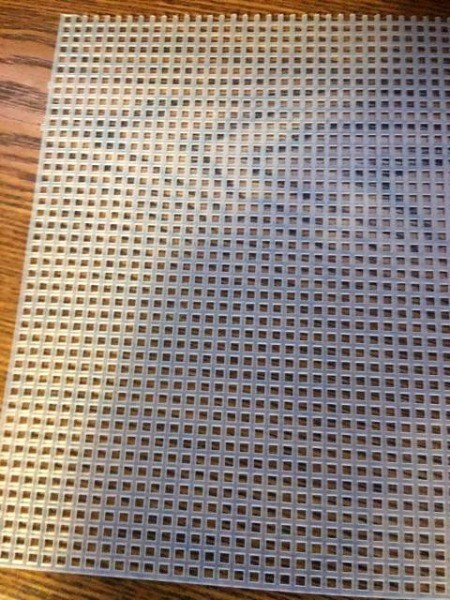
- leftover needlepoint canvas
- needlepoint yarn
- needle with large eye
- scissors
- pattern
- piece of felt for back
- glue
Steps:
- Cut needlepoint canvas to desired size for a bookmark.

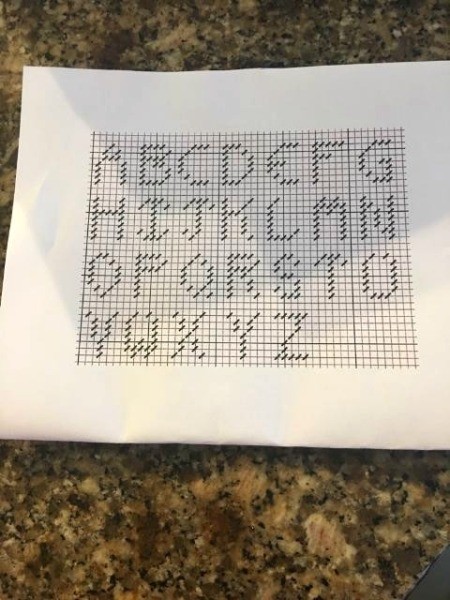
- Choose a design or to make it personalized with a name, I found this easy alphabet pattern online.

- Thread the needle (do not knot), insert the needle under the plastic canvas and bring it through the first square of your design. This is called the "continental stitch" which is a diagonal stitch going from one upper corner square diagonally to a lower square. This is the easiest of needlepoint stitches. Stitch the name or design using this stitch. Fill in the background with desired color using same stitch once the pattern or name is completed. (As you can see, I have used different colors because I am also using up scrap needlepoint yarn.)
- Finish the edge of the bookmark by inserting needle in and out of each square. Glue a piece of felt to back to hide stitching and to give it a nice, completed look.
Add your voice! Click below to comment. ThriftyFun is powered by your wisdom!

Jess
Silver Post Medal for All Time! 267 Posts July 17, 20200 found this helpful
Thanks for the clear instructions. These bookmarks are great to make as a little gift for someone, or even for yourself.
Add your voice! Click below to comment. ThriftyFun is powered by your wisdom!

 Don't throw away those small pieces of leftover canvas. Instead, make personalized needlepoint bookmarks. I am making some for my grandkids.
