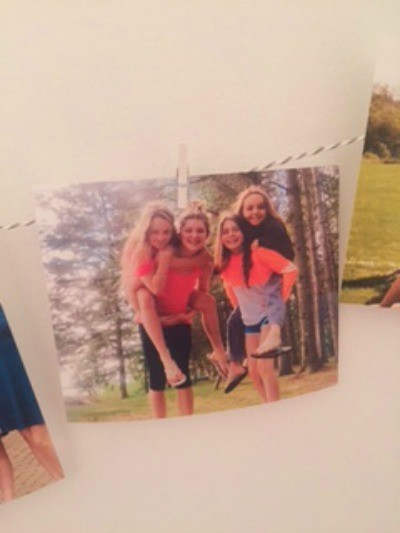
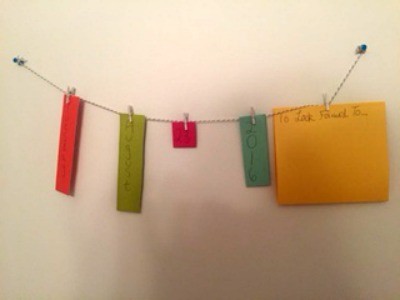
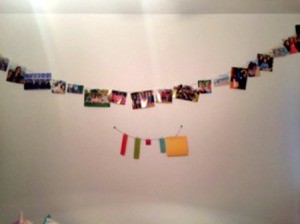
 This can be a great centerpiece for your wall. Not only is it colorful, but it also showcases who you are through pictures of what and who you love! It doesn't take long to make and the results are absolutely stunning! Another great idea for using this same idea is to create a date string, also described in this post.
Total Time: 30 minutes- 2 hours
Yield: 1 photo and 1 date string
Supplies:
- string (longer than the wall you're putting it on)
- 10+ mini clothes pins (I used 21, you'll need 1 for each picture)
- 10+ pictures (I used 21)
- scissors
- 2 push pins
- Supplies for the Date String project
- string (longer than the space you're putting it on)
- 5 mini clothes pins
- 2 push pins
- 5 sheets of paper, I used cardstock
- scissors
- 1 roll packaging tape
- 1 dry erase marker
Steps:
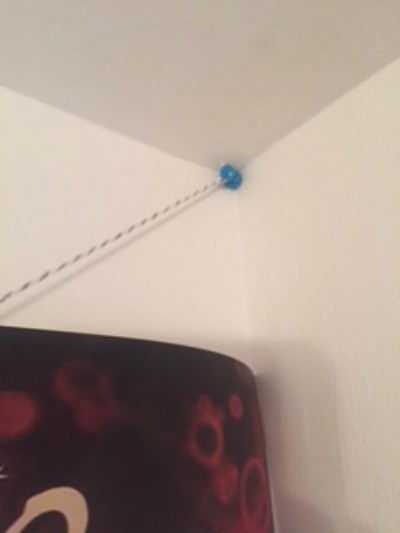
- For both projects measure the string the length you want it. You'll need extra to connect it to the wall and you'll want a dip in it (see photo).
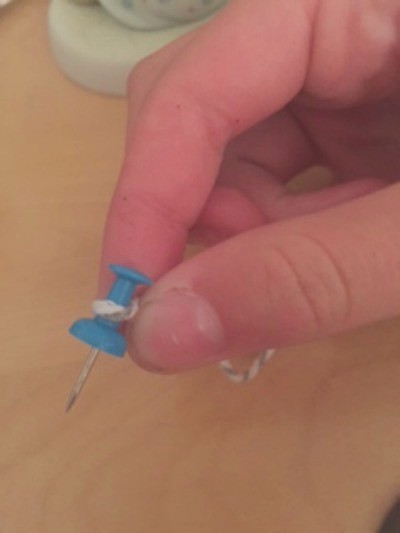
- Tie the ends of the strings to the 2 push pins.

- For the photo project put the 2 push pins into the corner of the wall. For the date string they will be pushed into the wall where ever you want this display to hang.

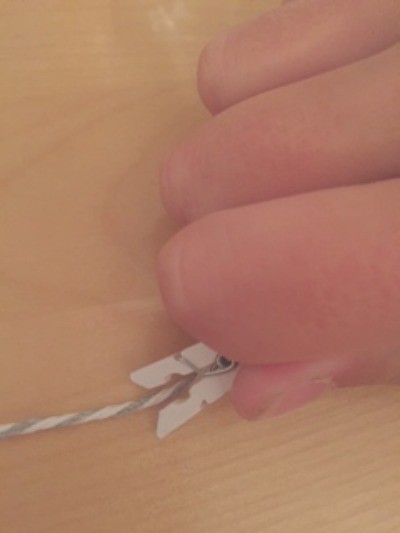
- Grab the mini clothespins and start putting them on the photo string, spreading them out evenly.

- You can add to the photo string if there's room. You can also easily replace photos.

- For the Date String follow these optional steps:
- Cut out of the cardstock the size you want for days of the week, months of the year, numbers 1-31, years starting at 2016, and "Things to Look Forward To".
- Get packaging tape and wrap the "Things to Look Forward To" piece of paper in it so it is completely covered (now it is dry erase!).
- Grab the mini clothespins and start putting them on the date string, spreading them out evenly. Put the day of the week, month, date, year, and things to look forward to on the string. Enjoy and update each day!

Add your voice! Click below to comment. ThriftyFun is powered by your wisdom!
 This can be a great centerpiece for your wall. Not only is it colorful, but it also showcases who you are through pictures of what and who you love! It doesn't take long to make and the results are absolutely stunning! Another great idea for using this same idea is to create a date string, also described in this post.