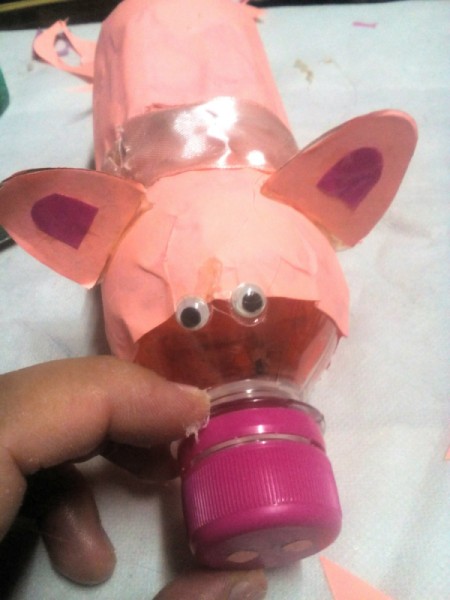
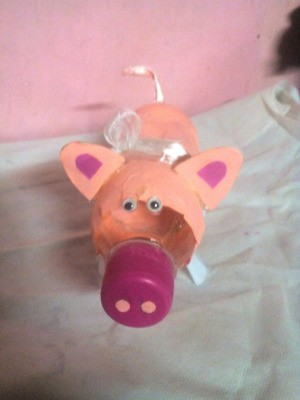
 Teach kids to be thrifty and save their extra coins or paper bills by making their own piggy bank. To expand their interest in this matter, add some creativity to it so that they will be more excited to save.
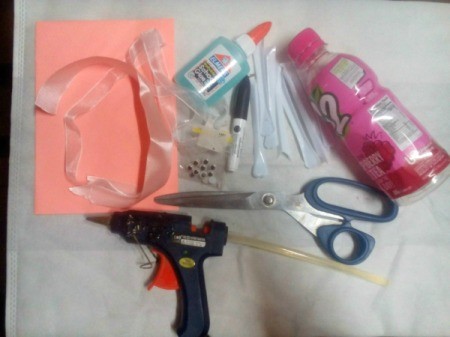
Supplies:
- plastic bottle
- scissors
- cutters
- art paper
- glue
- stick/hot glue
- glue gun
- wiggly eyes
- marker
- plastic spoon handles (optional)
- accessories
Steps:
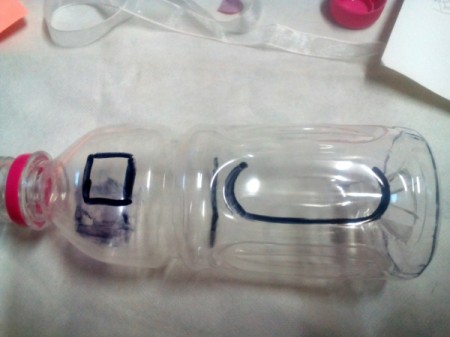
- Unwrap plastic bottle and start marking a horizontal line in the middle of its body.
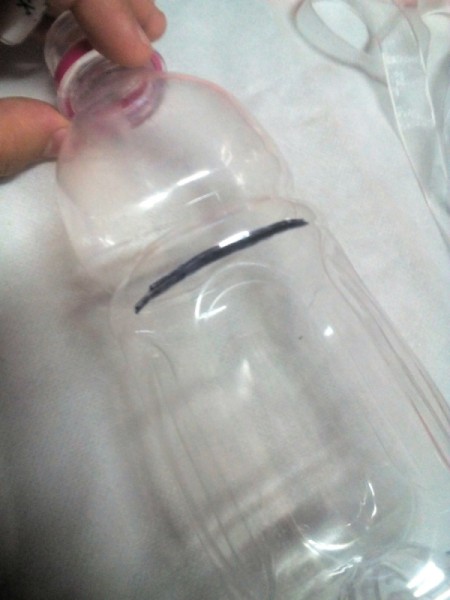
- On the other side, mark a square and an oval shape.

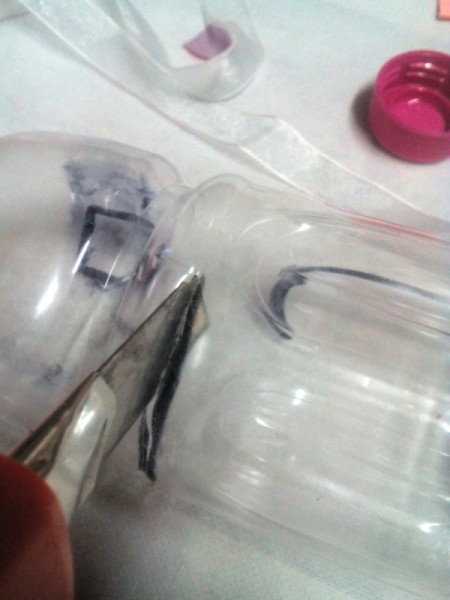
- Cut the first marking with a cutter.

- Cut the square and oval markings, but don't cut it through. Just leave both open (see attached image)
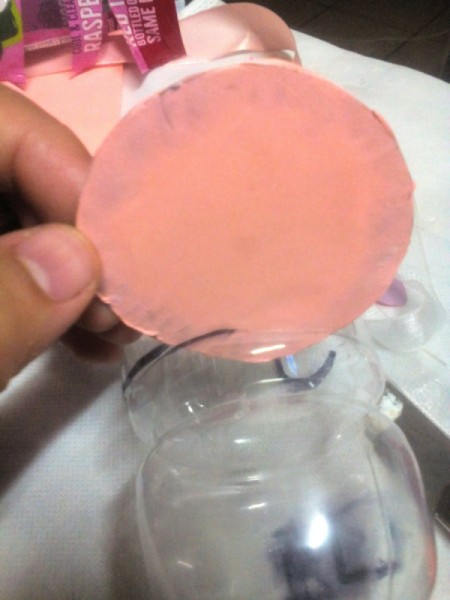
- Now, cut out a circle of cardboard. Cut out two ear shapes.
- Cover all cut outs with artpaper and set aside.
- Get the circle and insert into the front slot cutting. This will serve as the money separator for coins and paper bills.

- Close and seal it back with hot glue. Cut a small slit below the first line. This is where the coins are inserted.

- For the back markings, make holes on both sides and tie a ribbon tightly to close. This is where you'll open and get the coins when your bank is full. But make sure kids won't be able to simply open it themselves. Or keep it secret from them.
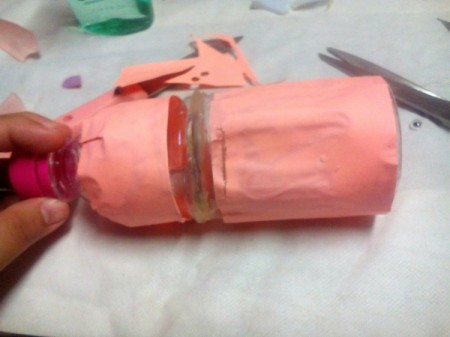
- Now, wrap the whole bottle with art paper.

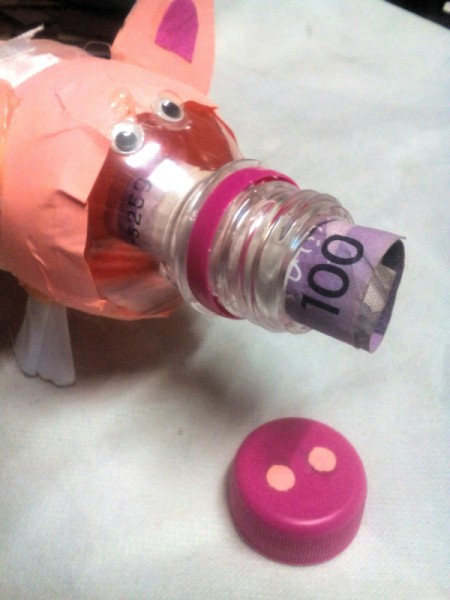
- Stick two tiny circles onto the lid for the nose.

- Put on the wiggly eyes and ears.

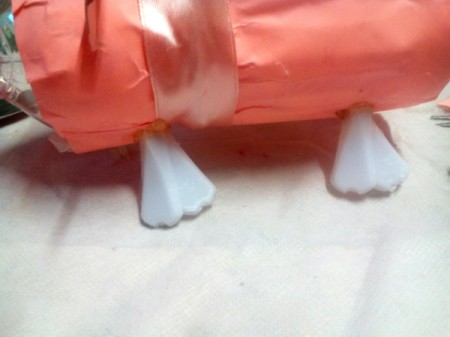
- For the legs cut the tips of the spoon handles and stick two pieces together.
- Attach them into place.

- Simply roll a piece of ribbon or paper and stick to the bottom portion of the bottle for its tail.

- Decorate with your desired accessories.
- Insert coins into the slit.

- Remove the lid to insert paper bills into the other compartment of the bank.

Add your voice! Click below to comment. ThriftyFun is powered by your wisdom!
 Teach kids to be thrifty and save their extra coins or paper bills by making their own piggy bank. To expand their interest in this matter, add some creativity to it so that they will be more excited to save.

