ShirleyE
Bronze Post Medal for All Time! 239 Posts 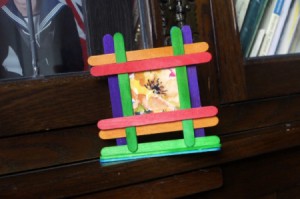 This little frame is amazingly easy and quick to assemble. You can tie ribbon to it to hang on a wall, or you can make the optional stand to display it on a shelf.
Of course you don't have to use the same colour of sticks as I do, but I will refer to the colours just so you know which sticks I am talking about.
Supplies:
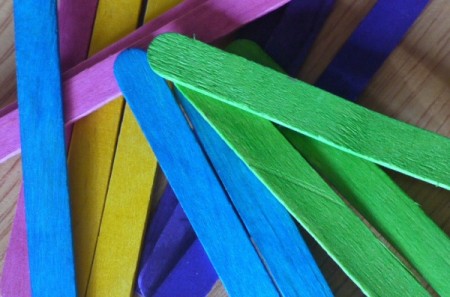
- 10 Popsicle (ice lolly) sticks, pre-colored
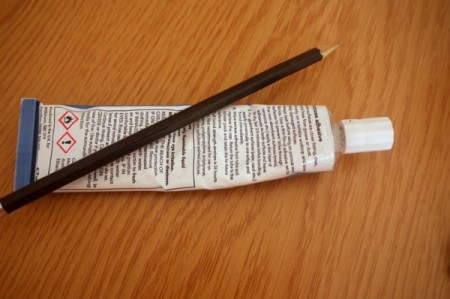
- 1 tube of all purpose glue
- 1 pen or pencil for marking
- 6 more sticks if you want to make a stand for your frame
Steps:
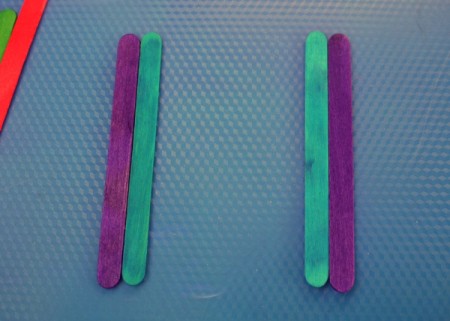
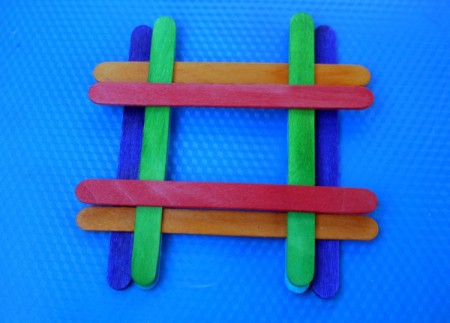
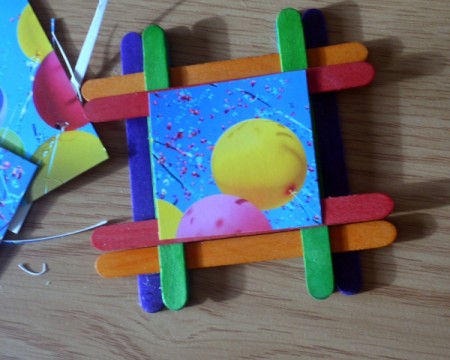
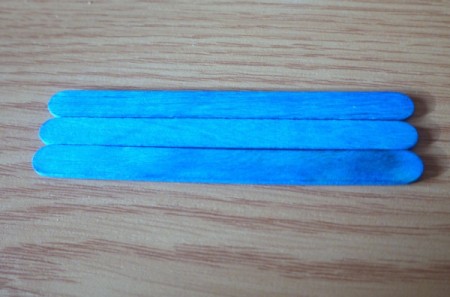
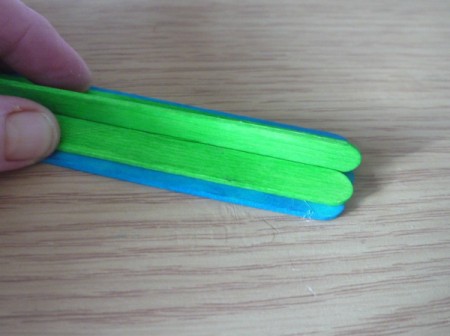
- Lay the purple and blue sticks like this.

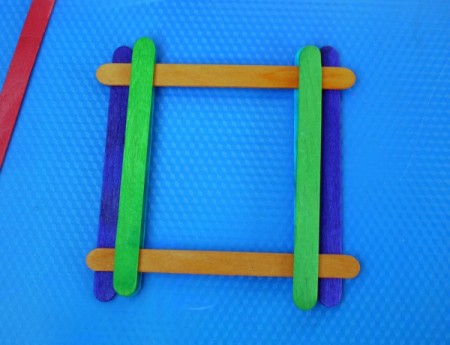
- Lay the 2 orange sticks on top of the purple and blue sticks like this.
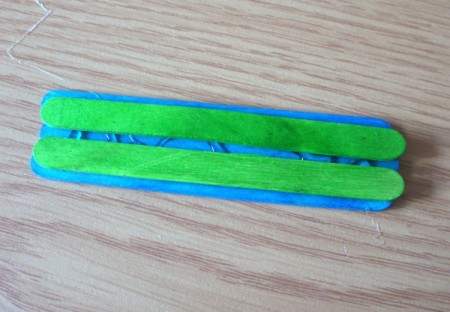
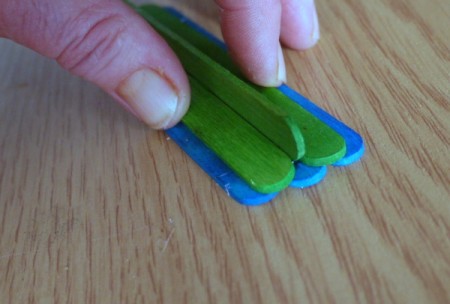
- Lay the green sticks on top of the orange sticks and line them up with the blue sticks.
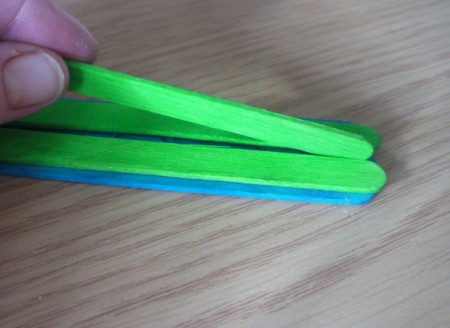
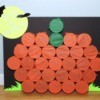
- Lastly lay the red sticks like this, so that the top one is lined up with the top orange stick, but just below it, and the bottom one is just above the bottom orange stick.
- If the frame is too small or too big, carefully rearrange the sticks until you have them how you want them. Then you will need to very carefully remove the green and red sticks without disturbing the others.
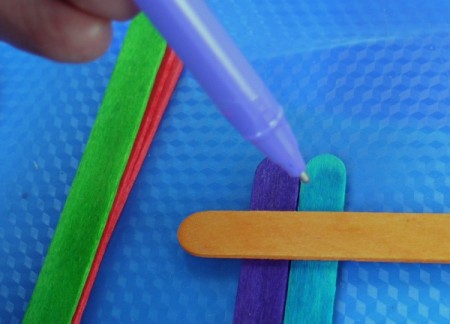
- Make marks on the blue sticks with your pen or pencil to show where the orange sticks will need to be glued. These marks will not show on the finished item because they will be covered by the green sticks.
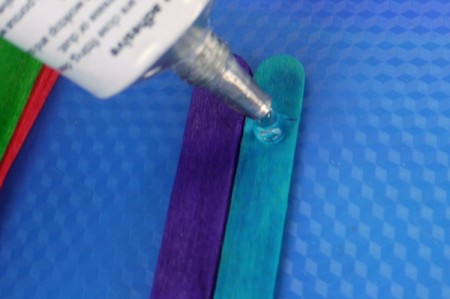
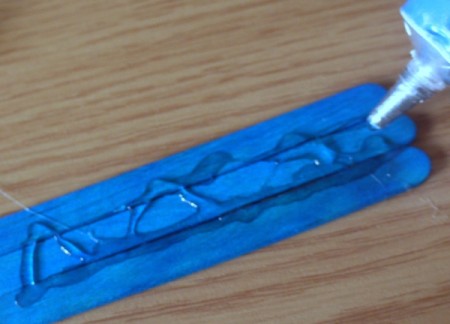
- Carefully remove the orange sticks without disturbing the purple and blue sticks and apply a small amount of glue to them. Replace the orange sticks, using the marks you have made to make sure they are in the correct place.
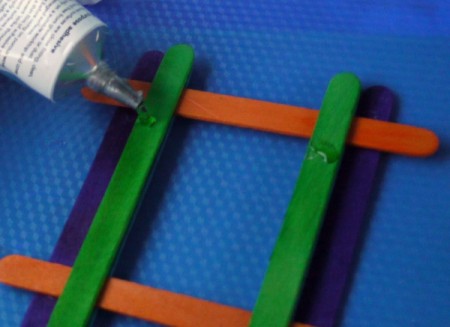
- Using glue again, replace the green and red sticks in the same manner as before. Leave your frame undisturbed until the glue has dried.
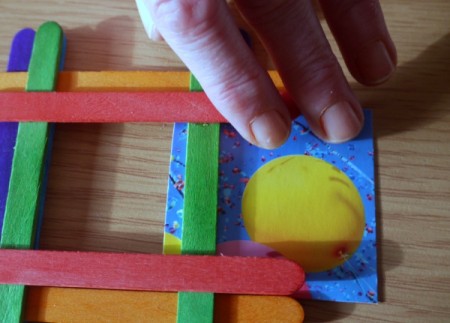
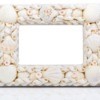
- Cut your picture to fit to the outside edges of the green and red sticks.
- Slide it in from the side.
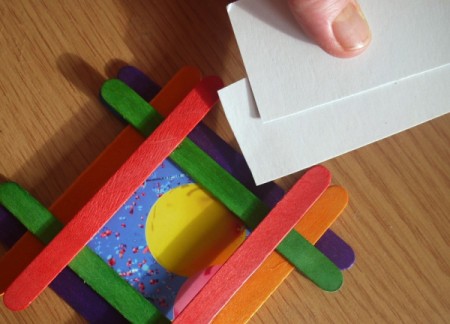
- You will probably need something to hold it in place if it is not thick enough. You can do this with extra cardstock
- or you can tape your picture in place on the back.
- If you want to make the stand for your frame you will need another 3 sticks. Arrange 3 of them side by side.
- Apply plenty of glue.
- Add 2 more sticks and leave a slight gap.
- Insert another stick in the gap.
- Hold the sticks in place for a minute or two until the glue hardens a little then leave to dry undisturbed.
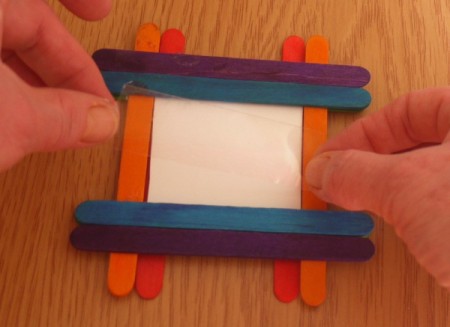
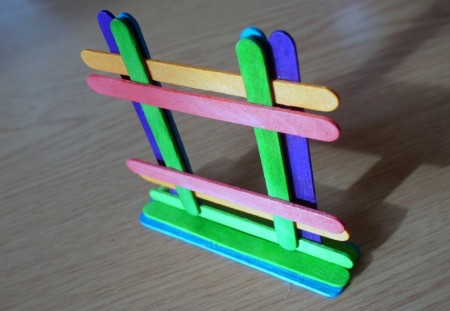
- Your frame will slot perfectly onto the stand.
Add your voice! Click below to comment. ThriftyFun is powered by your wisdom!
Judy
Gold Post Medal for All Time! 677 Posts February 27, 20160 found this helpful
I remember making these and trinket boxes
in summer camp. Thanks for the memories!
Add your voice! Click below to comment. ThriftyFun is powered by your wisdom!