DianaHM
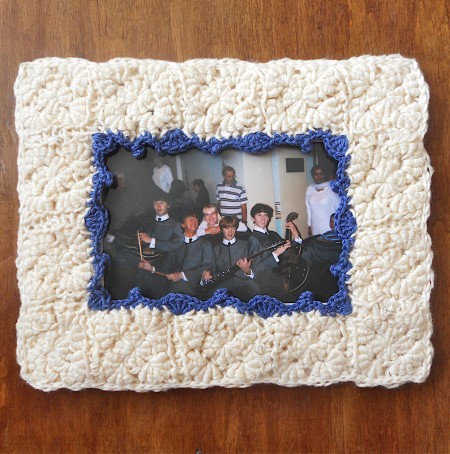
Silver Answer Medal for All Time! 440 Answers 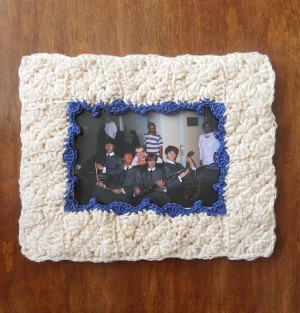 This crochet frame not only looks original but is lightweight so you can carry it with you. It can be hung on a wall or placed on a table. It can also be a great DIY birthday present. Instead of a photo, you can insert a picture and use it as a double sided card.
Total Time: 2 Hours
Yield: Frame & Card 6 inches wide, 7.5 inches long for photo or picture about 3 inches wide, 4.5 inches long
Supplies:
- beige cotton yarn 180 m/50g
- blue cotton yarn 169 m/50g
- crochet hooks 2.5, 3.5 mm
- cardboard
- pencil
- needle
- scissors
- ruler
- triangle
- blade or very sharp knife to cut cardboard
- PVA (white) glue
- transparent hot glue sticks and hot glue gun
- ribbons
Steps:
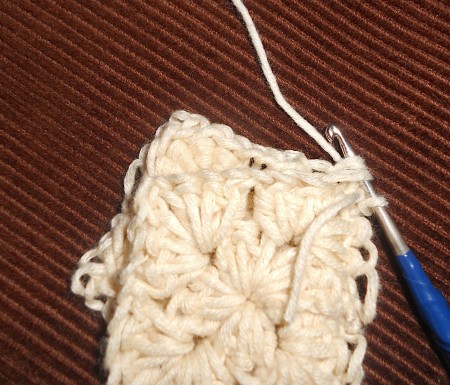
- Use beige yarn and hook 3.5 mm. Crochet a chain of 4 loops, 1 sl st to connect the chain. 1 ch for lift.
Then work in rounds, do not turn. Don't crochet tight.
RND 1: 4 ch, 2 bs in one loop, 1 ch. * 3 bs in one loop, 1 ch. Repeat from * .
RND 2: 4 ch, 2 bc in one arch, 1 ch, 3 bc in the same arch, 1 ch. * 3 bs in one arch, 1 ch, 3 bc in the same arch, 1 ch. Repeat from *. 1 sl st.
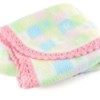
Finish off crochet. Hide the ends of the yarn. You will have a square motif with a side of 1.5 inches.
Crochet 14 motives in the same way. 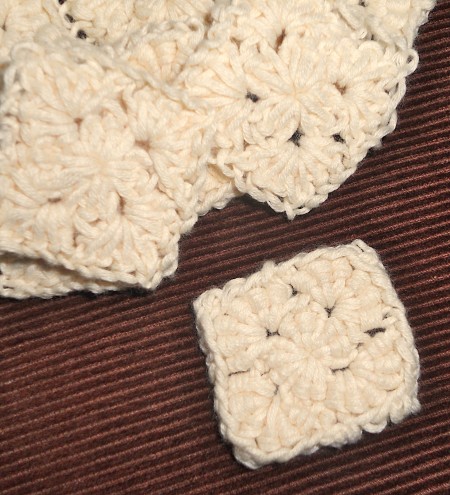
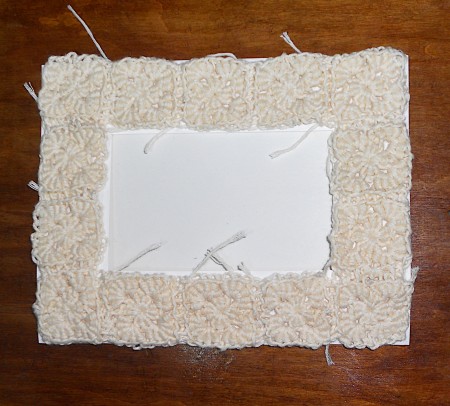
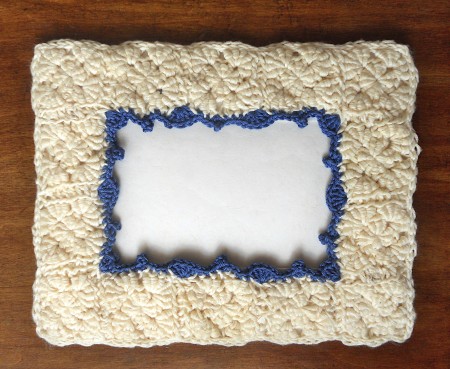
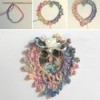
- Using beige yarn and crochet hook 2 mm connect the motives as in the photo by crocheting them on the wrong side: sc in every back loop.
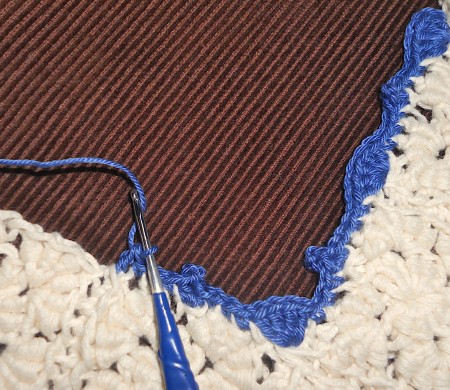
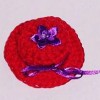
- Crochet the inside edges of the frame using blue yarn and crochet hook 2 mm. Work in rounds, do not turn. You have to know how to crochet half double crochet (hdc), picot (p).
3 ch, * 5 dc in one stitch, 3 sc, 1 hdc, 1 p, 1 hdc in the same stitch, 3 sc. Repeat from *. At the corners 4 dc. 
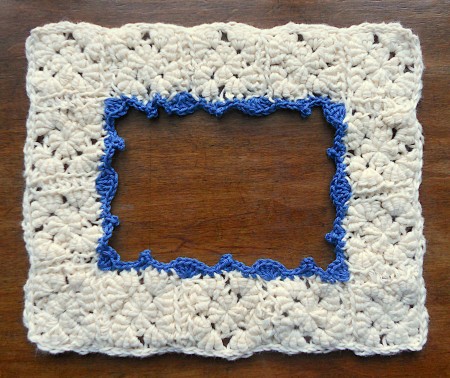
- Crochet the outside edges of the frame using beige yarn: sl st in every stitch, at the corners 2 sl st. Don't crochet tight.
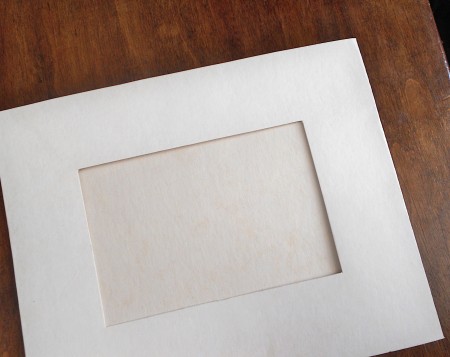
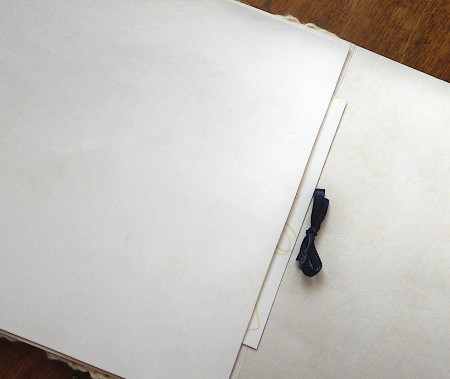
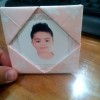
- Cut out rectangle from cardboard 6 inches wide, 15 inches long and fold in half (as a double sided card). Cut on one side in the center rectangular hole 3 inches wide and 4.5 inches long (see photo).
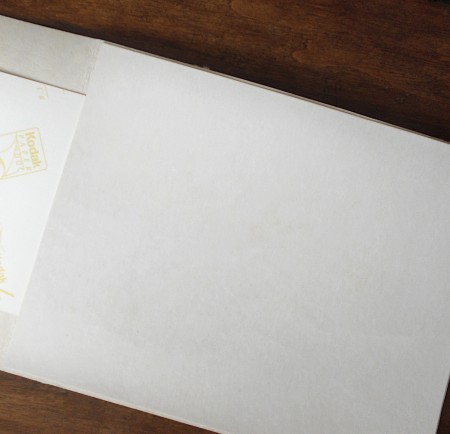
- Cut a rectangle 5.9 inches wide, 7.4 inches long out of cardboard and glue it on three sides inside where the rectangle was cut. On the fourth side, you will insert a photo.
- Hot glue the crocheted frame to the cardboard around the rectangular hole you cut out.
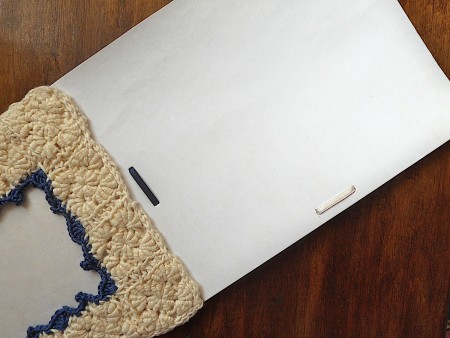
- Cut holes and insert ribbons on both sides so that you can hang this frame on the wall in two positions.
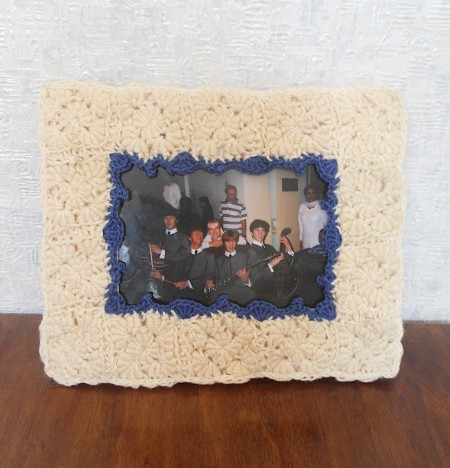
- Insert a photo and enjoy the work done. This frame can stand on the table if the cardboard halves are slightly pushed apart.
Add your voice! Click below to comment. ThriftyFun is powered by your wisdom!