 The most beautiful part of fall is when the leaves begin to change colors. I think it is breathtaking! It is difficult to capture the beauty in a painting, but it's definitely fun to try. And in the classroom, a unique way to paint these fall trees is to use Q-Tips instead of brushes. It's a fun and easy activity for any age! As for adults, these trees can be painted onto a canvas or even on greeting cards. I will probably laminate mine and use them as fall decor!
Total Time: 20 minutes to create and about 2 hours to dry
Yield: 2 fall trees
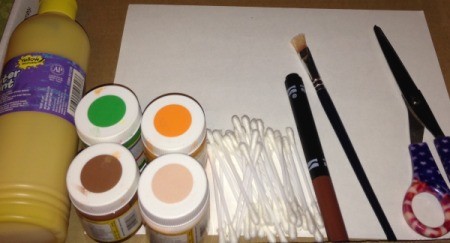
Supplies:
- 1-2 pieces of white construction paper or card stock
- tempera paint (autumn colors)
- 15-20 Q-Tips
- 1 brown marker
- 1 paint brush
- 1 rubberband
Steps:
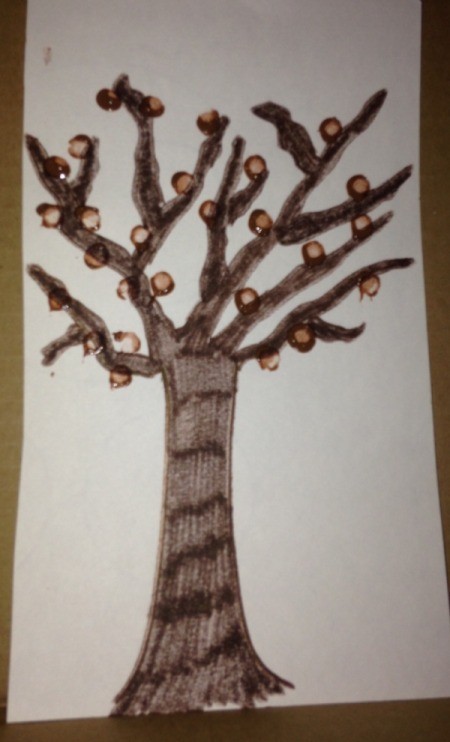
- Create the tree trunk by drawing and coloring it with a brown marker or by painting it. If you choose the latter, allow to dry prior to the next step.
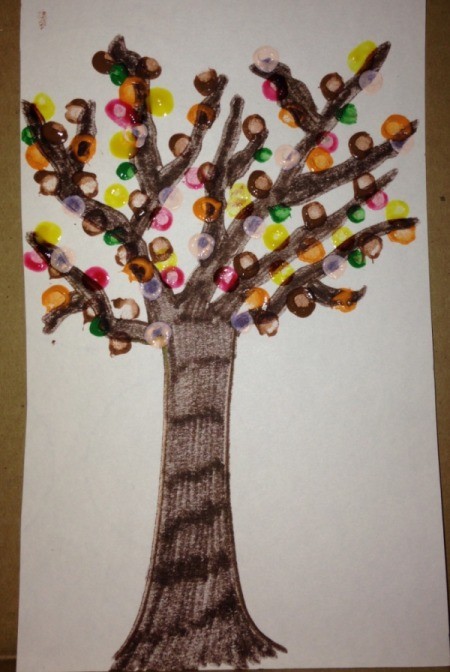
- Choose one Q-Tip and dip it into one paint color. Randomly dot the Q-Tip around the tree branches to add leaves.

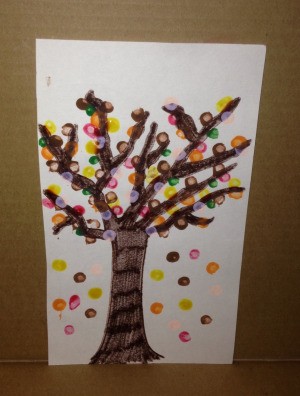
- Repeat with additional paint colors until you feel the tree is complete. You can also place dots falling from the tree and heading for the ground, like in the main photo!

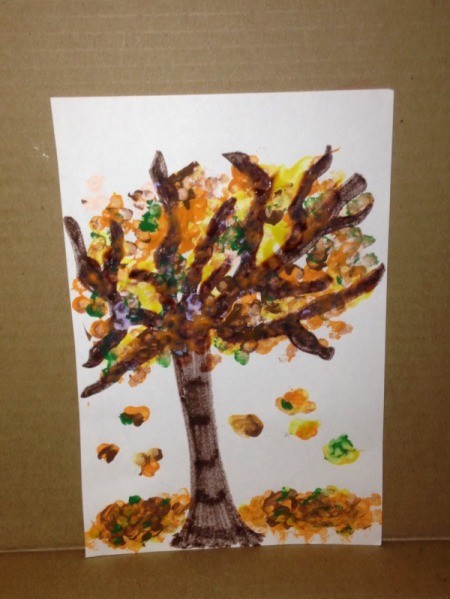
- If you want more of a color mesh, rubber band around ten Q-Tips together. Dip the set into each paint color and randomly stamp them on the branches, like on the other tree. Add colors until the tree looks finished to you. You can also add leaves falling and piles on the ground!

Add your voice! Click below to comment. ThriftyFun is powered by your wisdom!

 The most beautiful part of fall is when the leaves begin to change colors. I think it is breathtaking! It is difficult to capture the beauty in a painting, but it's definitely fun to try. And in the classroom, a unique way to paint these fall trees is to use Q-Tips instead of brushes. It's a fun and easy activity for any age! As for adults, these trees can be painted onto a canvas or even on greeting cards. I will probably laminate mine and use them as fall decor!
