attosa
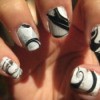
Diamond Post Medal for All Time! 1,246 Posts 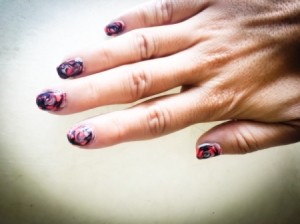 A while ago, I shared with ThriftyFun how I do marble nail art with a water technique. This is a how-to for when you want it done fast!
Link: Water Method Marbled Nail Art Tutorial
Supplies:
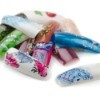
- 3 bottles of nail polish, different colours
- 1 nail dotting tool or a toothpick
- 1 clear topcoat (optional)
Steps:
- Start by painting your nails with a base colour and let dry.
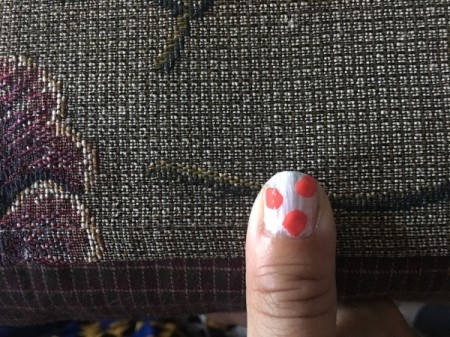
- Working one nail at a time, as not to let any of the colours dry, paint another coat of the base colour. Quickly add three dots of your second colour, spaced apart.
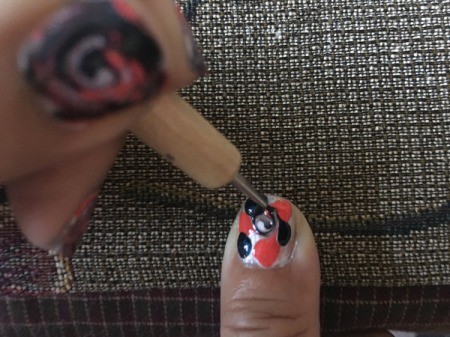
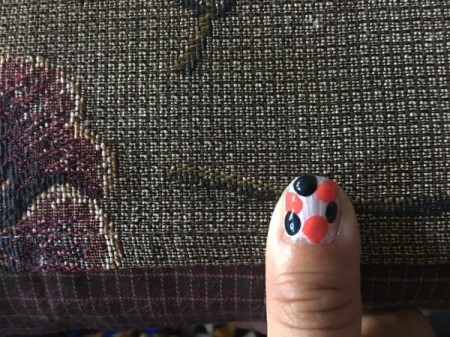
- Quickly add your third colour, adding big dots between the previous dots.
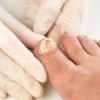
- Take your dotting tool or toothpick and starting from the center, swirl the colours together working outwards.

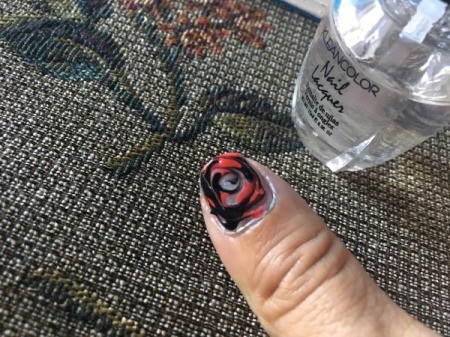
- Continue with the other nails. Let dry then use a clear topcoat to seal the ridges where you've made a swirl indentation.
Add your voice! Click below to comment. ThriftyFun is powered by your wisdom!