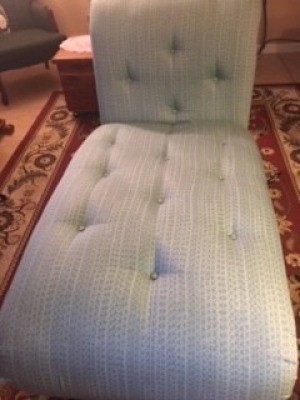
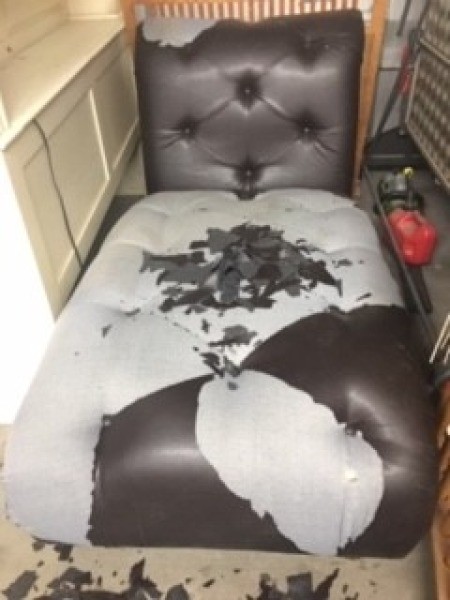
 Our first attempt with a more advanced reupholstery project. This chaise lounge was a neighborhood throw-away which we picked up and brought home to upcycle.
Total Time: 8 to 10 hours
Yield: 1
Supplies:
- upholstery fabric
- staple gun
- staples
- scissors
- upholstery thread
- long upholstery thread
- needle and thread
Steps:
- Remove all old upholstery fabric and discard. Remove legs temporarily. Measure width of back from side to side. Measure top of back to bottom of back. Cut piece for back from fabric, allowing 3 to 4 inches for tucking in underneath.

- Lay cut piece of fabric over back. Fold excess fabric under and staple around top and sides of back. Pleat fabric around curve. Push fabric through opening between seat and back. Staple underneath the back side.
- Repeat step 2 for bottom of chaise lounge. Last step is to staple the end piece under bottom side of lounge.
- To cover buttons from original lounge: Cut a circle of fabric about an inch larger in diameter than the button. Using a needle and thread, sew a gathering stitch around the top and pull until gathered around button. Knot and cut thread. For large side buttons, cut a circle about 1 inch larger in diameter than the button. Clip around the circle. Lay large button on fabric. Pull up fabric and glue into place. Let dry.
- Using long upholstery needle and upholstery thread, tack buttons into place on back and bottom of lounge in the original button placement pattern. Working from the back or underneath side of lounge, insert needle through
fabric layers. Using several inches of thread, doubled, and thread through button loop, and then insert ends of thread through eye of upholstery needle.
Pull needle back through fabric and staple threads to frame and knot to hold button securely. For large buttons on top back side and bottom side, use a hammer to hammer the large button into place. Screw legs back onto finished lounge and have a nap!
Add your voice! Click below to comment. ThriftyFun is powered by your wisdom!
 Our first attempt with a more advanced reupholstery project. This chaise lounge was a neighborhood throw-away which we picked up and brought home to upcycle.