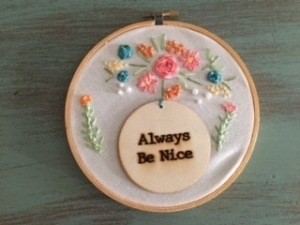
 A twist on embroidery using ribbon. I love how it turned out.
Total Time: 3 hours
Yield: 1
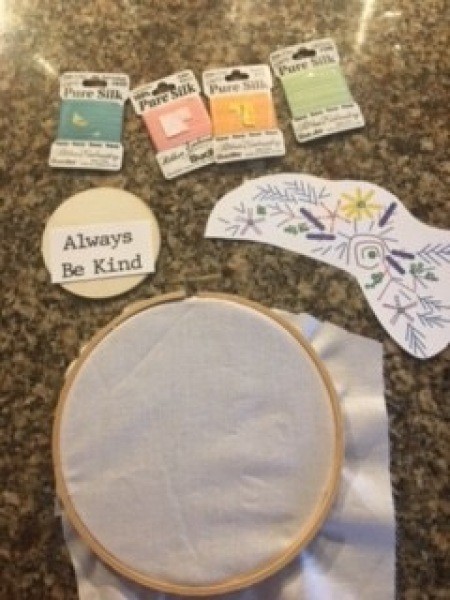
Supplies:
- silk embroidery ribbon
- embroidery needle with big eye
- scissors
- embroidery hoop
- embroidery floss
- pattern
- fabric

Steps:
- Cut round piece of fabric and place into embroidery hoop. Using a printed pattern (I found free downloads from the internet), tape pattern right side up to underneath side of fabric. Hold up to the light and using a pencil, trace the pattern onto the top side of the fabric.
- Pre-iron the silk embroidery ribbon prior to making the project. Stems and leaves should be done first. Thread green ribbon through the needle making a knot at the top, as pictured. Knot ribbon at the end. Thread embroidery floss onto another needle. Knot.
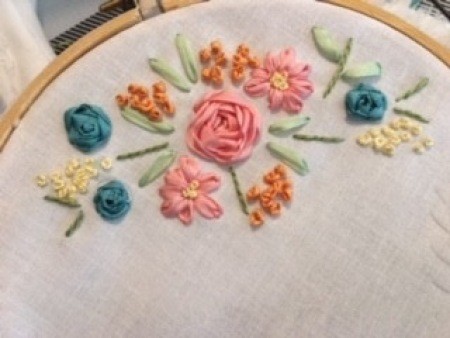
- I used embroidery floss for the outline embroidery stitch. I did the leaves with the silk embroidery ribbon. There are many patterns available on youtube and online showing you how to make the different stitches. I am a beginner and learned five stitches: the chain stitch, the web rose, the French knot, the leaf stitch, and the lazy daisy stitch. After I completed making the stems and leaves, I did the French knots. Then, I made the roses and the daisies.
- Below I have shown how to make the web rose stitch. Using embroidery floss that matches the color of silk embroidery ribbon you are using to make your rose, insert needle from underneath side of fabric and bring up through center. Then, make a web design going from the center to the outer points of each of the five lines on the pattern. Knot the embroidery thread on the underneath side. Using a pre-knotted embroidery silk ribbon, insert the needle from the underneath side into the middle, then weave the ribbon over and under the embroidery floss lines all the way around the center of the flower, row after row, until the pencil design is hidden and until you think the rose is the desired size.
- This is the completed pattern. I added my own freehand pattern on either side of the hoop to fill up the empty space using a chain stitch and a made-up stitch on the top to look like a bud. For an added touch, I added this little quotation and used ribbon to attach it to the middle of my completed project.

Add your voice! Click below to comment. ThriftyFun is powered by your wisdom!

July 8, 20220 found this helpful
How did you do the "Always be Nice" ornament? It looks like ceramic done in a professional oven. Thanks! Lovely work!!! Patty
Anonymous
July 9, 20220 found this helpful
My husband used wood and engraver
Add your voice! Click below to comment. ThriftyFun is powered by your wisdom!

 A twist on embroidery using ribbon. I love how it turned out.
