lalala...
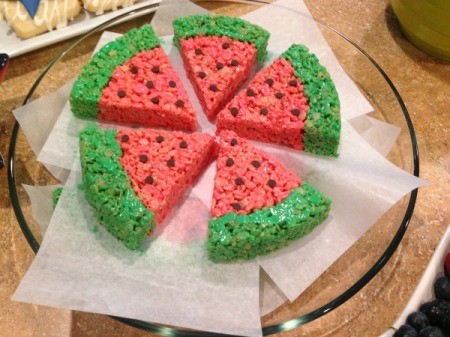
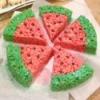
Gold Post Medal for All Time! 899 Posts 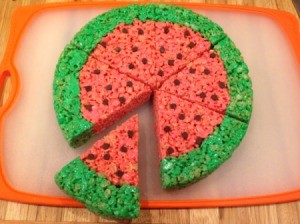 These Rice Krispy treats are perfect for a summer party!
Yield: 12-16 treats
Source: www.kawaiisweetworld.com
Ingredients:
- Pam or similar cooking spray for spraying the pans before adding rice mixture.
- Watermelon Rind:
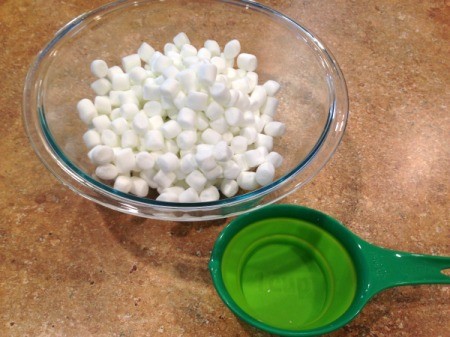
- 4 cups mini marshmallows
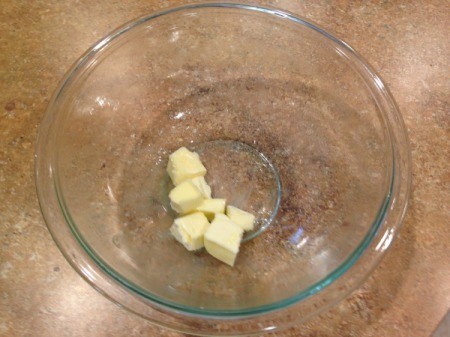
- 3 Tbsp butter
- 4 cups Rice Krispies
- green gel food coloring
- Watermelon Center:
- 5 cups mini marshmallows
- 3 Tbsp butter
- 5 cups Rice Krispies
- mini chocolate chips
- red gel food coloring
- Popsicle sticks, optional
Steps:
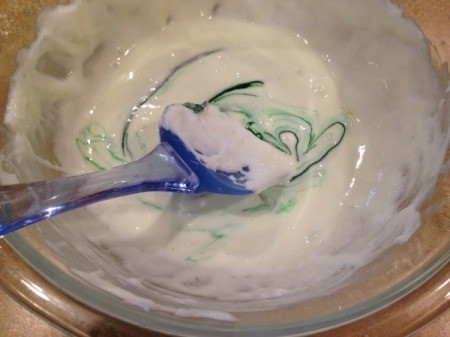
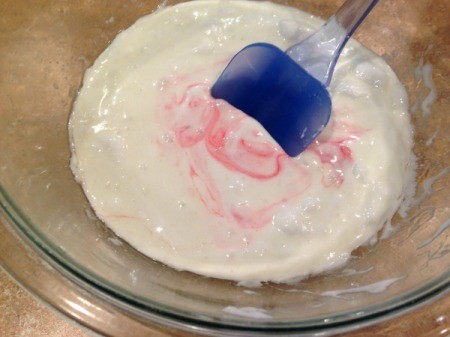
- Watermelon Rind: Put the butter and mini marshmallows into a microwave safe bowl.
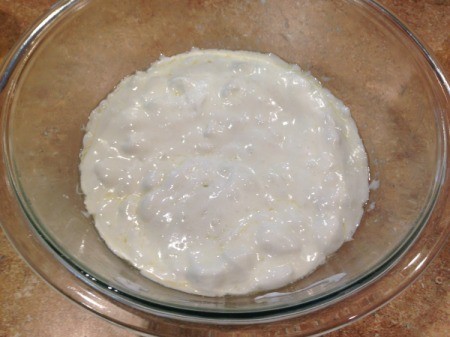
- Microwave in 20 second intervals until butter and marshmallows are melted. Stir occasionally.

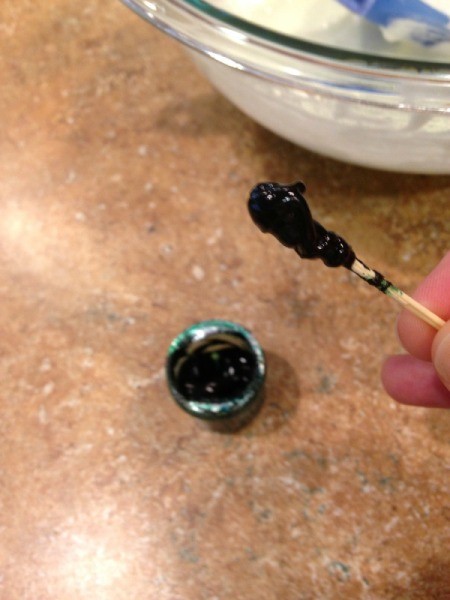
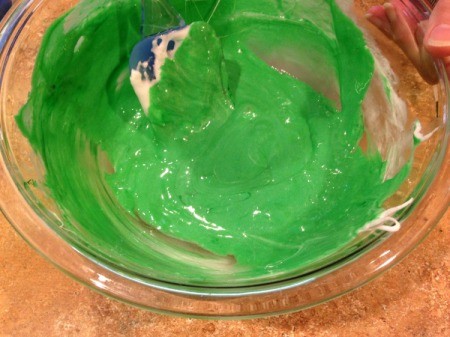
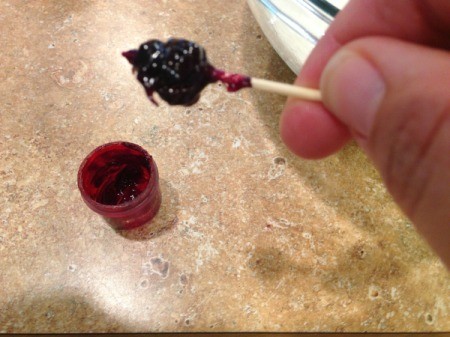
- Use a clean toothpick to add green gel coloring to the marshmallow mixture. Stir and add more coloring until it reaches the desired color.
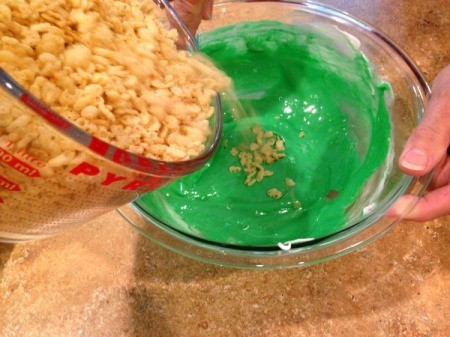
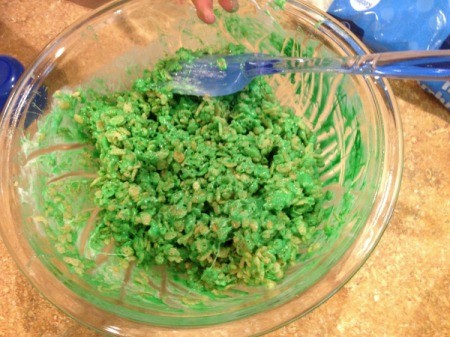
- Add rice cereal and mix until well coated.
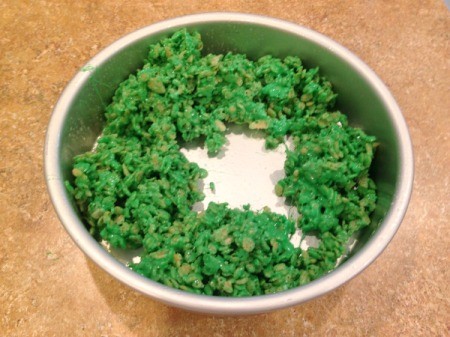
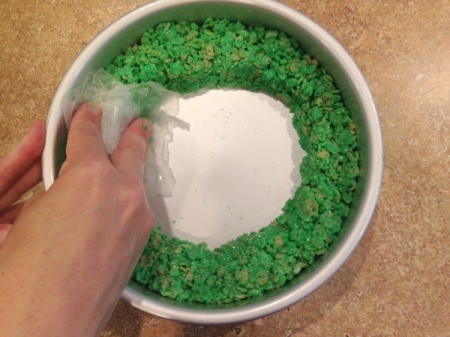
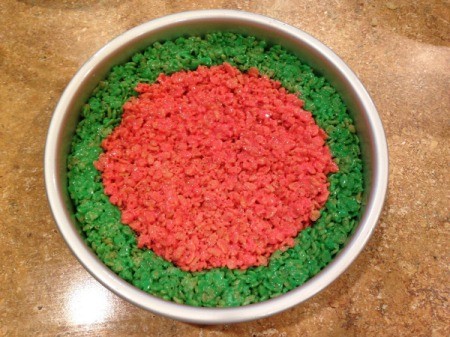
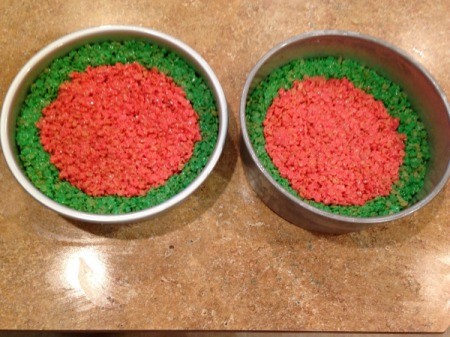
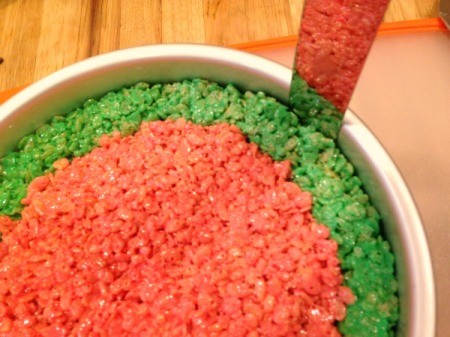
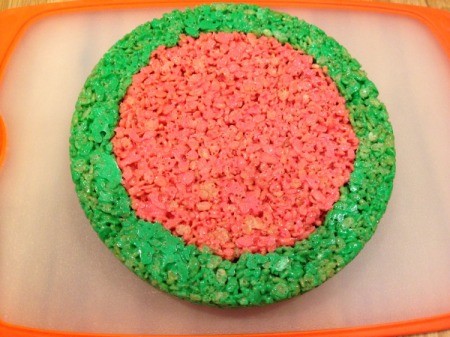
- Spray cake pans with cooking spray, such as Pam. Divide the mixture in half and drop small amounts around the outside edge of both pans (see photo below). Use a piece of wax paper to press the mixture tightly together to form the rind.
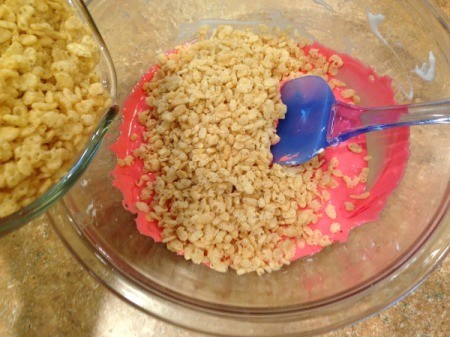
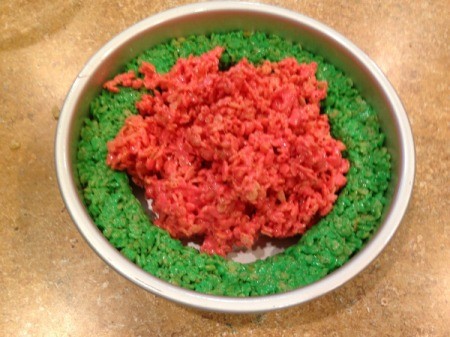
- Watermelon Center: Prepare a second batch of marshmallow mixture. Use a clean toothpick to add red gel coloring to the marshmallow mixture. Stir and add more coloring until it reaches the desired color.
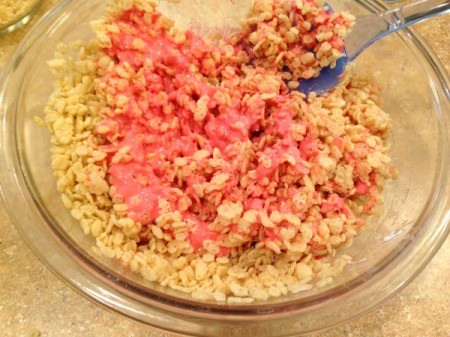
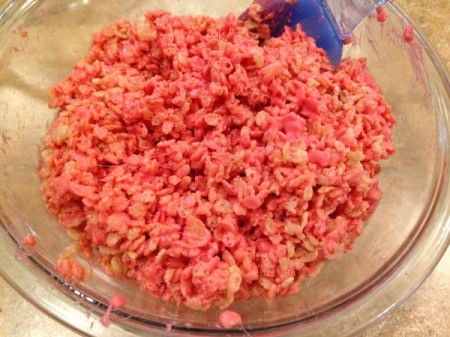
- Add rice cereal and mix until well coated.
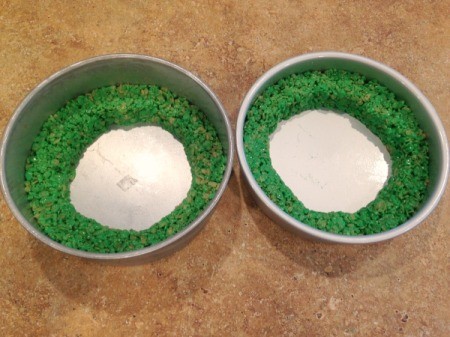
- Divide the mixture in half and place into the center of the pan, as shown below. Then use a piece of wax paper to press it into place.
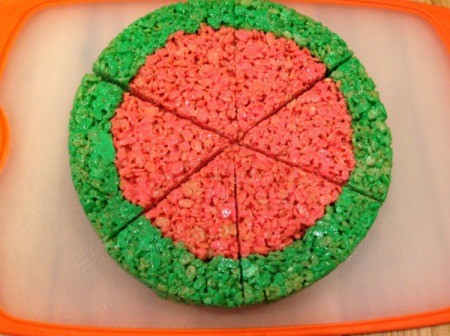
- Use a knife to loosen it from the pan. Turn it out onto a cutting board and chill in the refrigerator for approx. 15 minutes. Then use a sharp knife to cut into wedges.
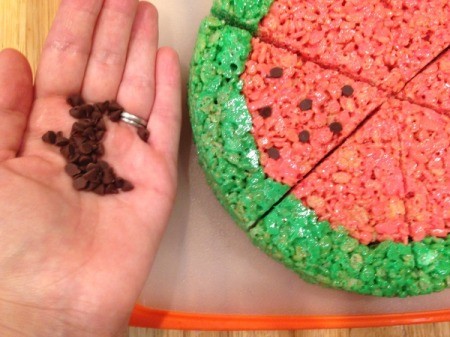
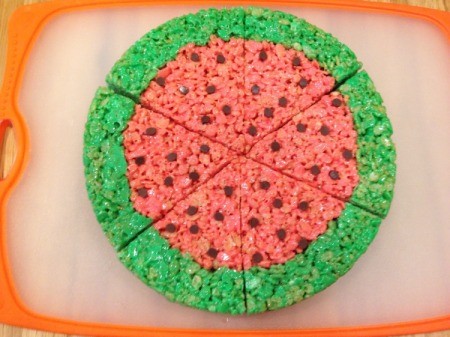
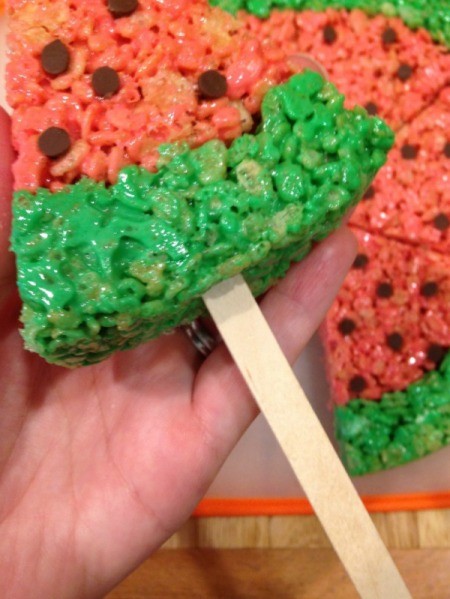
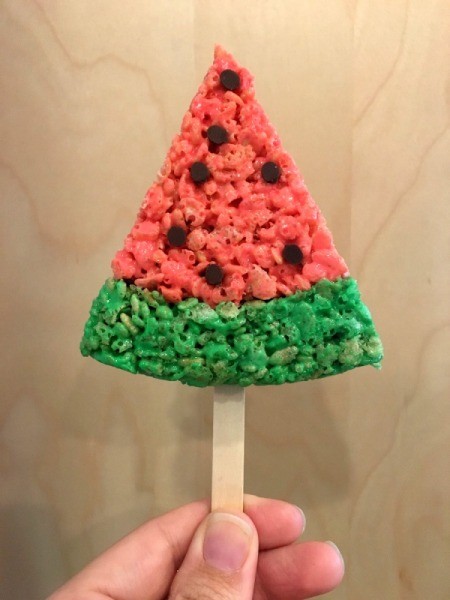
- Add the mini chocolate chips, pressing them into the treats, point-side down. If you want to serve them without sticks, I recommend placing a piece of wax paper between them to keep them from sticking together.
- Optional: To serve them on sticks, gently push a popsicle stick into the bottom of each piece.
Add your voice! Click below to comment. ThriftyFun is powered by your wisdom!
KIM HOGGAN
Bronze Post Medal for All Time! 114 Posts July 12, 20160 found this helpful
Clever and yummy ! :)
suz1230
Silver Feedback Medal for All Time! 451 Feedbacks July 29, 20190 found this helpful
That is so cute!!
October 31, 20200 found this helpful
OMG!!! turned out perfect! Just like your photo....suggestion....use a springform pan..easy to cut up. If i could figure how to send a photo i would have.
Add your voice! Click below to comment. ThriftyFun is powered by your wisdom!