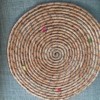
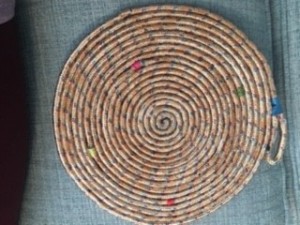
 I needed a trivet to go with a lot of my placemats and dishes and found this idea.
Total Time: 1 hour
Yield: 1
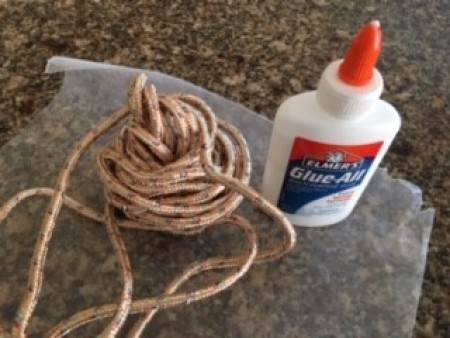
Supplies:
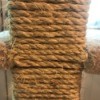
- 1 pkg. multipurpose utility rope
- Elmer's Glue all
- needle
- Embroidery floss
Steps:
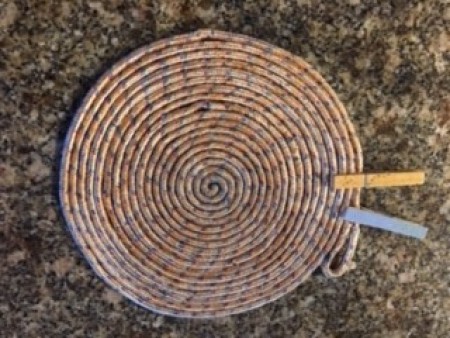
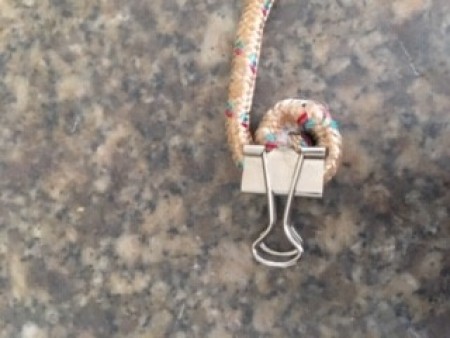
- Using a large clip, to hold rope in place, start gluing the rope into a circle. I glued several inches, clipped it, and let dry for ten to fifteen minutes before adding the next few rows of rope.
- Continue gluing and coiling until you reached the desired size. Cut rope and end by making a loop and gluing it into place.

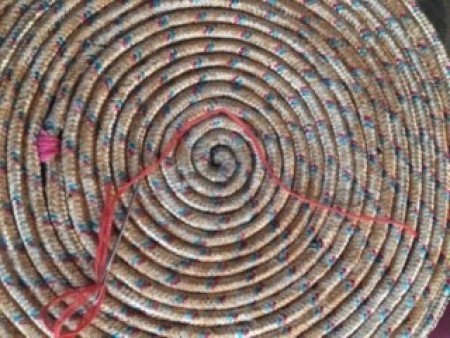
- Using embroidery floss and a needle, wrap a few rounds of floss in a random pattern over the trivet. I wanted to use these colors because they match several of my dinnerware.
Add your voice! Click below to comment. ThriftyFun is powered by your wisdom!