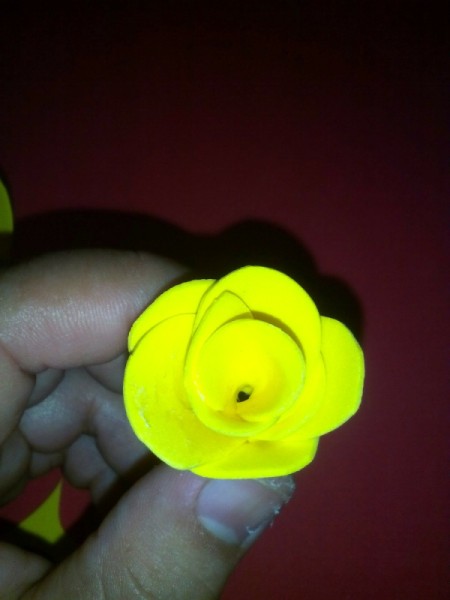
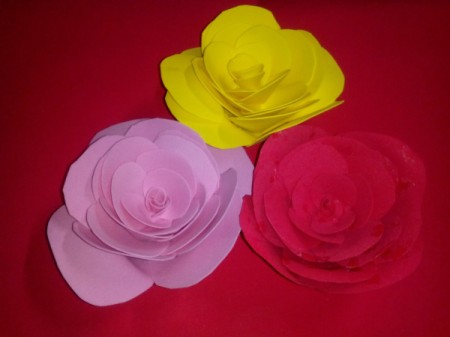
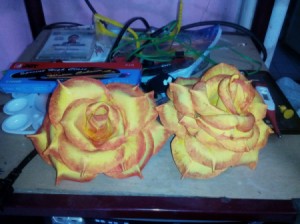
 This week I'll be doing a lot of flower projects for a classroom decoration. It is my first time using this amazing rubber foam for a craft. I'll be decorating a kids' classroom so I can't risk putting paper flowers on areas where children can reach it. Instead of paper, this rubber foam is much durable on lower portions of the room.
The project is simple yet takes time and patience especially when you work on the final layers, but it's indeed really fun to make.
Supplies:
- rubber foam sheets
- scissors
- strong hold glue
- watercolor and paintbrush
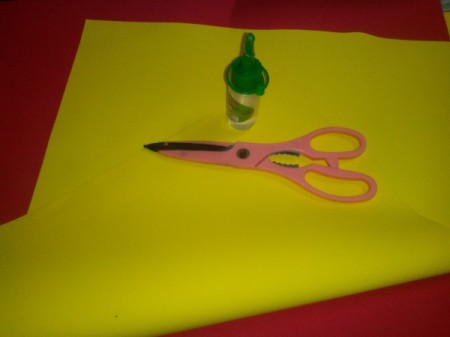
Steps:
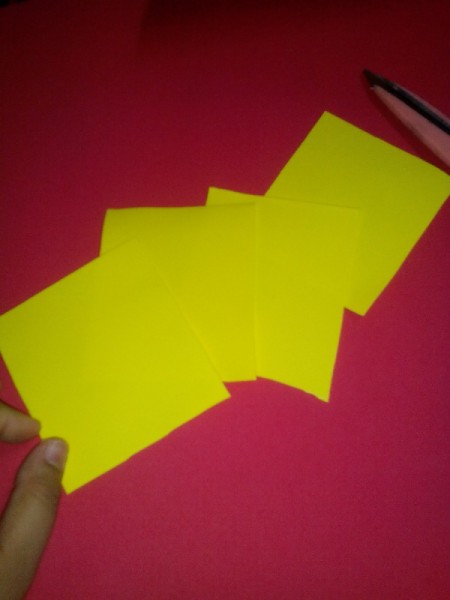
- Cut 2.5 inches wide strips of rubber foam about 3-4 pieces.
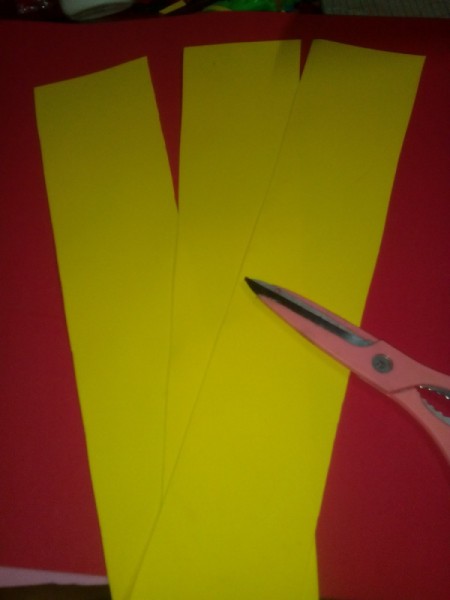
- Divide each strip into 4 pieces.

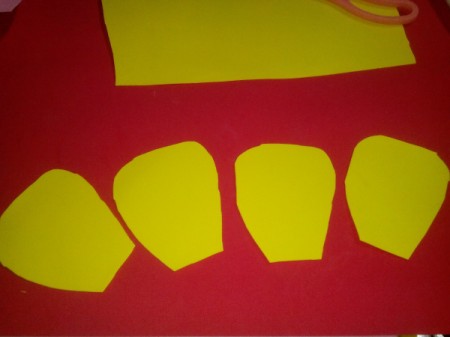
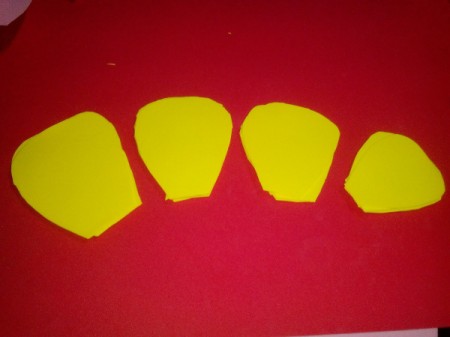
- Cut 4 petal shapes of the same size.

- Cut another 3 sets in smaller sizes.

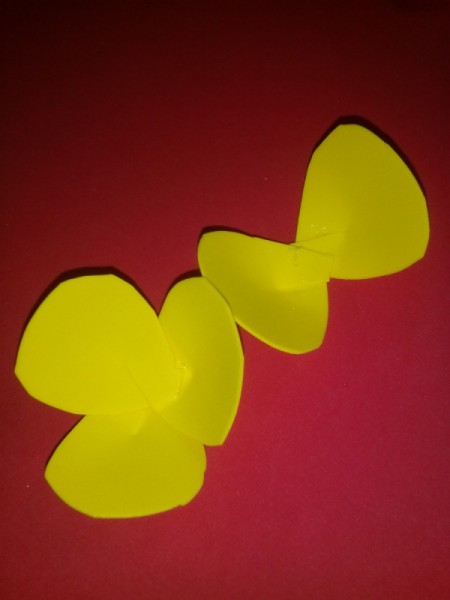
- Make a 1 inch cut in the center bottom of the petals. Glue in one side over the other.
- Put together the biggest 4 petals to form a flower. Do the same with the smaller sets of petals.
- Make 2 more smaller sets by 3s and 2s.

- Make a small layer or roll of tiny petals for the center.

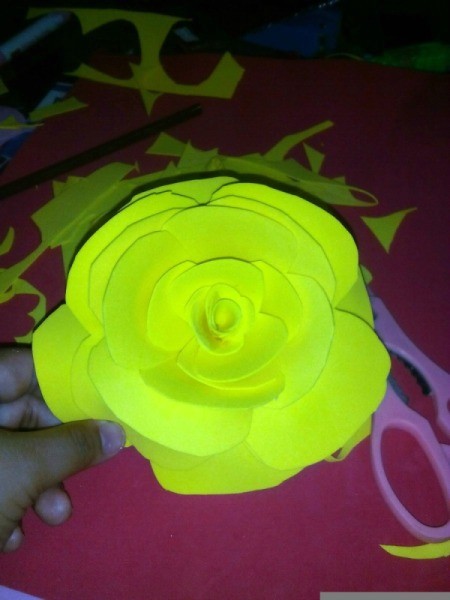
- Stack the different flower sizes into layers. Place the smallest roll of petals into the center.
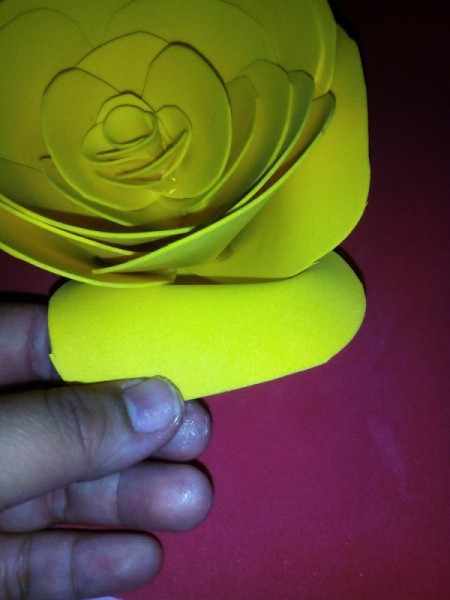
- Pull down the petals and slightly roll the tips for a better effect.

- Now you have a rubber foam rose decoration. You can improve this project by adding more details.

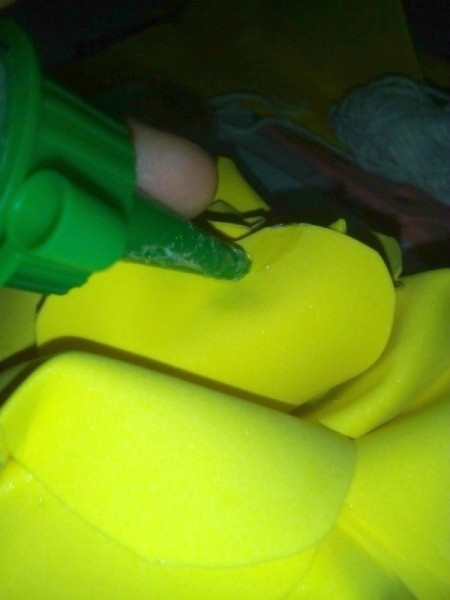
- This step is optional but if you wish to add beauty to your flower I suggest after pulling down the petals, try applying glue on the back portion of each petal.

- Fold and pinch the center of the petal.
- Choose your desired color and paint the edges for additional effects.

Add your voice! Click below to comment. ThriftyFun is powered by your wisdom!

joanWZ
Bronze Post Medal for All Time! 118 Posts June 3, 20170 found this helpful
Top Comment
I love your rose katrine!
Add your voice! Click below to comment. ThriftyFun is powered by your wisdom!

 This week I'll be doing a lot of flower projects for a classroom decoration. It is my first time using this amazing rubber foam for a craft. I'll be decorating a kids' classroom so I can't risk putting paper flowers on areas where children can reach it. Instead of paper, this rubber foam is much durable on lower portions of the room.

