melissa
Silver Post Medal for All Time! 293 Posts 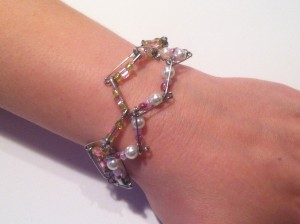 This is an easy, quick, useful, and nearly free project for you to make. With a few safety pins and beads, you can create a one of a kind piece of jewelry for yourself or a friend. No special skills required.
**This would be a fun tween slumber party project.:)
Total Time: Under 30 minutes
Yield: 1
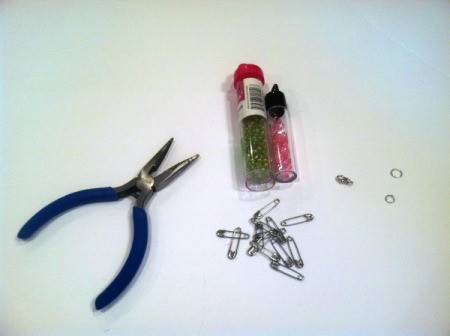
Supplies:
- 14 3/4" long safety pins
- 42 size "e" glass beads
- 14 5 millimeter triangle glass beads
- jump ring
- clasp
- jewelry needle nose pliers
Steps:
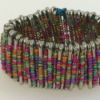
This bracelet was made for an average woman's 6 1/2" wrist. I like my bracelets loose, and this one dangles about 1". You can easily make this smaller or larger by adding less or more safety pins.
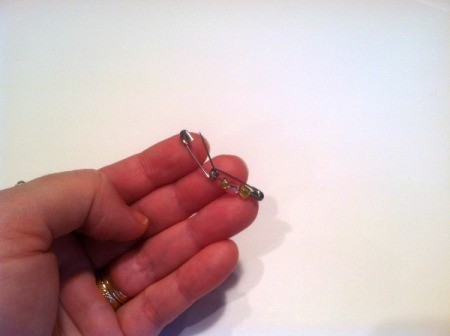
- Open your first pin and place your first three beads like so, close your pin.
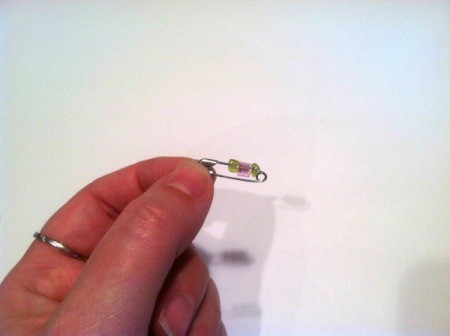
- Open your second pin and insert it into your beaded pin here.

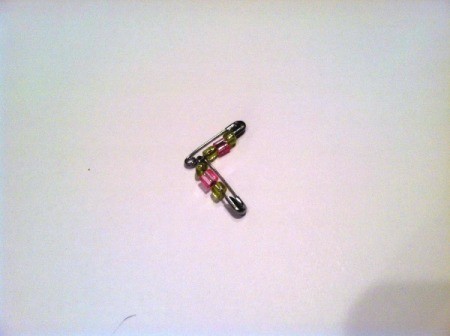
- Place your beads as before, close. The next pin and each thereafter will be inserted into the "top" hole of the safety pin.
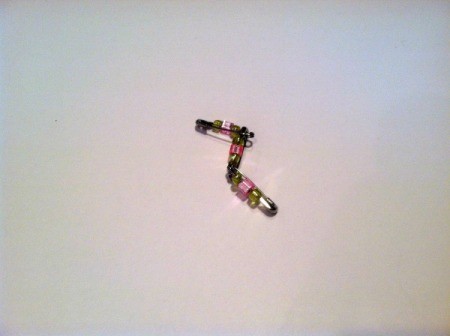
- Continue in this manner until you have all 14 pins connected and beaded.
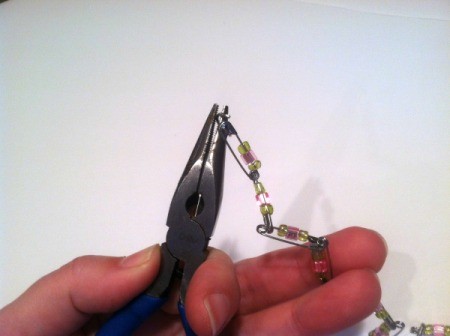
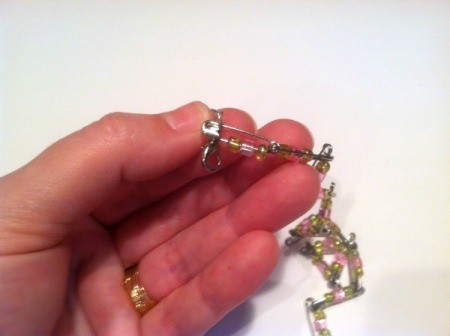
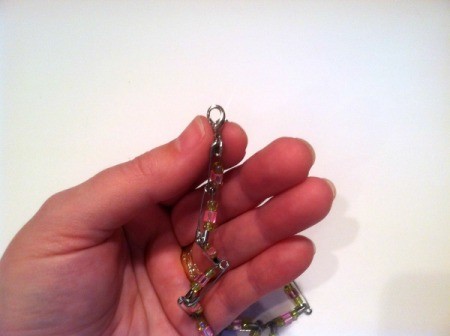
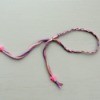
- Now take your jump ring and pass it through a pin on one end.
- Pass it through your clasp as well.
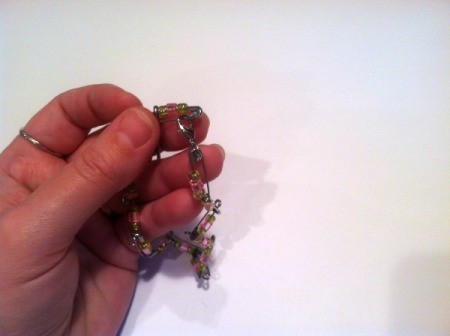
- Close your jump ring securely, you are now able to fasten your bracelet.
- You will simply attach your clasp to the pin on the other end of your bracelet, simple as that!
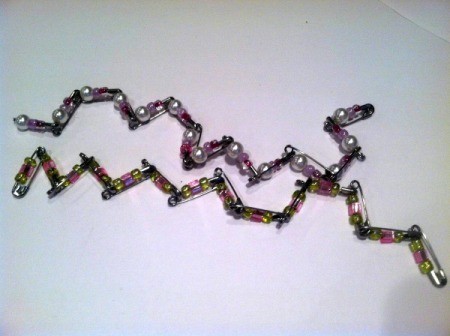
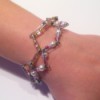
- As you can see, I also made a version with a tiny pearl first, and then 2 small beads stacked on top. The possibilities are endless.
- I love bracelets, so will be making all different colors. What inexpensive and fun gifts these will make too! Have fun:)
Add your voice! Click below to comment. ThriftyFun is powered by your wisdom!
April 7, 20150 found this helpful
Very cute! My "tween" would love making these. Thanks!
Add your voice! Click below to comment. ThriftyFun is powered by your wisdom!