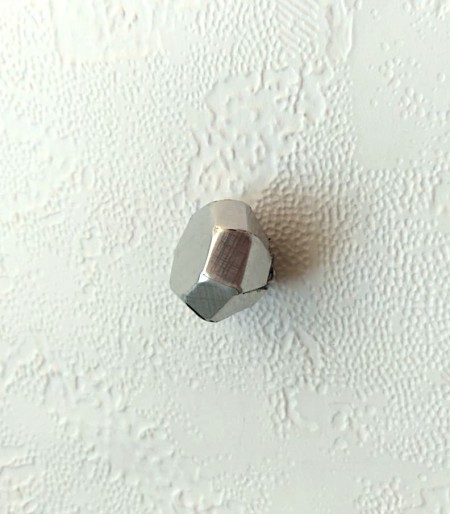
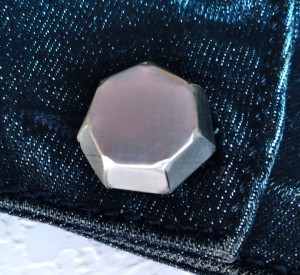
 I want to share with you my idea for making Shank Buttons. This project will help not only to make original buttons, but also to reuse old aluminum cans.
Total Time: 30 Minutes
Supplies:
- aluminum can
- pencil
- cardboard
- ruler
- scissors
- duct tape
- aluminum wire
- pliers and wire cutters
- hot glue
- hammer
Steps:
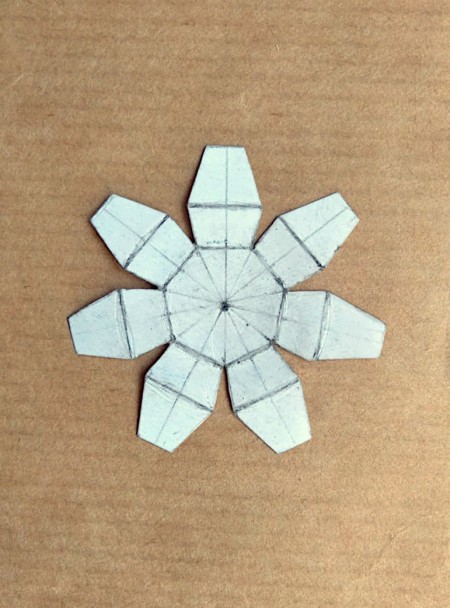
- Draw the template on the cardboard as shown in the photograph. Make sure all sides are equal. Cut out the template. Fold the cardboard template along the lines and check if the size of the future button is right for you.
- Cut a piece of aluminum tin from the side of the can.
Lay the sheet of tin on a flat, hard surface with the painted face up. Place a cardboard template on top, trace with a pencil and cut out. 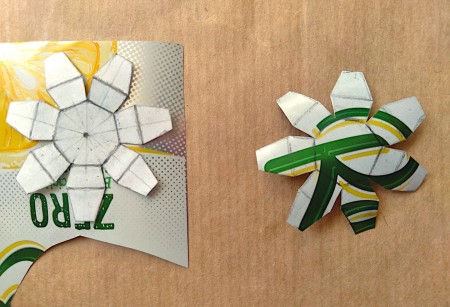
- Bend the tin template along the lines. To keep the folds even, press the ruler against the line and then fold. Secure the folds with pieces of duct tape.
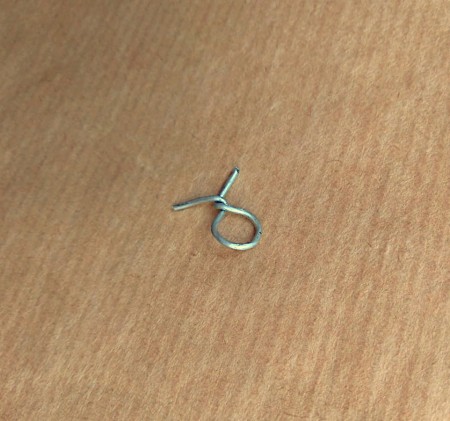
- Bend an aluminum wire loop as shown in the photo. It should fit inside tin mold.

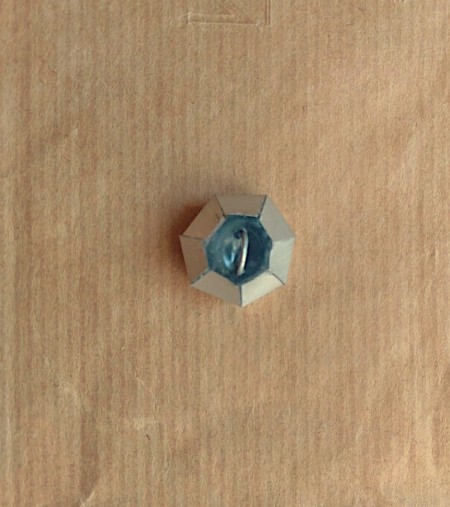
- Squeeze hot glue inside the aluminum mold. Be careful as the aluminum mold will get hot. Insert the bent aluminum wire so that the loop is above the hot glue surface. If the aluminum mold is slightly distorted, then correct the shape and hold until the glue hardens. Use a piece of rag or a glove as the hot glue mold will be hot. Wait for the hot glue to harden well.

- Remove pieces of duct tape and excess hot glue.
- Round off the corners a little: beat a little with a hammer in the corners.

Add your voice! Click below to comment. ThriftyFun is powered by your wisdom!
 I want to share with you my idea for making Shank Buttons. This project will help not only to make original buttons, but also to reuse old aluminum cans.

