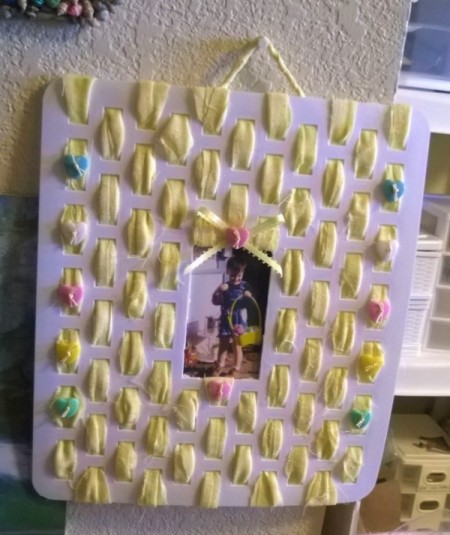
 Today I made a photo frame from a sink mat I got at the Dollar Tree.
You don't need much more than a few items to create something cute and very unique.
Total Time: 55-60 minutes
Yield: 1
Supplies:
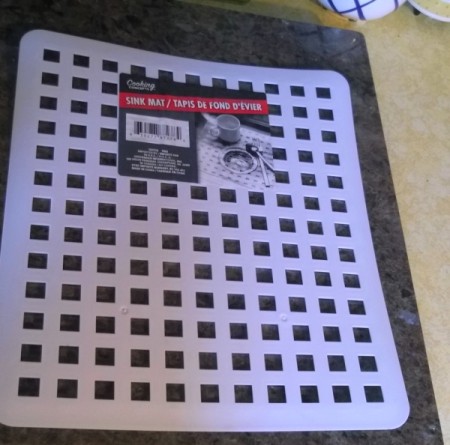
- 1 sink mat from the Dollar Tree ($1.00)
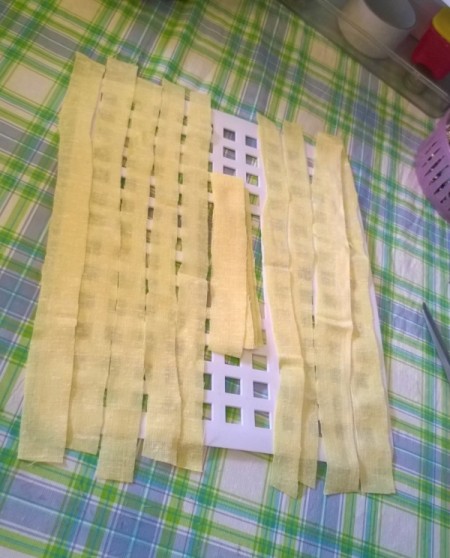
- 11 fabric strips or your choice
- scissors
- buttons ($.25)
- hot glue gun
- darning needle
- crochet thread
- ribbon scraps
- photo
Steps:
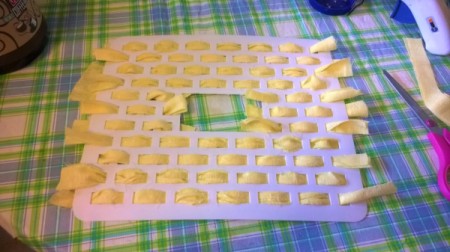
- Measure four over from each edge and five down from each top/bottom.
Cut with a steak knife or something with a serrated edge. The plastic is very hard. This will give you a perfect spot in the center for the photo. 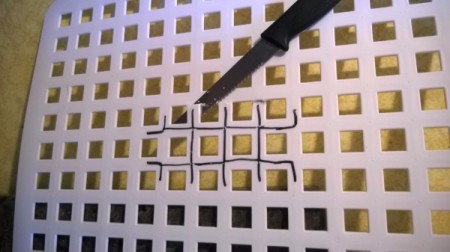
- If your fabric is airy and light, use double strips. If not, go ahead and just cut one. Make sure they are long enough to fold over on the back, so about 1.5 inches longer than the mat holes. Shorter ones of course for the smaller spots in the middle.

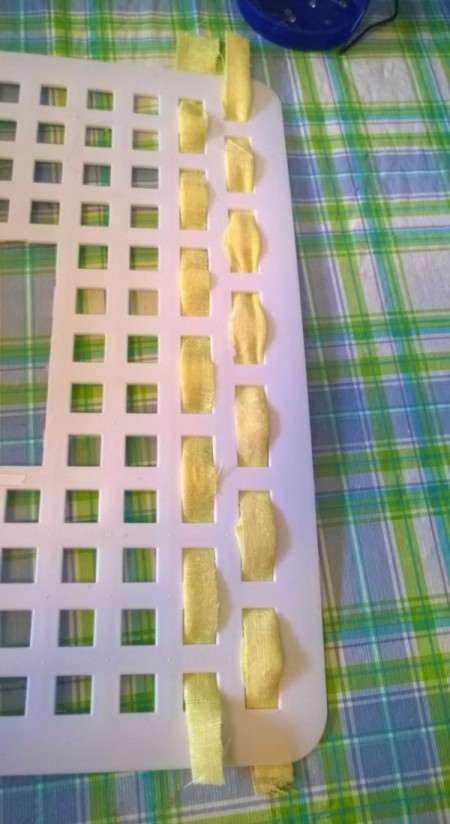
- Begin to weave the strips in and out, doing the outer edges first.
- When finished with the weaving, hot glue the back overlap to the back of the frame.
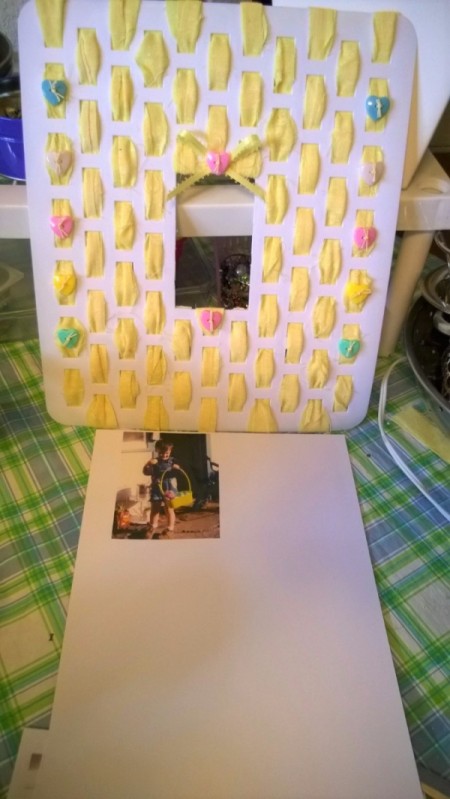
- Embellish with your choice of items. For me, it was Dollar Tree heart shaped buttons. I used my darning needle and double crochet thread to match the fabric to "tie" the buttons and make them look like they were sewed on.
I had 5 colors and 5 spots to put them on the top and bottom. Because of the math, and the repeat of the button colors, I had to stop at five along the sides and not do any on the four corner spots.
- I put some scrap ribbon and a button on the top, and added a shot of my now 25 year old grandson when he was 4, collecting Easter eggs. Then I hot glued and twisted a hanger for it on the top and it was done.
N-JOY!!
Add your voice! Click below to comment. ThriftyFun is powered by your wisdom!
February 20, 20170 found this helpful
Sounds like a clever project for 8-10 year old girls when spending a sleepover. Nice idea to pass along.
Thanks Sandi
Add your voice! Click below to comment. ThriftyFun is powered by your wisdom!